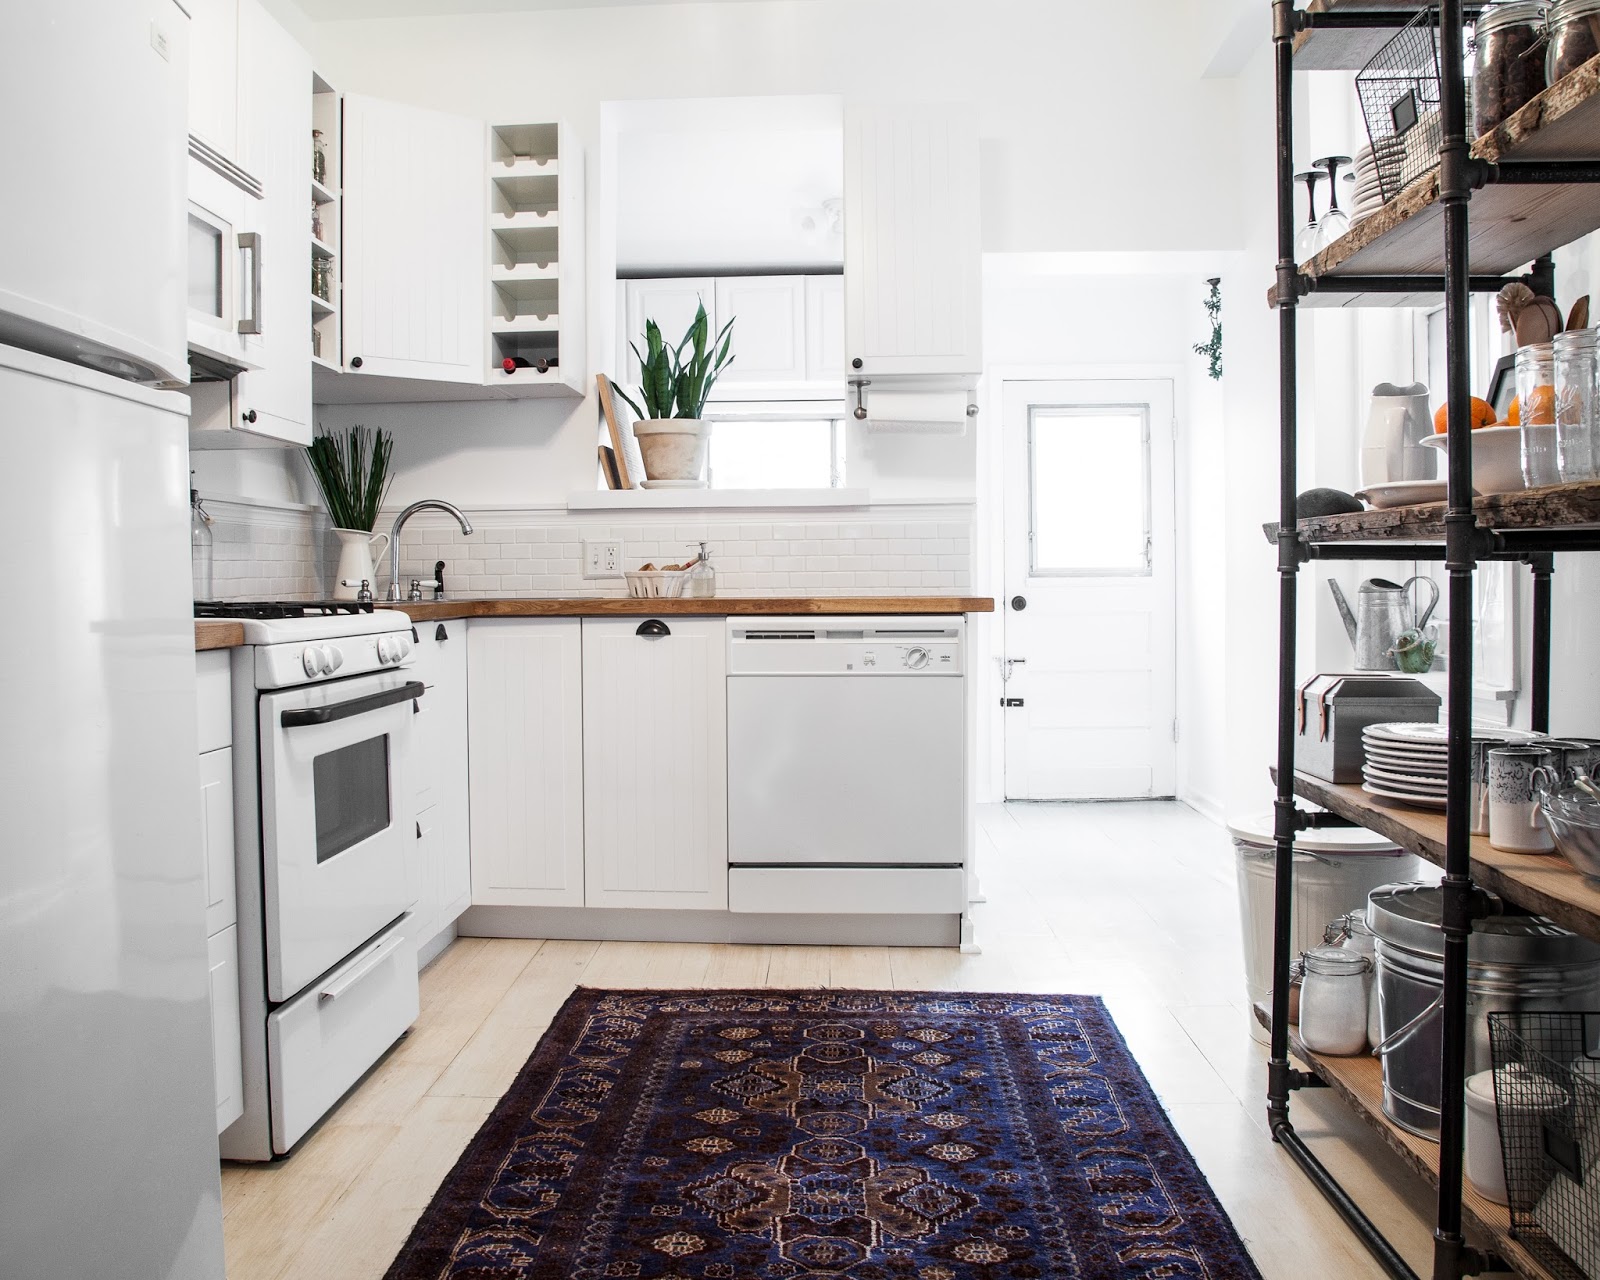
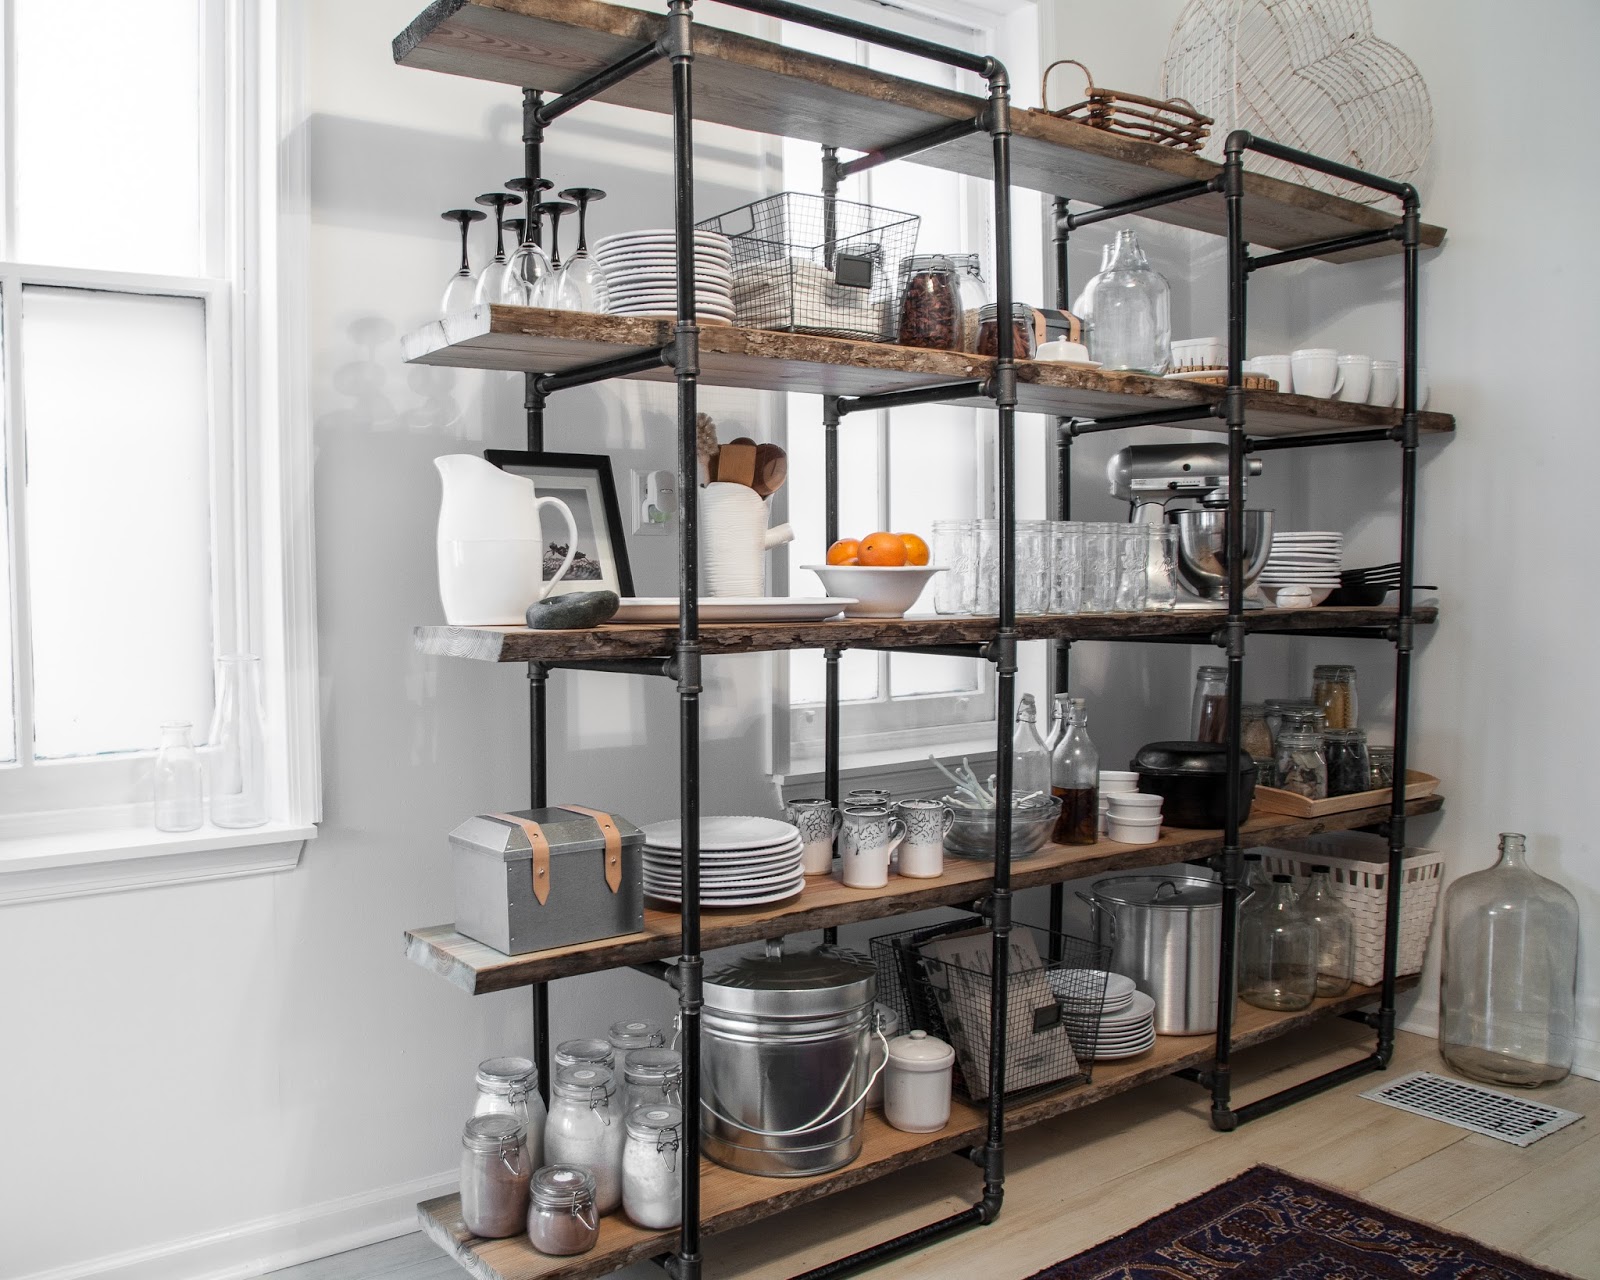
The last project in our kitchen rehab was one that I'd planned from the start - a large industrial shelving unit for open display of dishes, dried goods, and everything else that needed a home.
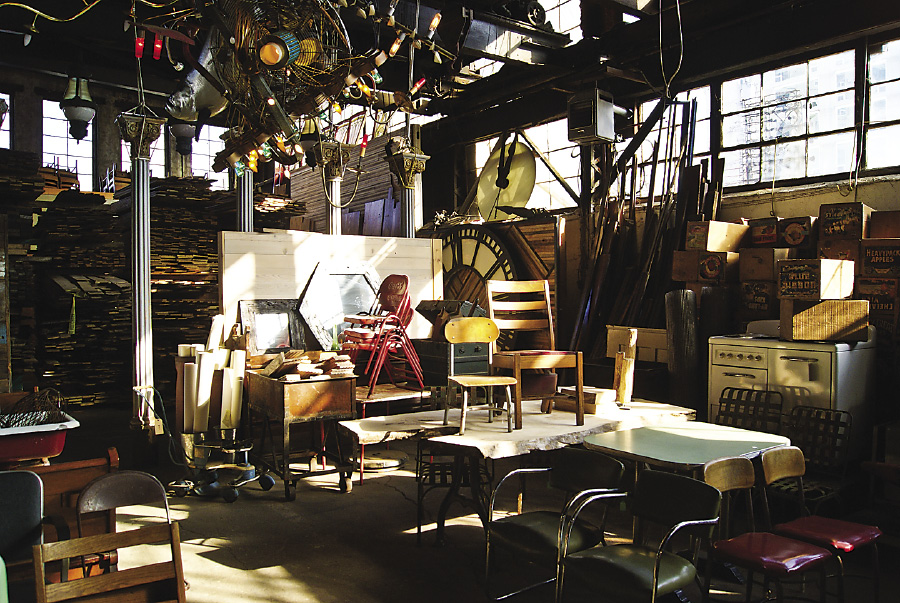
I'd found
tons of inspiration for the project and was just waiting until the rest of the kitchen to come together. I had plenty of designs already made up, and had calculated costs every which way based on everything from pipe diameter to connector hardware, and drafted plans by hand and in Sketchup. Our main requirement was that we wanted the shelf to be free-standing - we didn't want to drill anything into our walls, floors, or ceilings.
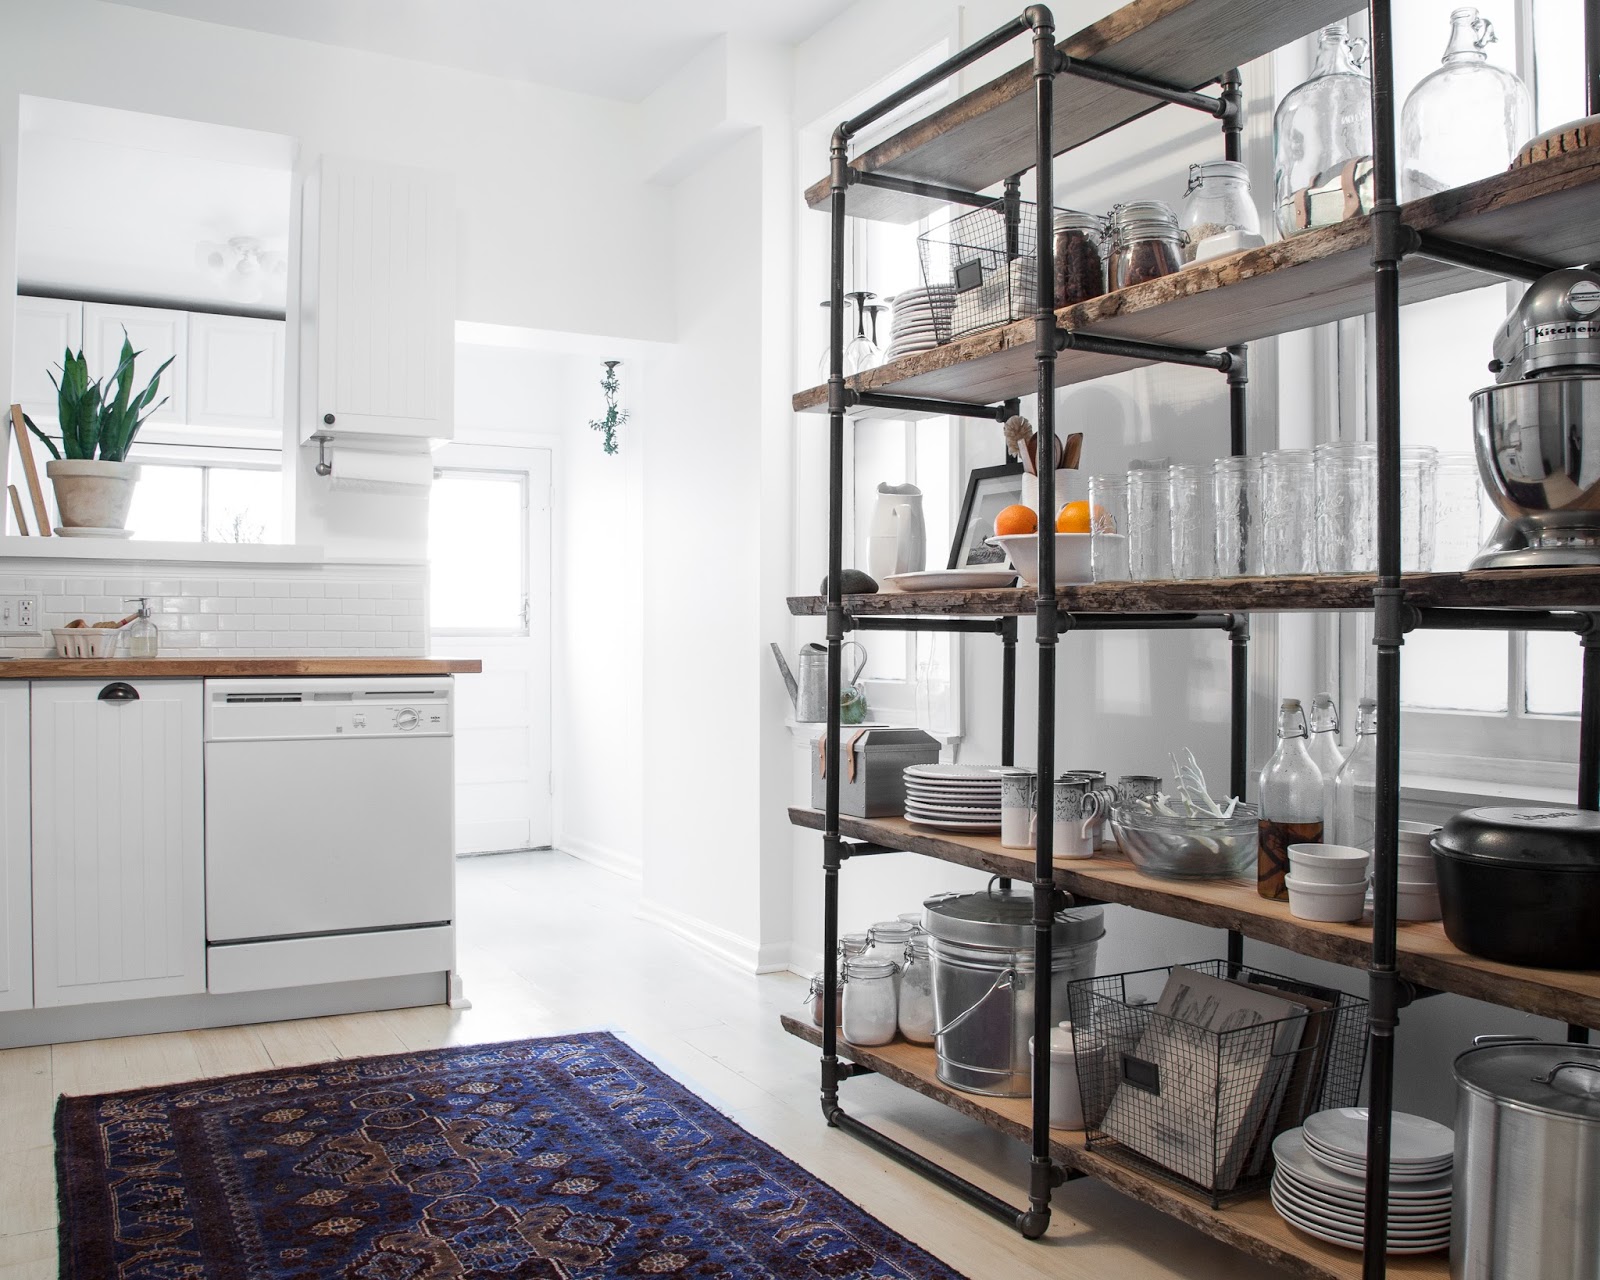
When we finally found the wood for our shelves, the boards were so straight and beautiful that we didn't want to drill into them. So I designed our shelves again, so that they would lay across the pipes instead of having the pipes drilled through them, and still be free-standing -
based on a Crate and Barrel shelf I found that was basically two separate towers of pipes. It took two weekends of work, but we built this 8'x7' shelf for under $450.
 |
| image via joe kemp |
We found our boards at one of my favorite hidden gems in Philadelphia -
Provenance Architecturals. The 2 inch thick, 10'x1' boards were reclaimed from dredged pine, and were only $15 a board - such a deal that we bought twice as much as we needed. The guys at Provenance have always been unbelievably helpful when I come in with some crazy project on a scrap of notebook paper - to the point where they were helping us look at every single board to find the best of the best to take home.
After bringing them home and cutting them down to 8', we sanded the tops and bottoms and oiled them with mineral oil. The next step was heading to Home Depot with a long list of the pipes that we'd need, and a pipe wrench.
I'd put a lot of work into figuring out how to get all of the pipes we'd need with the least amount of cuts and waste of materials, so it was easy for me to just leave my diagram and tell the guys at Home Depot to take their time, and just call me when they were done. I'd definitely suggest doing that when asking for a lot of custom work as opposed to waiting around and looking over their shoulder the whole time. Thanks South Philly Home Depot!
After we got home I spent the whole night degreasing the pipes and removing any printed letters/numbers with acetone before organizing them by size. All in all, the pipes and hardware cost approximately $350. Luckily for us, our families gift us Home Depot and Lowes gift cards for almost every holiday for whatever our next project will be.
One word of caution against the design method we chose - because all of the pipes are interconnected, there will be at least one pipe in each "square" section that needed to be screwed into one end, then slightly unscrewed in order to screw in to the opposite side simultaneously. It is much easier to have pipes screw into the wall, floor, or ceiling than it is to have them all screw into each other. However, we were prepared for it, and spent A LOT of time counting threads to make sure that all of the pipes were even and secured.
However, I am glad we chose the design method we did because it will make moving easy, and if we ever want to use the boards for anything else we didn't have to drill holes into them, and we didn't have to drill holes into the plaster walls or into our new floors.


