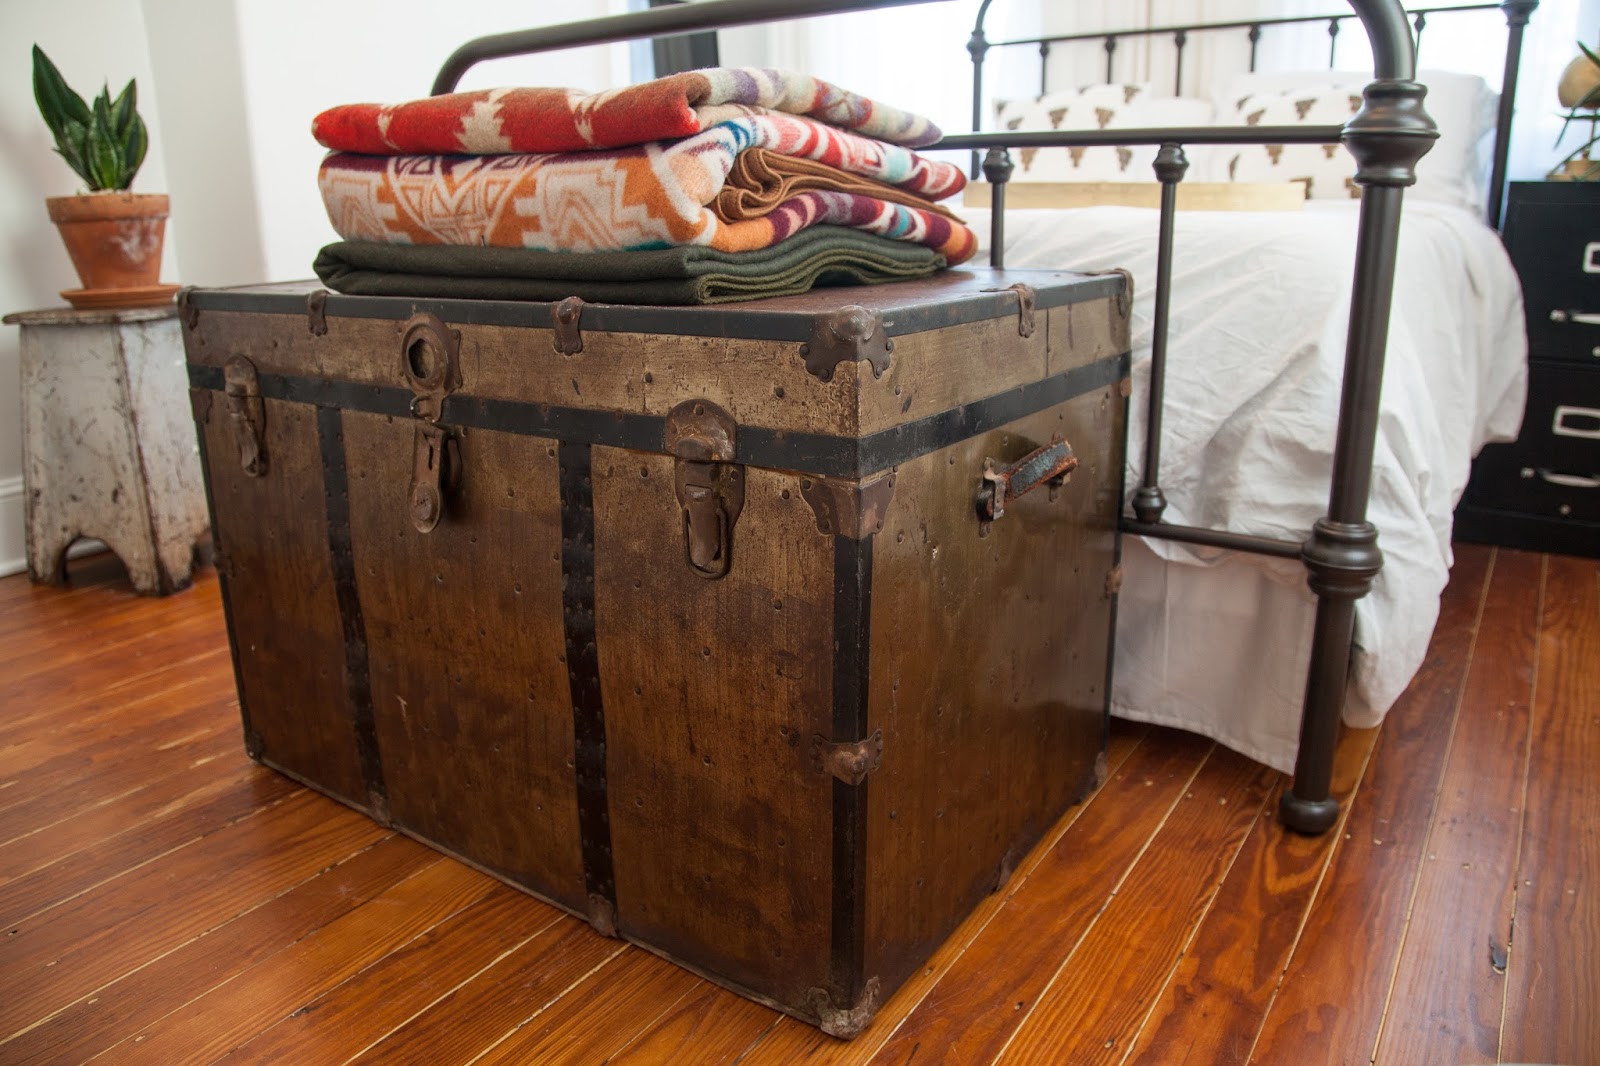
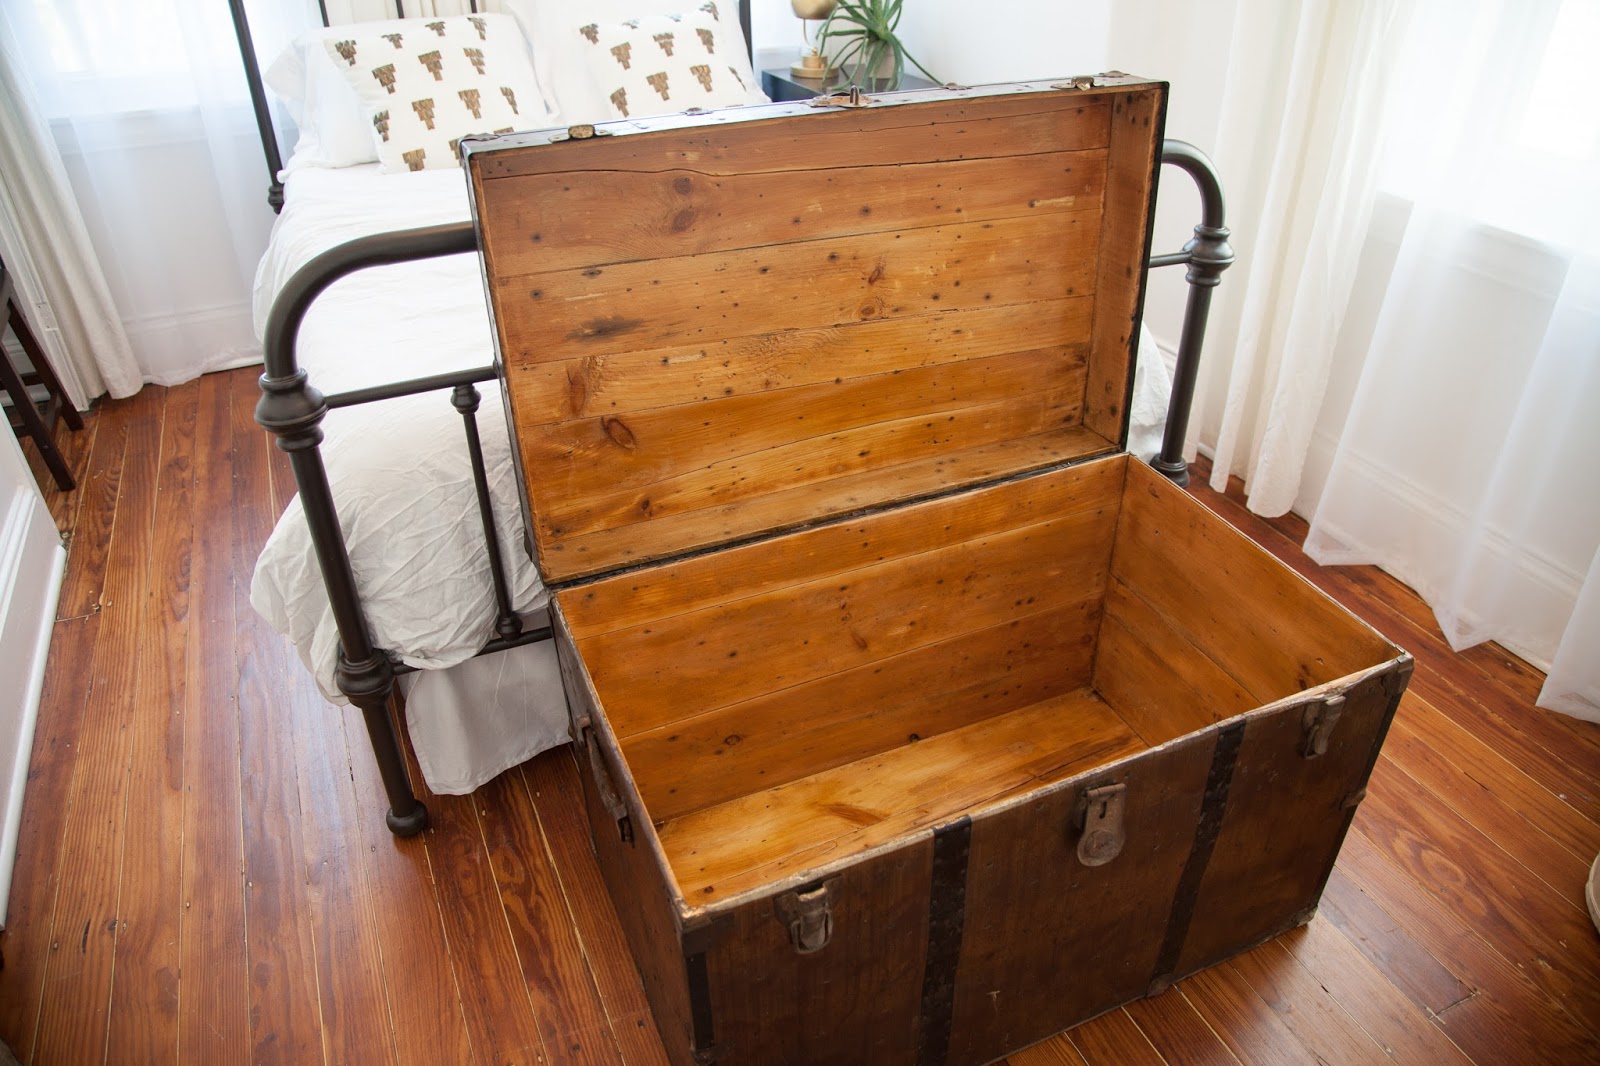
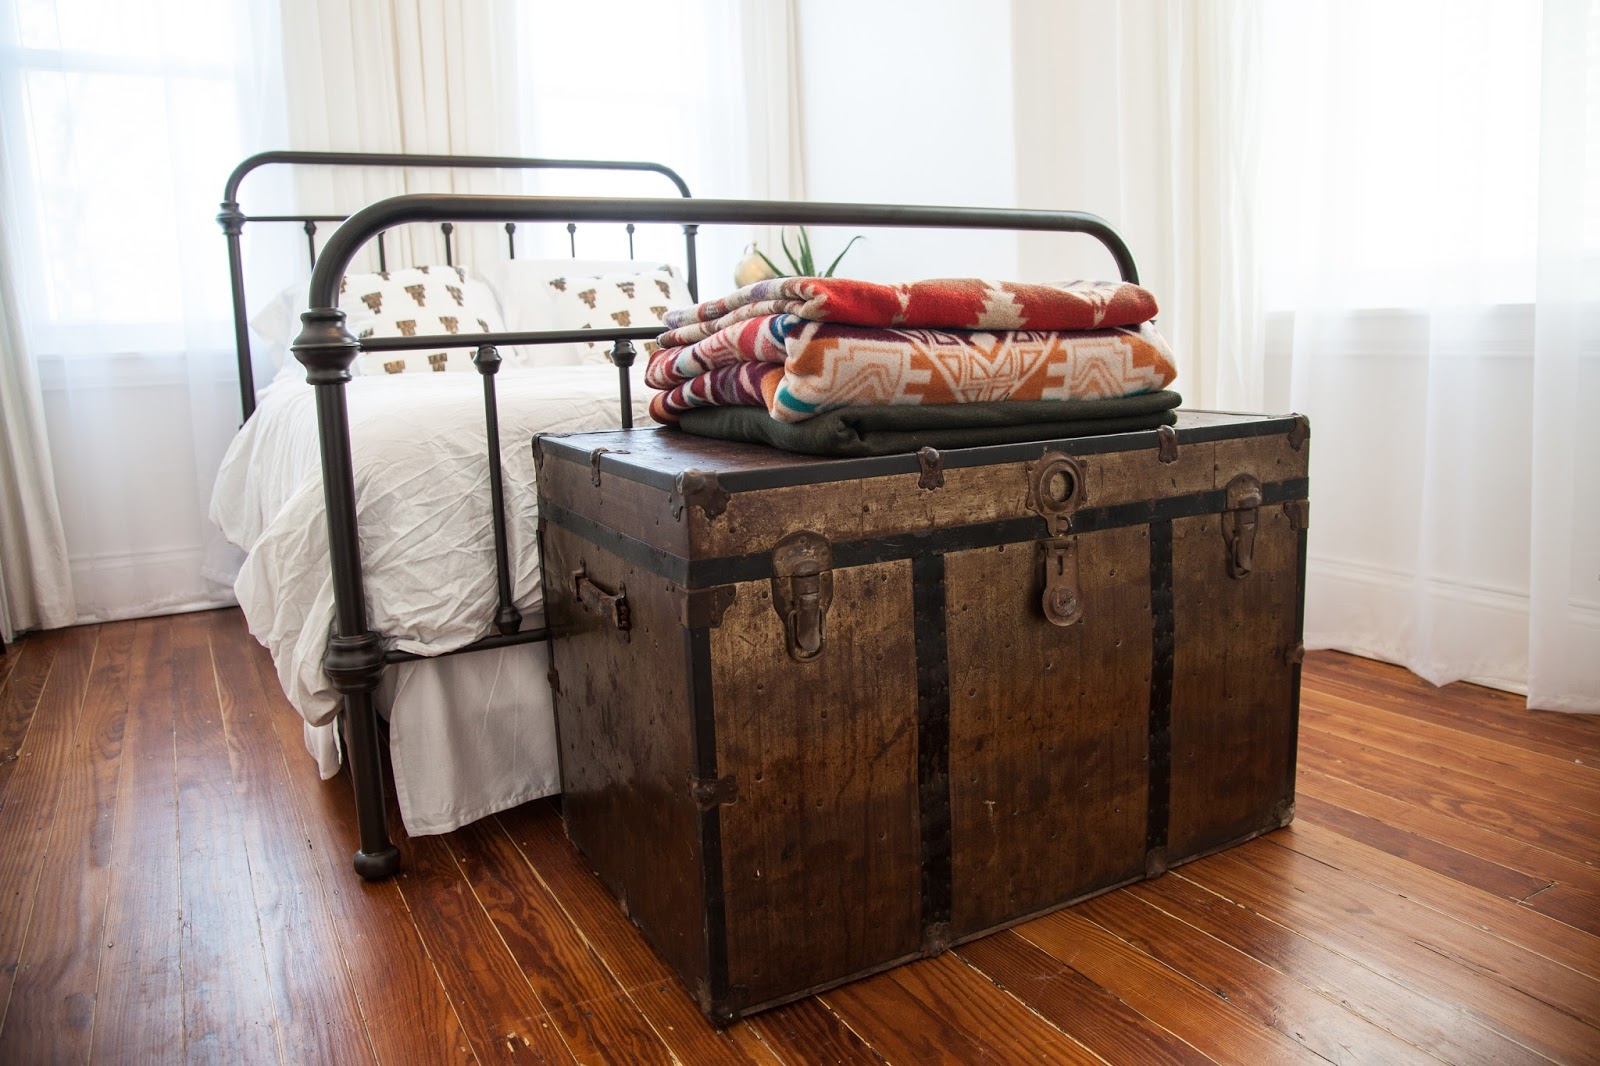
I'd been searching for a trunk to set at the foot of the bed in my guest room and couldn't believe it when I found this brass-plated beauty! After a weekend of sanding and sealing the interior and giving the outside a good oiling, it really shines as a unique storage piece!
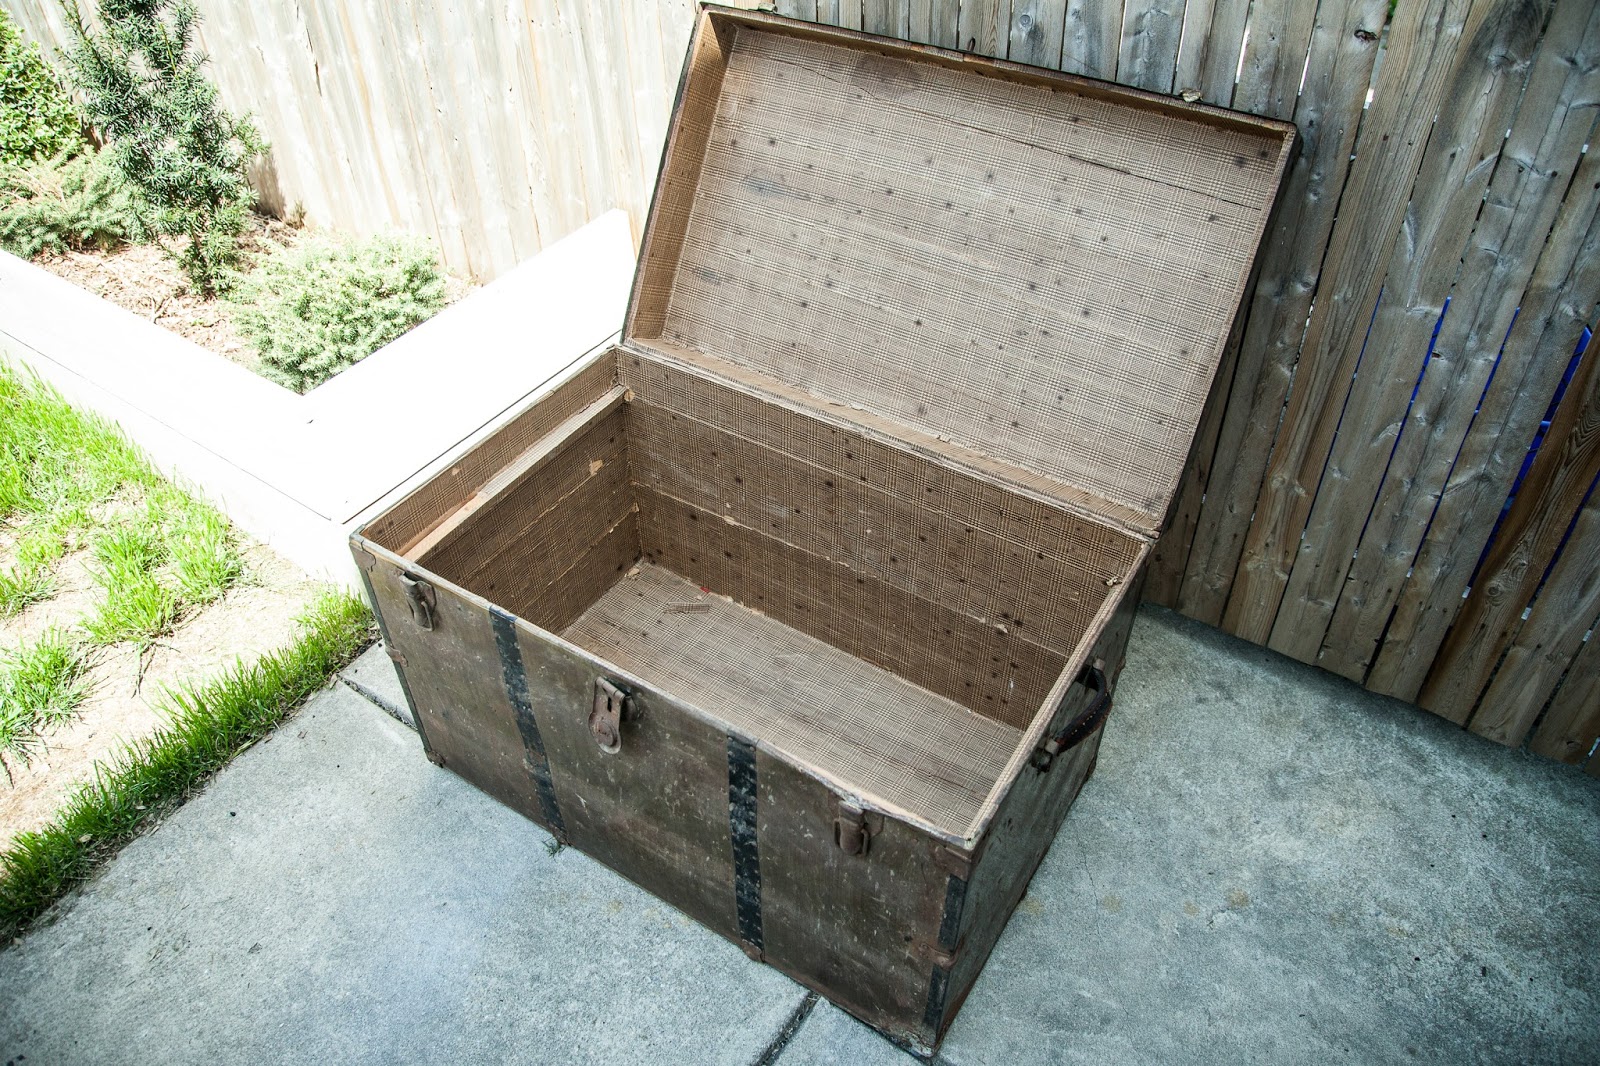
Most vintage trunks have musty wallpaper lining the inside. The biggest part of this job was scraping and sanding off the wallpaper. Because I didn't know what kind of adhesive was used, I wore a mask while removing any of the paper. I've seen some DIYs recommend wetting the paper with a spray bottle of water and then using a razor blade scraper, but my trunk's lining didn't come off that easily.
I ended up scraping and pulling off what I could and then using a mouse sander and sanding block to remove the rest. After removing every last bit of paper lining, I wiped the entire trunk down with a damp cloth to pick up any remaining sawdust.
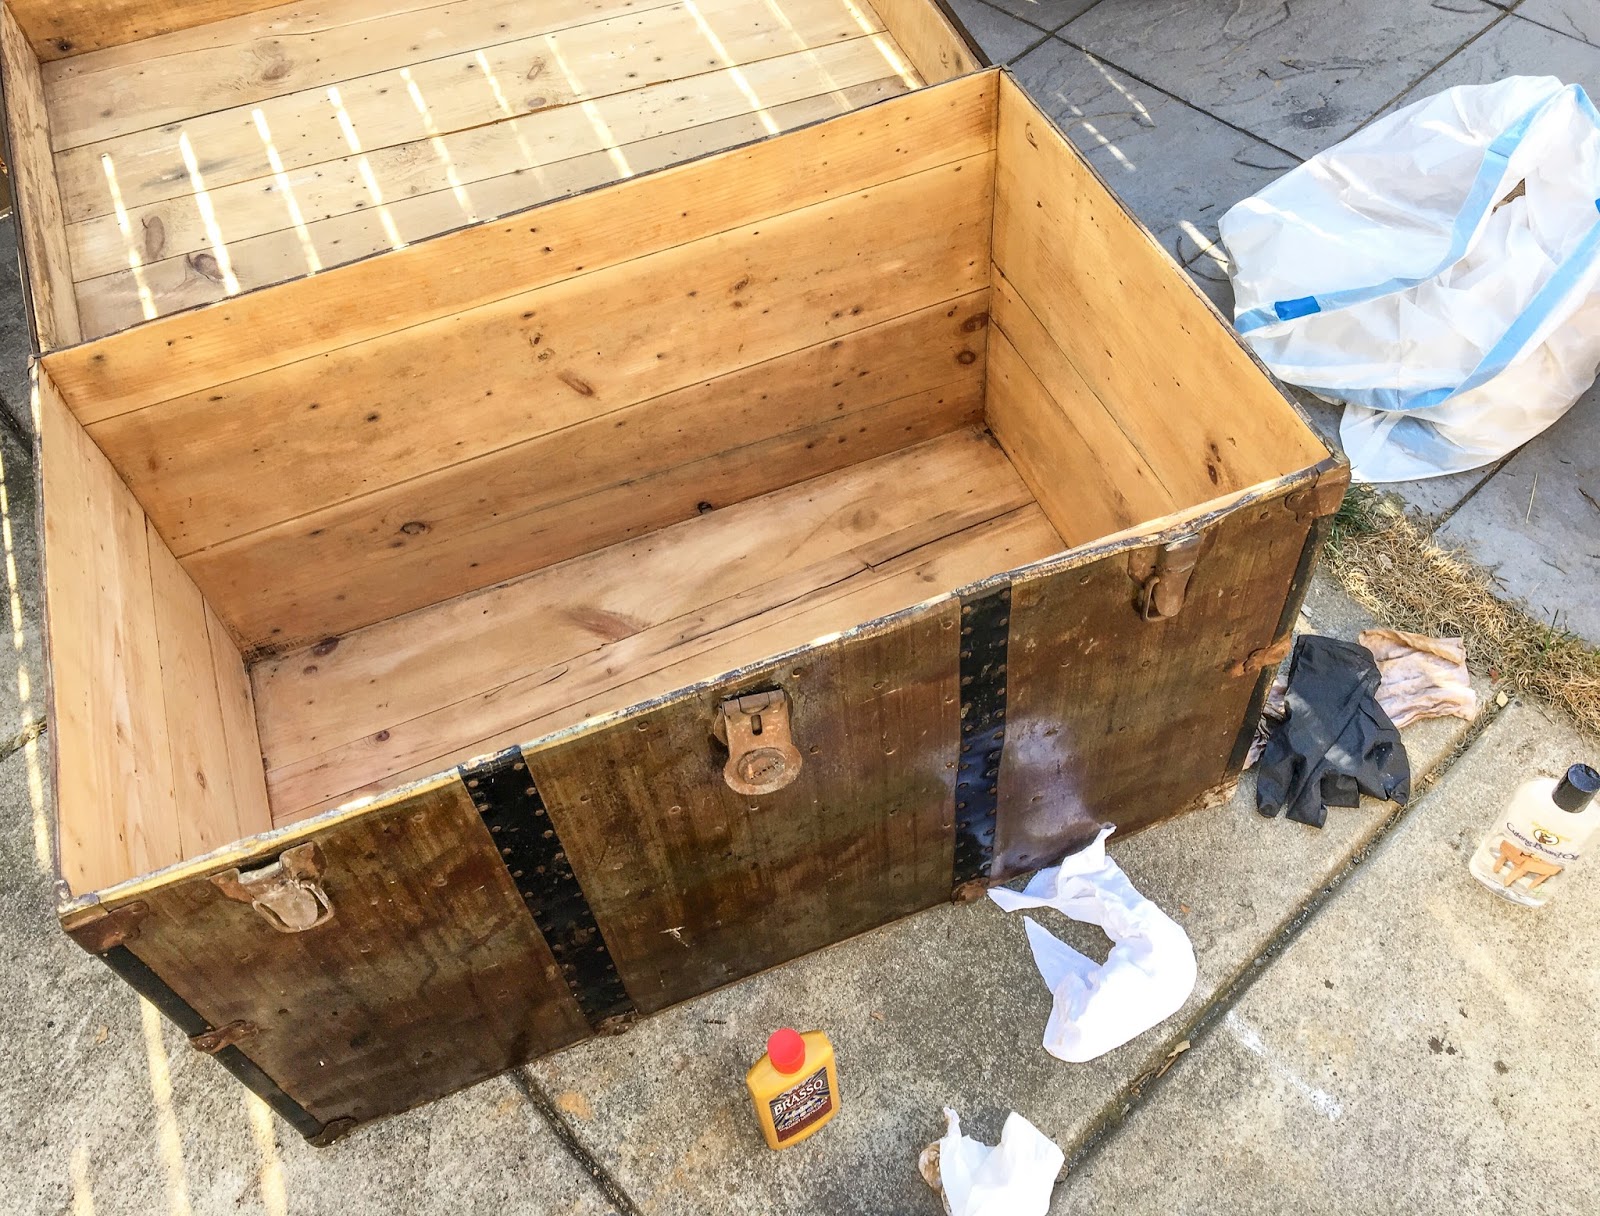
I tried a few different items to clean the exterior - after some research I found that my trunk was brass-plated tin, meaning that Brasso was not a good idea (although I used a little bit of Brasso on the hardware with little results). After trying soap and water, I found that mineral oil actually got a good deal of dirt off of the trunk and helped shine it up a little bit.
What to do with the interior is up to debate - some DIYs I found recommended sealing the interior with polyurethane and some DIYs swore against poly and suggested tung oil. I ended up going to polyurethane because I actually wanted to store things in the trunk so I didn't like the idea of potentially getting excess oil on anything.
