
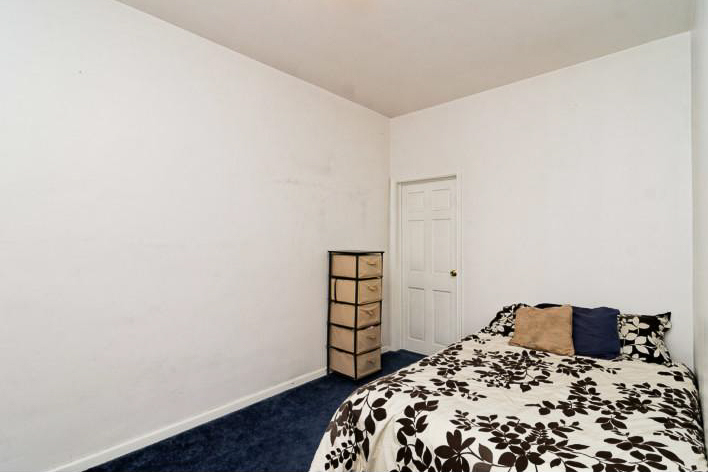
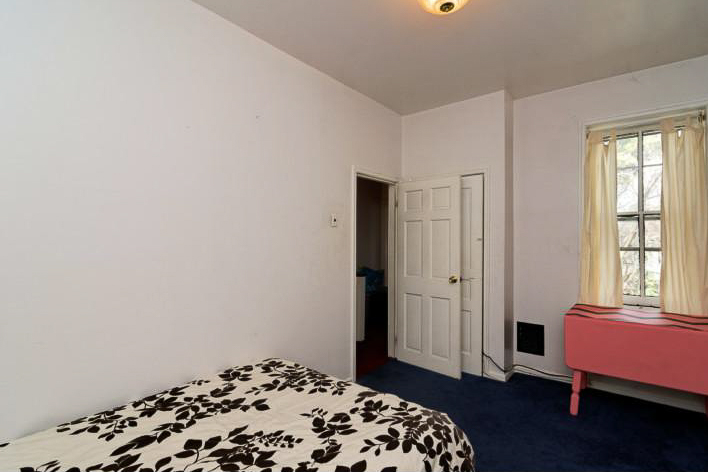
Making over the last bedroom in our house has been a long process - it took me a long time to decide on a way to build a floor-to-ceiling wardrobe that would give me the much-needed closet space I wanted while still making sure that the room could function as a bedroom - in other words I didn't want to "lose" a bedroom by turning it into a walk-in closet - it needed to be a space that was flexible enough to be a dressing room OR bedroom.
I finally decided on a layout using the corner of the room opposite the window. The nook with the window is 58" wide - perfect for a full-size bed (a full-size mattress is about 54" wide so it leaves a few inches for a frame). I drafted tons of floor plans and used masking tape on the floors to map out how much room there would be at actual size to help get a feel for the space.
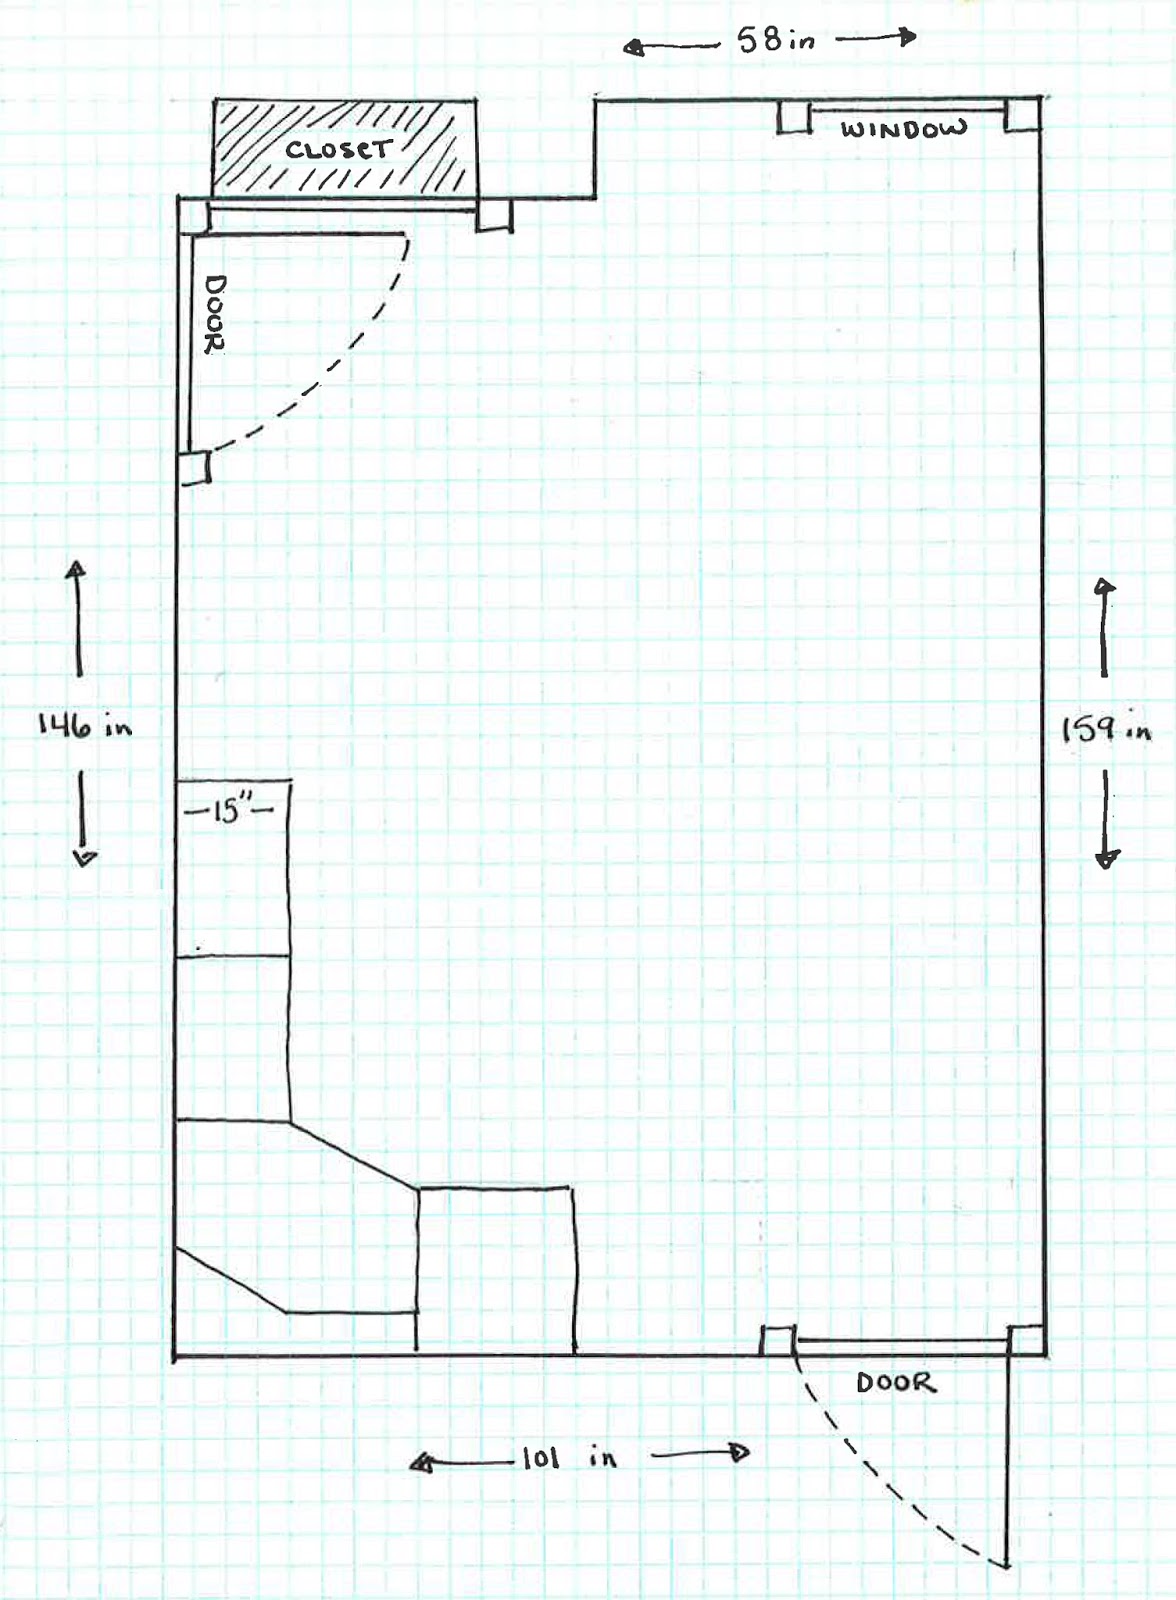
I decided on two 15" deep wardrobes to fill with shelves and drawers, a corner wardrobe to hang shirts, and a deeper wardrobe for dresses. I was initially concerned about the space I was "losing" behind the corner wardrobe, but had to remind myself how much space I was gaining in storage all the way up to the ceiling!
Visit my DIY: Pax Wardrobe Hack post for more info on building my built-in wardrobes!

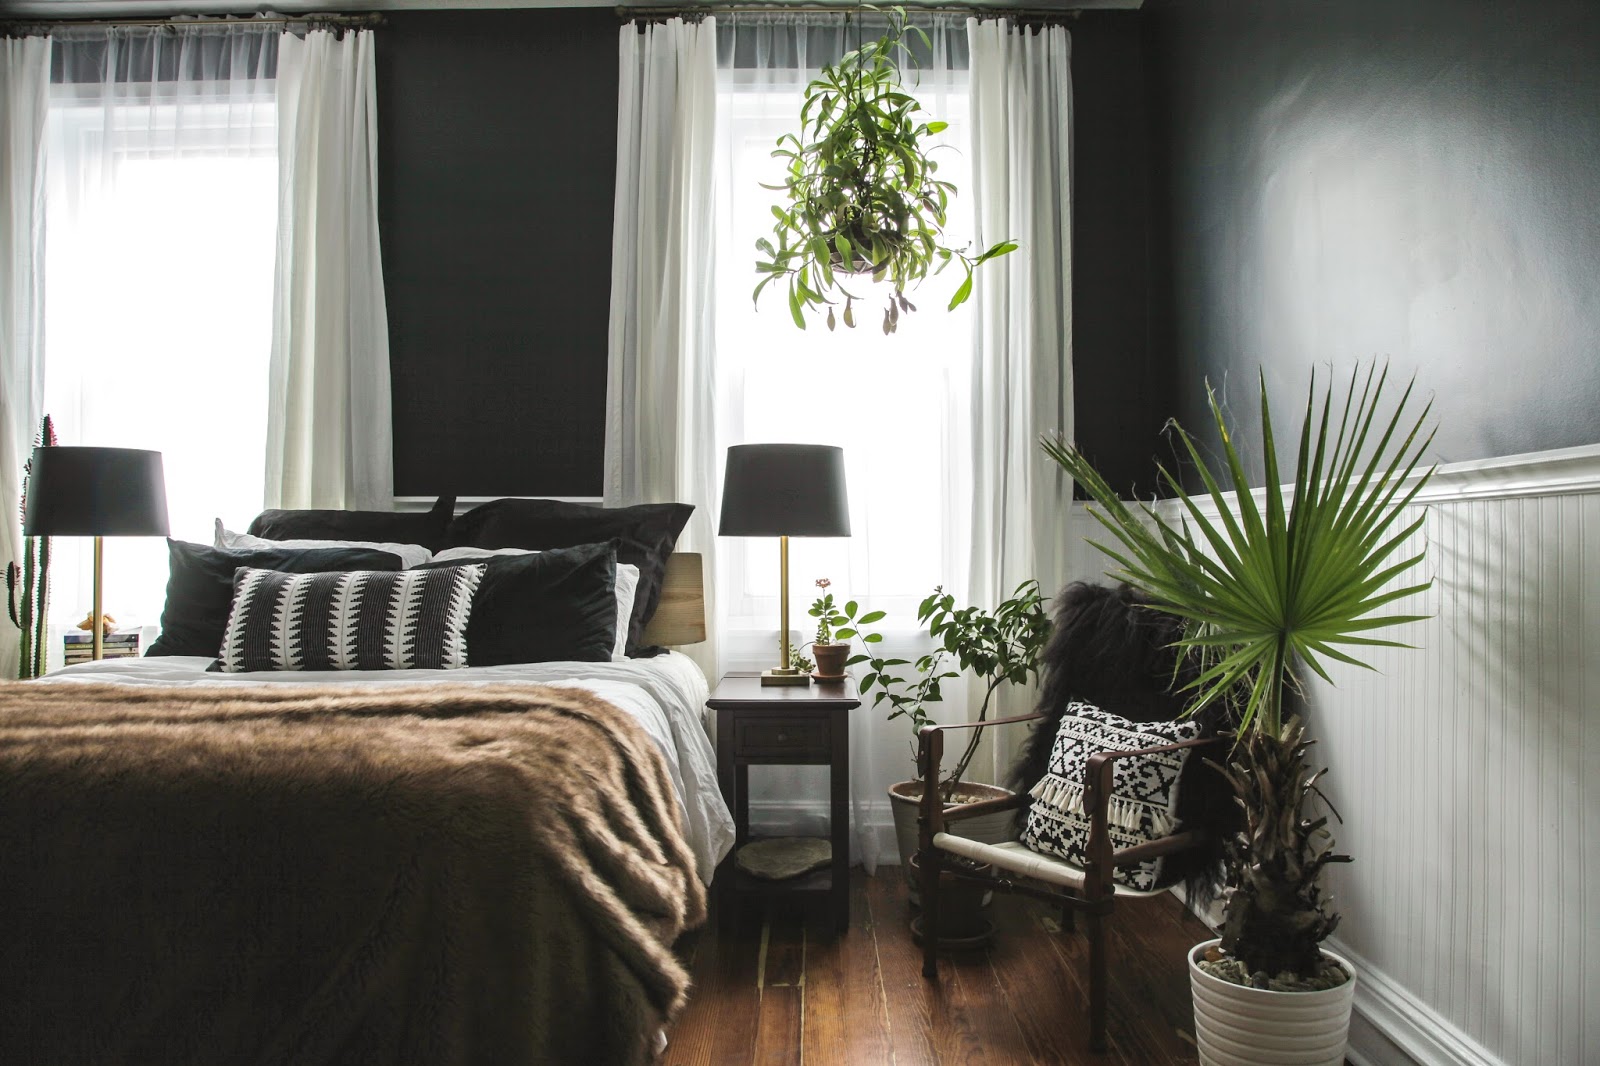
After finishing the wardrobes I painted them with Valspar Ultra White - the same color I used on all of the trim throughout my house - to make it feel more "built-in". I used the same warm white as my guest room renovation, Valspar Bistro White, on the walls to brighten them up and help open the space. The ugly ceiling light was replaced with a custom brass mobile pendant, and I used gold leaf to add a little shine to an old full length mirror.


I added shelves in the shallow closet behind the door to use for shoe storage (luckily I have tiny feet - there's just barely enough room to close the door!). I loved this Moroccan-inspired rug, but definitely misjudged the size. Luckily, I've been really into the look of layered rugs, so I was able to order a larger jute rug to anchor the space.


