
Building a dollhouse from scratch sounds expensive and complicated, right?
But here’s the thing, you don’t need to be a master carpenter or spend hundreds of dollars.
I’ll show you how to build a beautiful dollhouse using simple materials you probably already have at home. With just a few basic tools and some creativity, you can create something truly special.
This blog covers everything, from selecting the right materials to adding those finishing touches that make your dollhouse truly shine.
Tools and Materials Needed
Before we begin building, let’s gather all the necessary materials. Most of these items are likely already in your house; no need to rush anywhere.
Here’s your complete supply list:
| Tools / Materials | Purpose |
|---|---|
| Shoeboxes / small boxes | Main structure and rooms |
| Hot glue gun & glue sticks | To secure boxes and furniture |
| Scissors/craft knife | For cutting doors, windows, and shapes |
| Decorative paper/fabric | For wallpaper, flooring, and bedding |
| Beads, buttons, ribbons | For knobs, legs, and details |
| Craft sticks/cardboard | To make shelves, tables, and furniture |
| Felt or fabric scraps | For pillows, rugs, and cushions |
| Fairy lights/tea lights | For chandeliers and lamps |
| Old recyclables (K-Cups, lids, etc.) | For sinks, chairs, and plants |
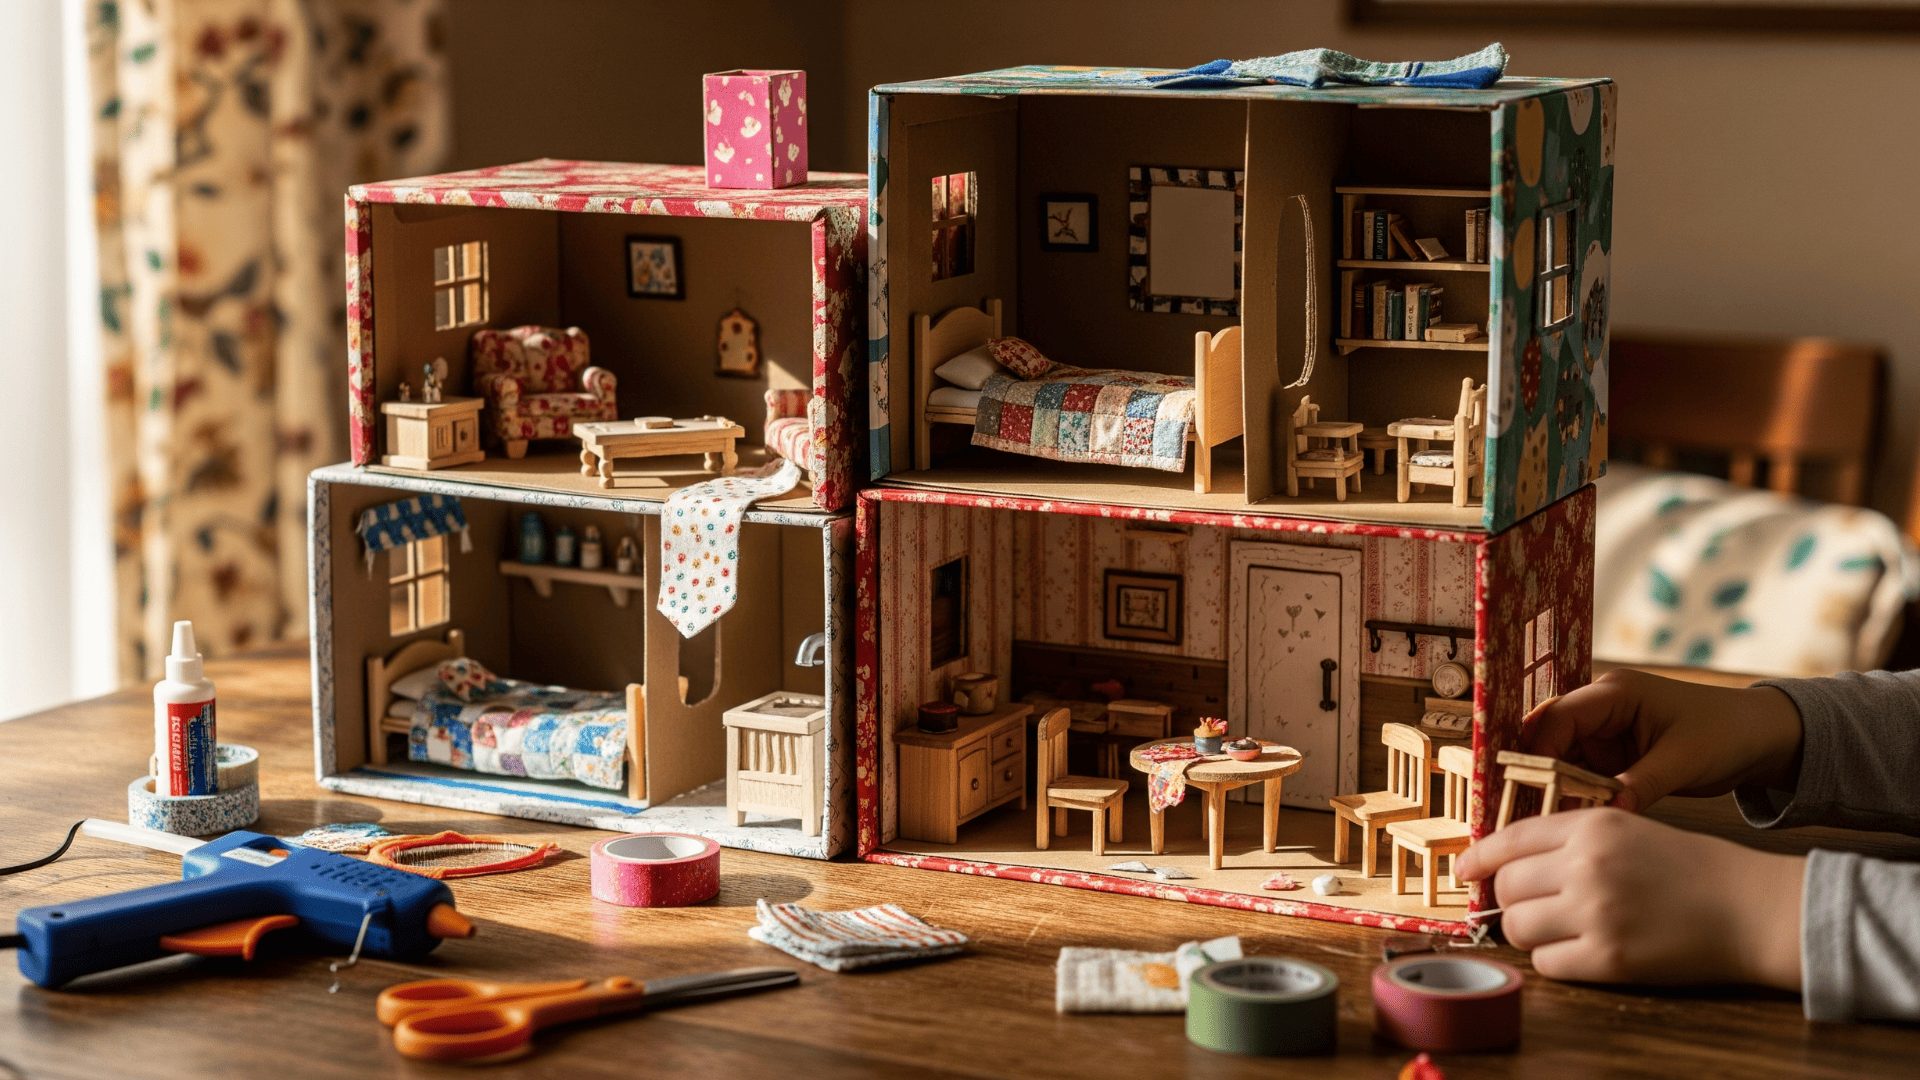
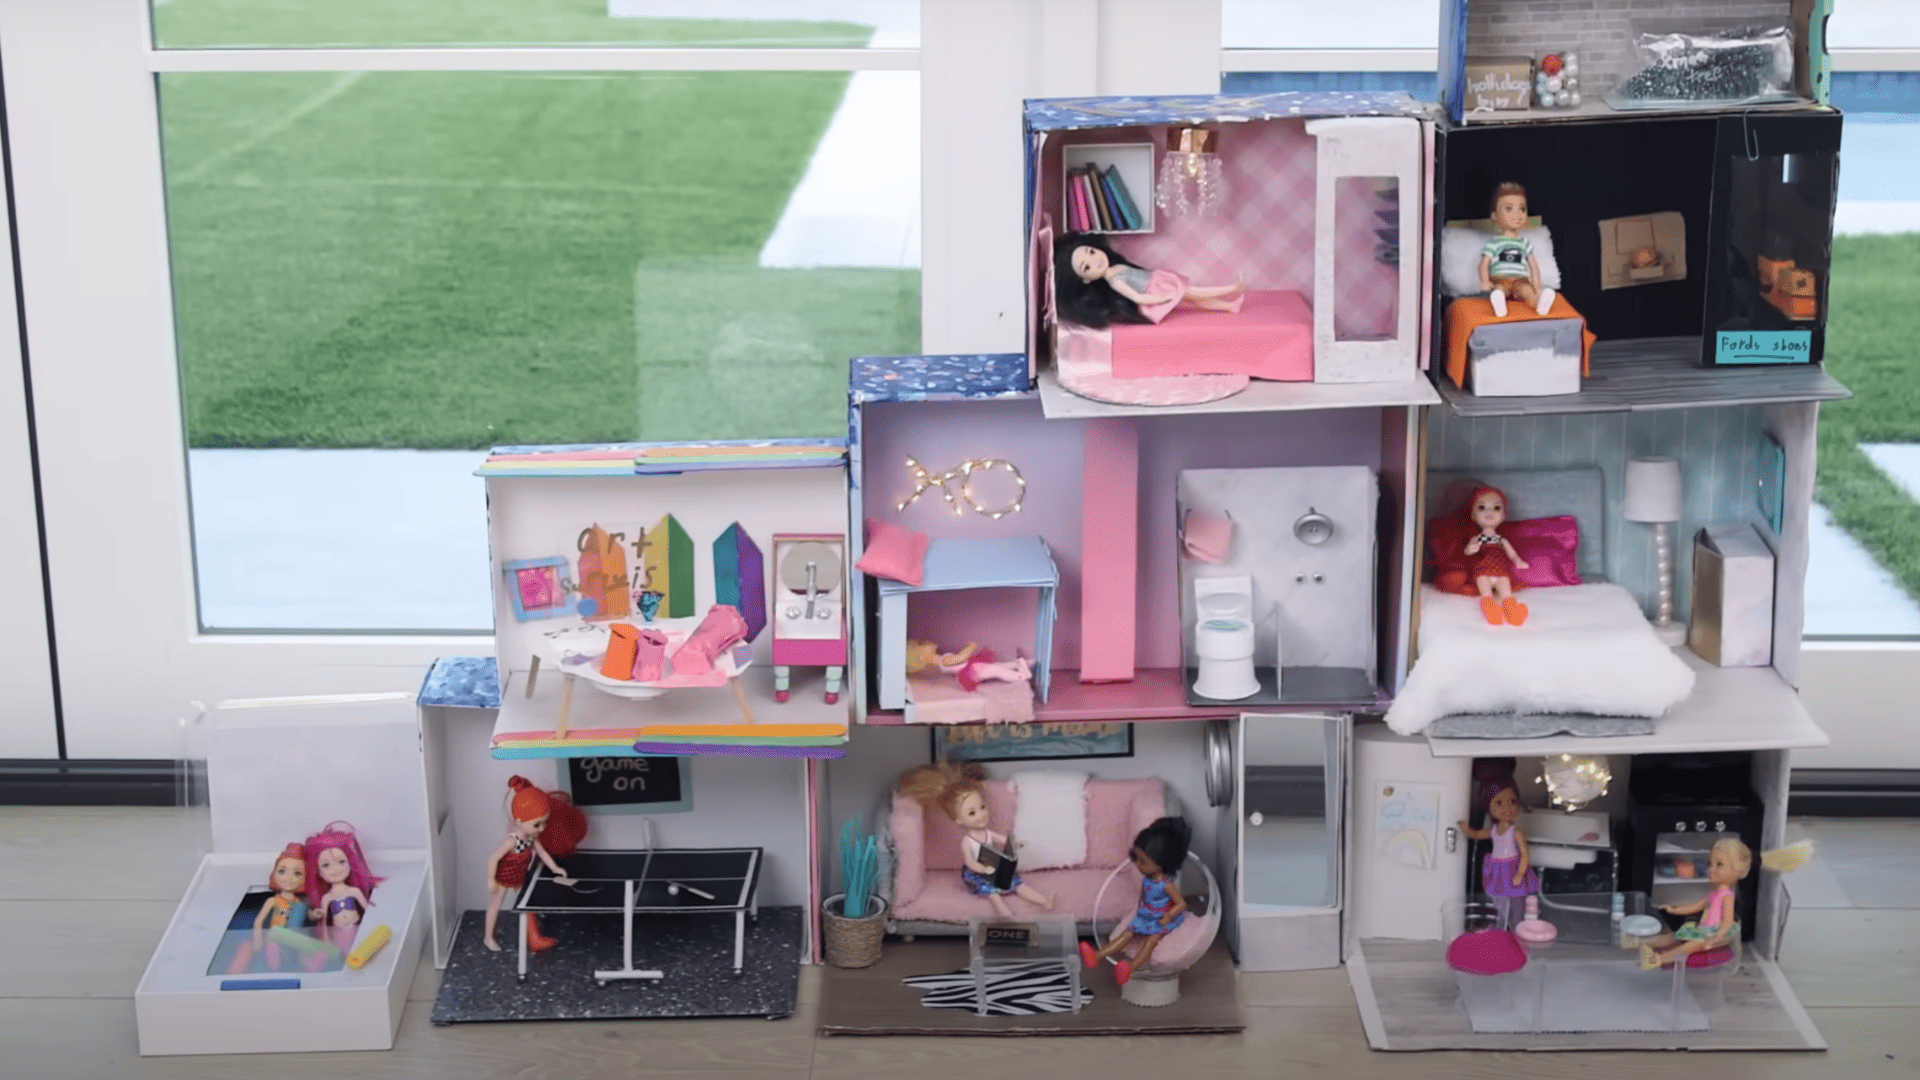
Step-By-Step Instructions for A DIY Dollhouse
Now comes the exciting part: building your dollhouse! I’ll walk you through each step, and trust me, it’s simpler than it looks.
Step 1: Collect and Prepare Your Boxes
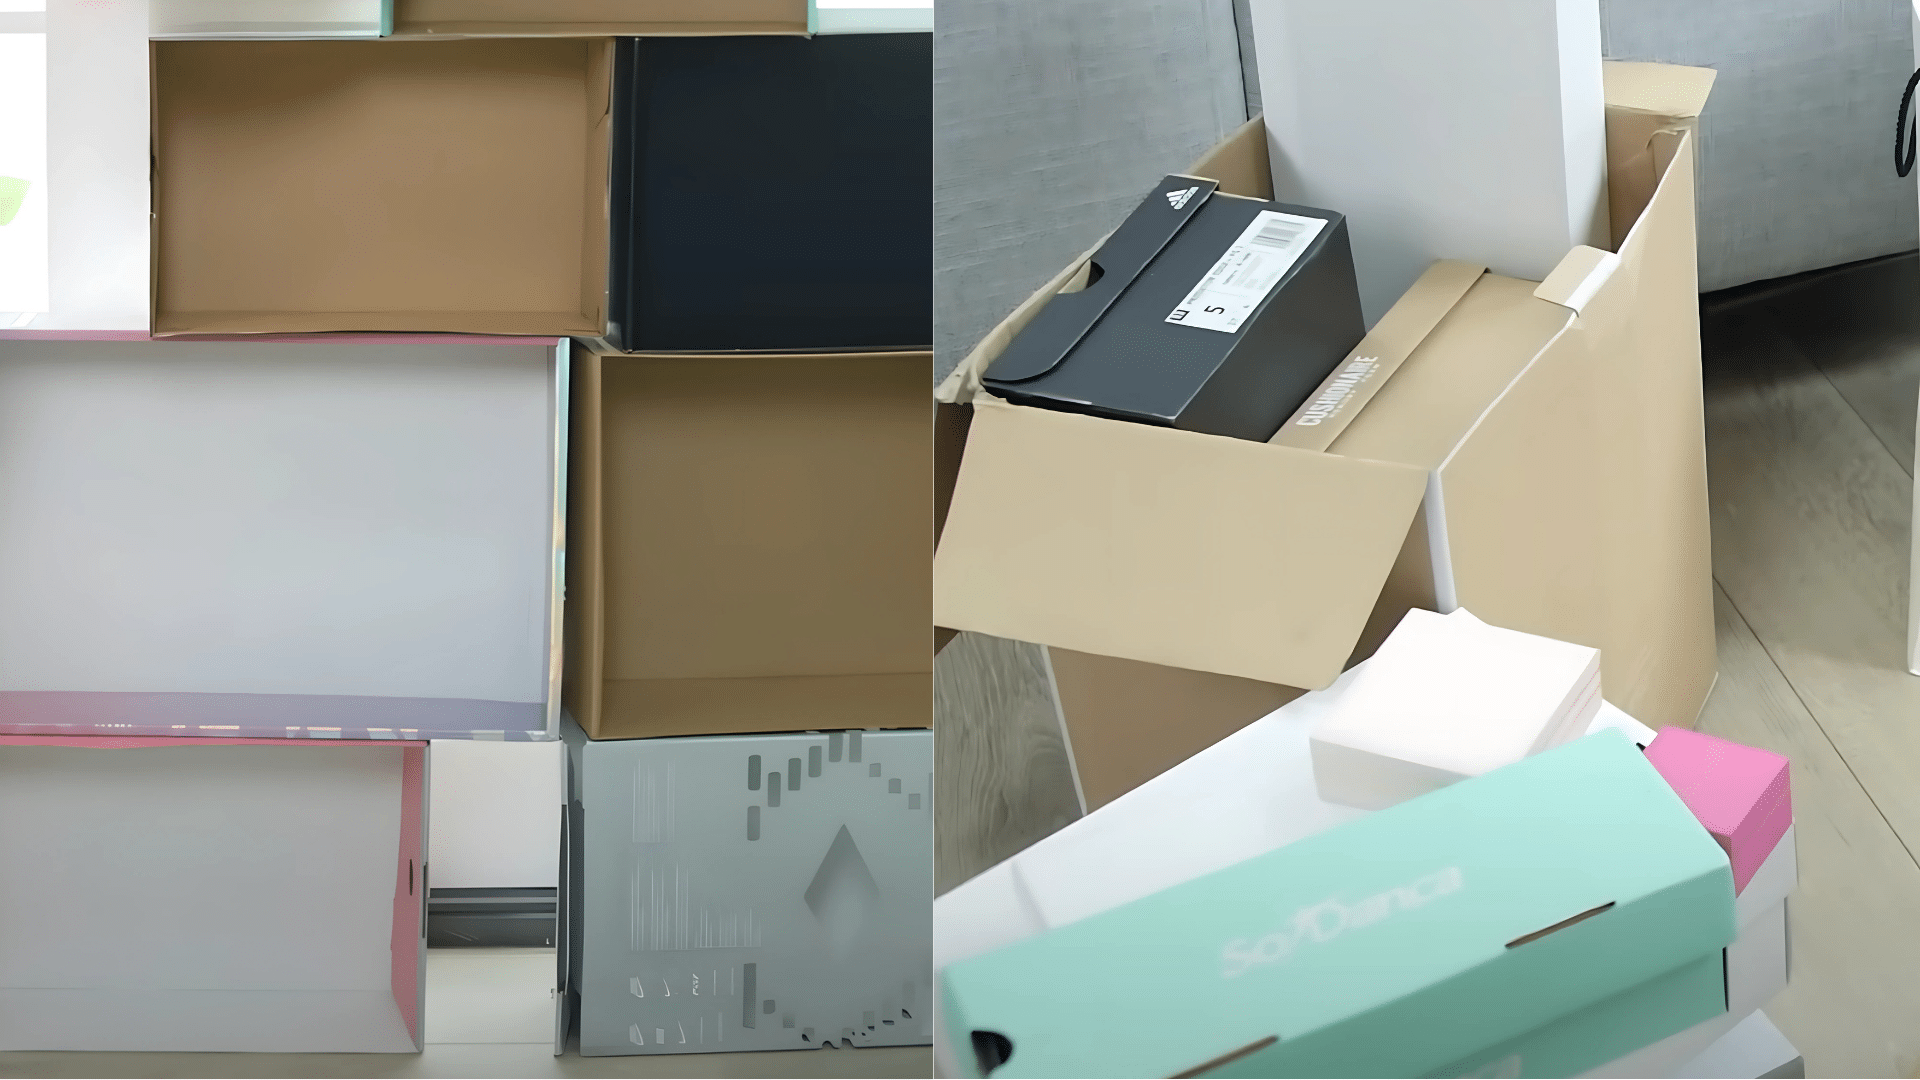
Start by gathering shoeboxes or other small recyclable boxes to create the main structure of your dollhouse.
Decide how many rooms you’d like.
Two or three boxes make a cozy home, while stacking several creates a multi-room design. Use hot glue to secure boxes, then cut windows or doors.
Step 2: Add Walls, Floors, and Roof
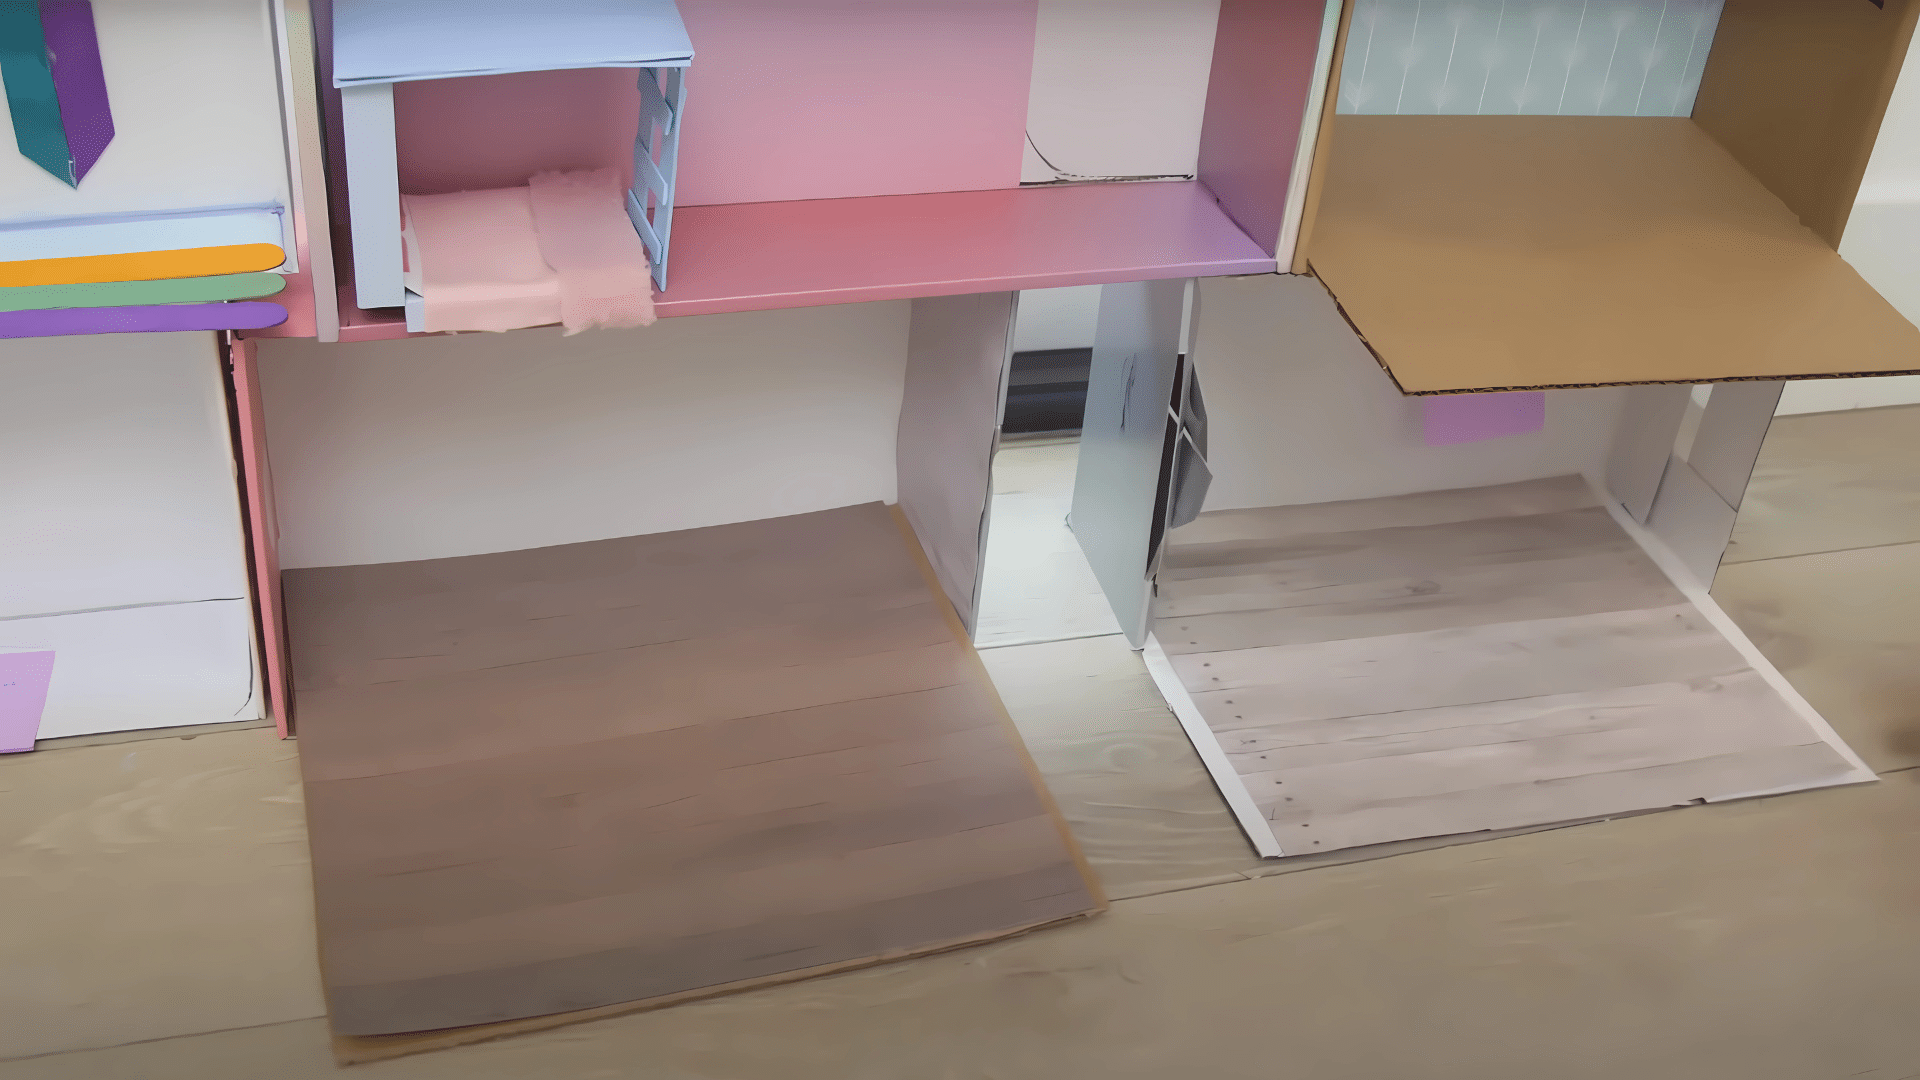
Line the inside walls with scrapbook sheets, wrapping paper, or fabric scraps to create a faux wallpaper effect.
Cover the floors with cardstock or fabric for a realistic finish, and add extra cardboard pieces if you need more space. Paint or decorate the roof with craft paper for a complete, polished look.
Step 3: Create Mini Furniture and Decor
Turn recyclables into charming mini furniture pieces. Shoebox lids convert into tables, fabric scraps become tiny bedspreads, and buttons are perfect for use as knobs or handles.
Felt is great for pillows, while beads work for legs. Add rugs made from yarn, shelves from craft sticks, and other playful touches to personalize each room.
Step 4: Light up Your Dollhouse
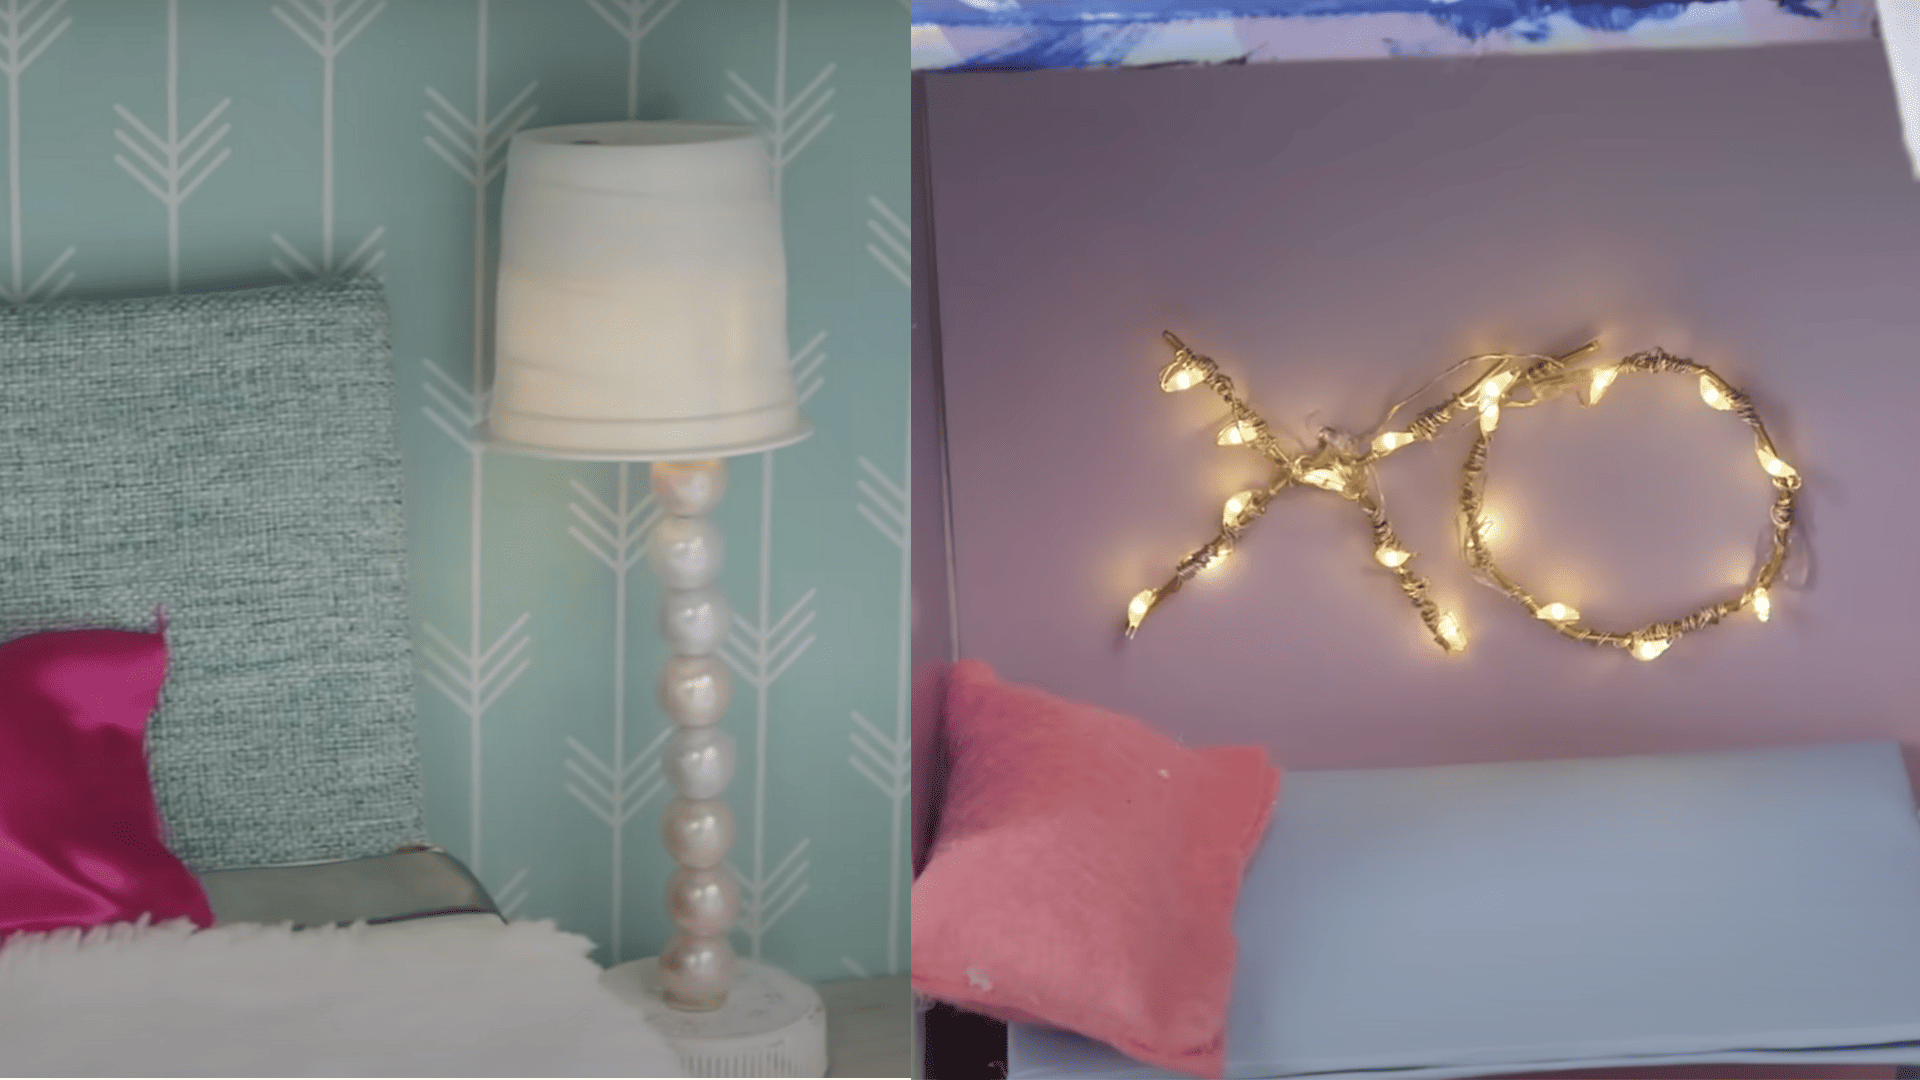
Add cozy charm by incorporating lighting inside your dollhouse. Use fairy lights, tea lights, or even bead-and-tape creations as chandeliers or lamps.
Secure them safely in each room and hide wires beneath the structure. This glowing effect makes the dollhouse feel warm, realistic, and extra magical for playtime fun.
Step 5: Personalize with Creative Touches
Make your dollhouse feel truly unique with creative finishing details. Fold cardboard into miniature books, craft potted plants from bottle caps, or create an art table from an old box.
Add seasonal decorations, such as a Christmas tree or storage boxes for ornaments, to spark imagination and make playtime even more engaging.
For More Detailed Instructions for DIY Doll House, Refer to this Video:
Simple DIY Touches for Dollhouse Spaces
The following are a few touches you can add to your diy doll house to personalize it.
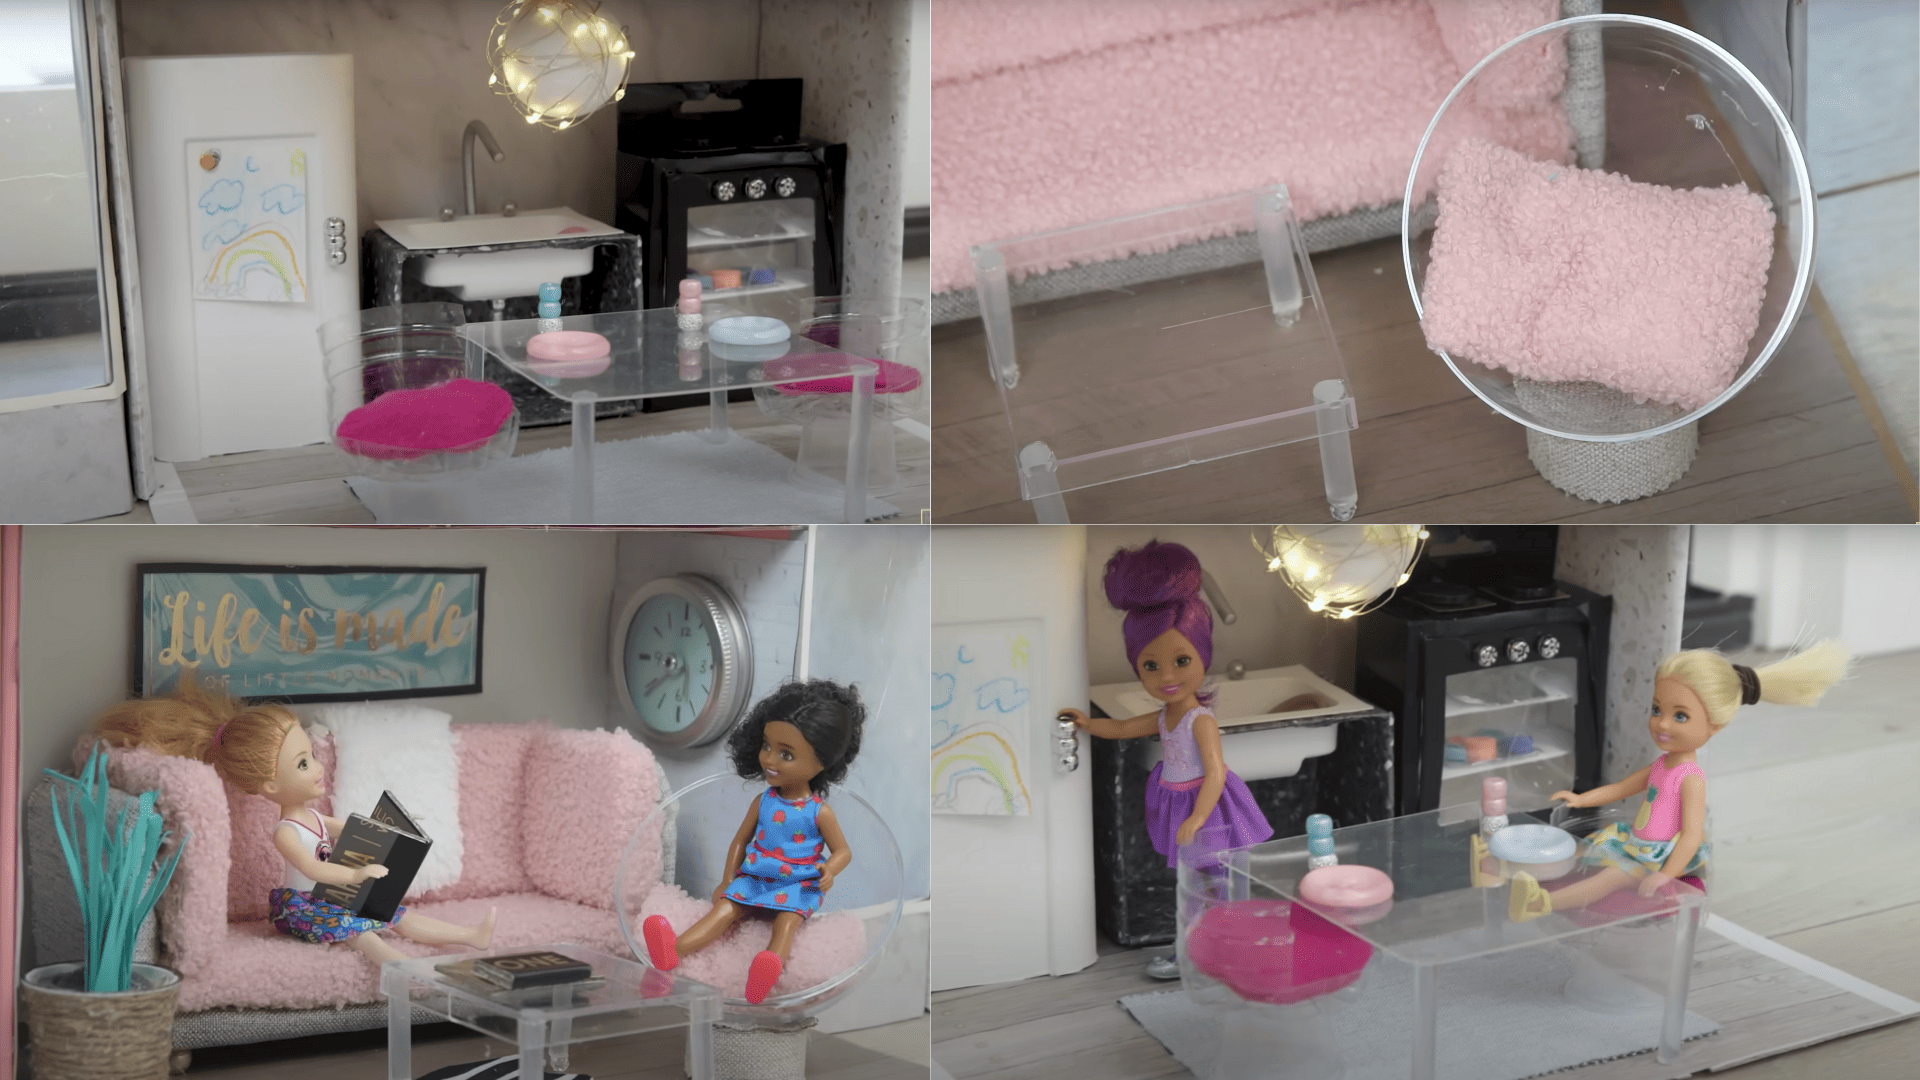
Kitchen Essentials and Mini Appliances:
Remodel bottle caps into pots and pans, use matchboxes as ovens, and create a sink from a small container. Add tiny dishes from clay or buttons, and make a refrigerator from a small white box.
Cozy Bedroom Setups:
Use small boxes as beds and create blankets from fabric scraps. Create pillows from cotton balls wrapped in felt. Add a dresser from stacked matchboxes and make curtains from ribbon or lightweight fabric pieces.
Living Room Furniture Arrangements:
Build sofas from sponges covered with fabric, use bottle caps as coffee tables, and create bookshelves from small cardboard strips. Add a TV from black cardboard and rugs from felt pieces.
Bathroom Fixtures from Recyclables:
Turn a small cup into a toilet, use a bottle cap for a sink, and create a bathtub from a soap container. Make towels from fabric scraps and a mirror from foil.
Doll House Kits Recommendations
If you want to skip the full DIY process or need extra inspiration, these kits offer great starting points for your dollhouse project:
1. Miniature Doll House DIY Building Kit
Ideal for beginners seeking quality wooden pieces without complexity. Includes pre-cut parts and clear instructions for easy assembly, enabling creative customization.
2. Lannso DIY Dollhouse Miniature Kit
Features incredibly detailed miniature furniture and realistic room layouts. Great for older kids and adults who enjoy intricate projects.
Includes tiny accessories that bring each room to life beautifully.
3. DIY Doll House Kits With Furniture And Accessories
Complete starter package with everything needed for multiple rooms. Includes furniture pieces, decorative elements, and basic tools.
Ideal for families seeking a comprehensive project without having to hunt for individual supplies.
4. Spilay Dollhouse
Sturdy construction meets creative freedom in this versatile kit. Offers expandable room options and comes with quality materials that withstand regular play.
Perfect balance between durability and artistic expression for active children.
5. DIY Dollhouse Kit Dreams Night Villa
Elegant design with Victorian-style architecture. Features beautiful detailing and sophisticated furniture pieces. Best suited for teenagers and adults who appreciate classic dollhouse aesthetics and refined craftsmanship.
6. Fairfield Dollhouse Kit
Traditional American-style dollhouse with spacious rooms and classic proportions. High-quality wooden construction ensures longevity.
An excellent choice for families seeking a timeless design that evolves with their child’s imagination.
7. DJECO Doll House Kit
Bright, colorful design that encourages creativity through painting and decorating. Includes paints and brushes for complete customization.
Perfect for younger children who love hands-on crafting and vibrant color schemes
Safety Tips for Your DIY Doll House
Safety comes first when building with kids. The following are the essential tips to keep your DIY dollhouse project fun and secure for everyone involved.
- Choose non-toxic glues, water-based paints, and avoid sharp edges or splinters on all surfaces
- Glue beads, buttons, and tiny pieces in place, then test each attachment by gently pulling on it
- Use battery-operated LED lights only, never real candles, and hide all wires completely out of reach
- Use felt and fabric instead of breakable materials, and make sure all parts are too big to swallow
- Give older children detailed tasks while younger ones handle simple gluing and decorating jobs
Following these simple safety rules means everyone can enjoy building together.
A safe dollhouse provides years of worry-free play and memories.
Share photos of your finished masterpiece in the comments below. I’d love to see what you build! What room will you tackle first?