
That boring bathroom mirror keeps staring back at you. It’s plain and does nothing to improve your bathroom.
You don’t need to buy an expensive new mirror or hire someone to fix this problem.
This quick weekend project turns your plain mirror into a showstopper. Even better? Those tools sitting in your garage are ready to go.
This blog covers materials, measurements, step-by-step instructions, and ideas for a DIY mirror frame. By the end, you’ll have a custom frame that looks like you spent hundreds on it.
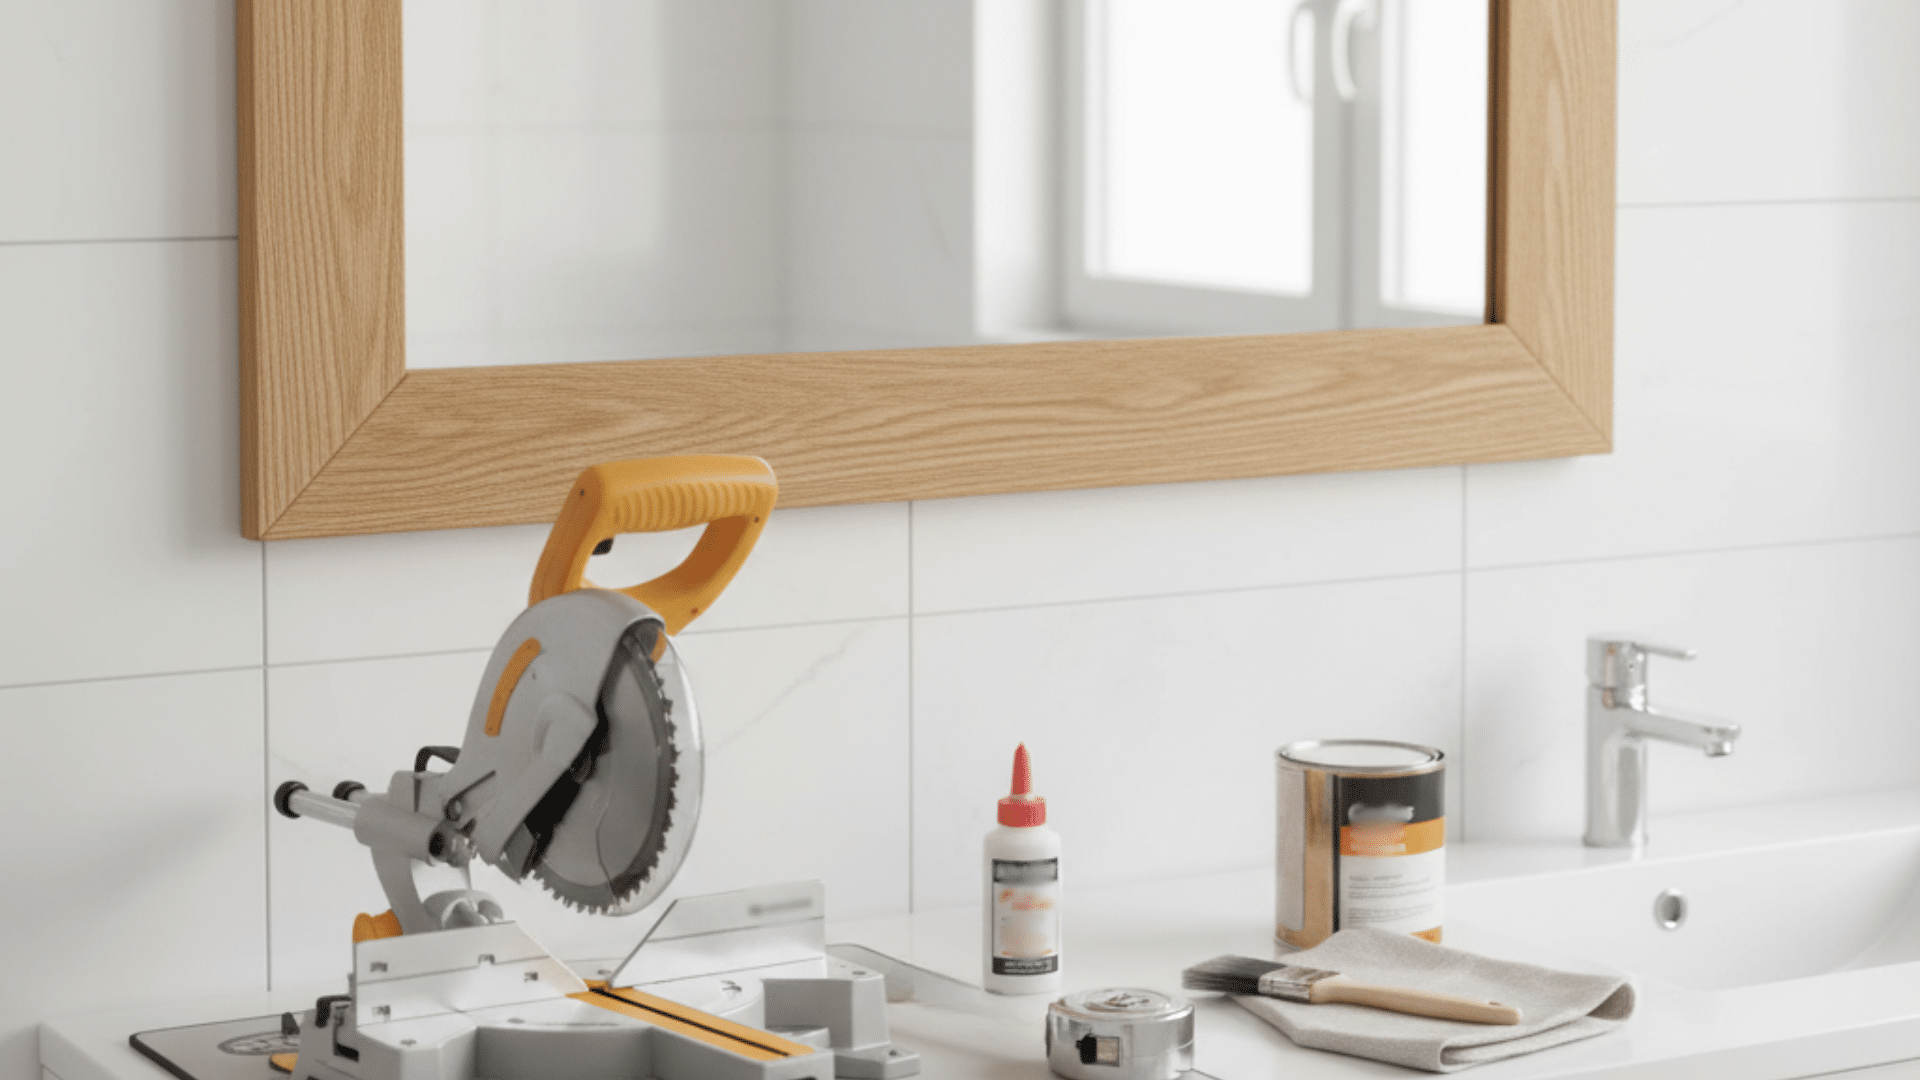
Tools and Materials You’ll Need
Nothing fancy here, and you can find most of this stuff at your local hardware store or at home.
| Tools | Materials |
|---|---|
| Miter saw or miter box | Wood trim or molding |
| Measuring tape | Wood glue |
| Pencil | Construction adhesive |
| Level | Sandpaper (120-grit) |
| Safety glasses | Wood stain or paint |
| Clamps | Paintbrush or foam brush |
| Nail gun or hammer | Finishing nails |
| Caulk gun | Caulk (paintable) |
Step-By-Step Process of DIY Mirror Frame
Walk through the DIY bathroom mirror frame step by step so you can frame your bathroom mirror without any guesswork.
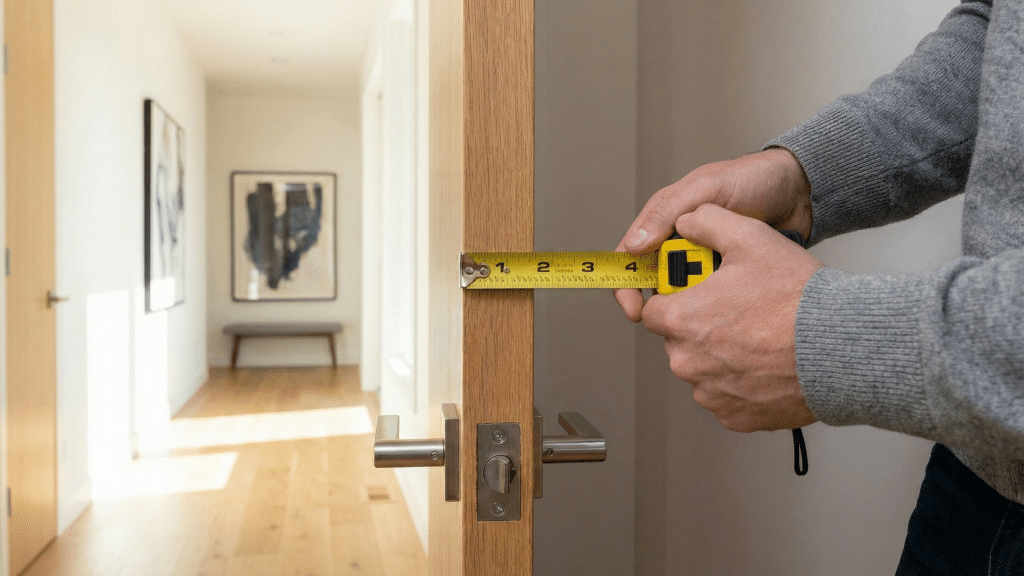
Step 1: Measure Your Mirror
Grab your measuring tape and measure all four sides of your mirror. Write these numbers down.
Don’t just measure once; double-check to make sure you got it right.
Add the width of your trim to each measurement so the frame sits flush against the wall. Most people mess this up by rushing, so slow down here.
Step 2: Cut Your Frame Pieces
Set your miter saw to 45 degrees for corner cuts. Cut four pieces based on your measurements. The angled cuts need to match up perfectly at the corners.
Sand the edges smooth with 120-grit sandpaper after cutting.
Test-fit the pieces around your mirror before moving forward. If something’s off, recut now rather than later.
Step 3: Stain or Paint the Frame
Apply your chosen finish to all frame pieces before installation. Use long, even strokes with your brush. Let the first coat dry completely, then add a second coat if needed.
This step is way easier to do now than after the frame is up. Make sure you cover all visible surfaces, including the edges.
Step 4: Attach the Frame to Your Mirror
Apply construction adhesive to the back of each frame piece. Press firmly against the mirror and wall, holding for 30 seconds.
Use clamps if you have them to keep pieces in place while drying.
Work one piece at a time, starting with the bottom. Check with your level as you go to keep everything straight and even.
Step 5: Finish With Caulk and Touch-Ups
Fill any gaps between the frame and wall with paintable caulk. Run a thin bead along all seams and smooth with your finger. Wipe away excess immediately with a damp cloth.
Touch up any scratches or dings with paint or stain.
Let everything cure for 24 hours before cleaning the mirror or getting it wet. Your mirror frame DIY is completed.
Mirror Frame Ideas
Here are different frame ideas to match any bathroom. Pick the one that fits your taste and skill level.
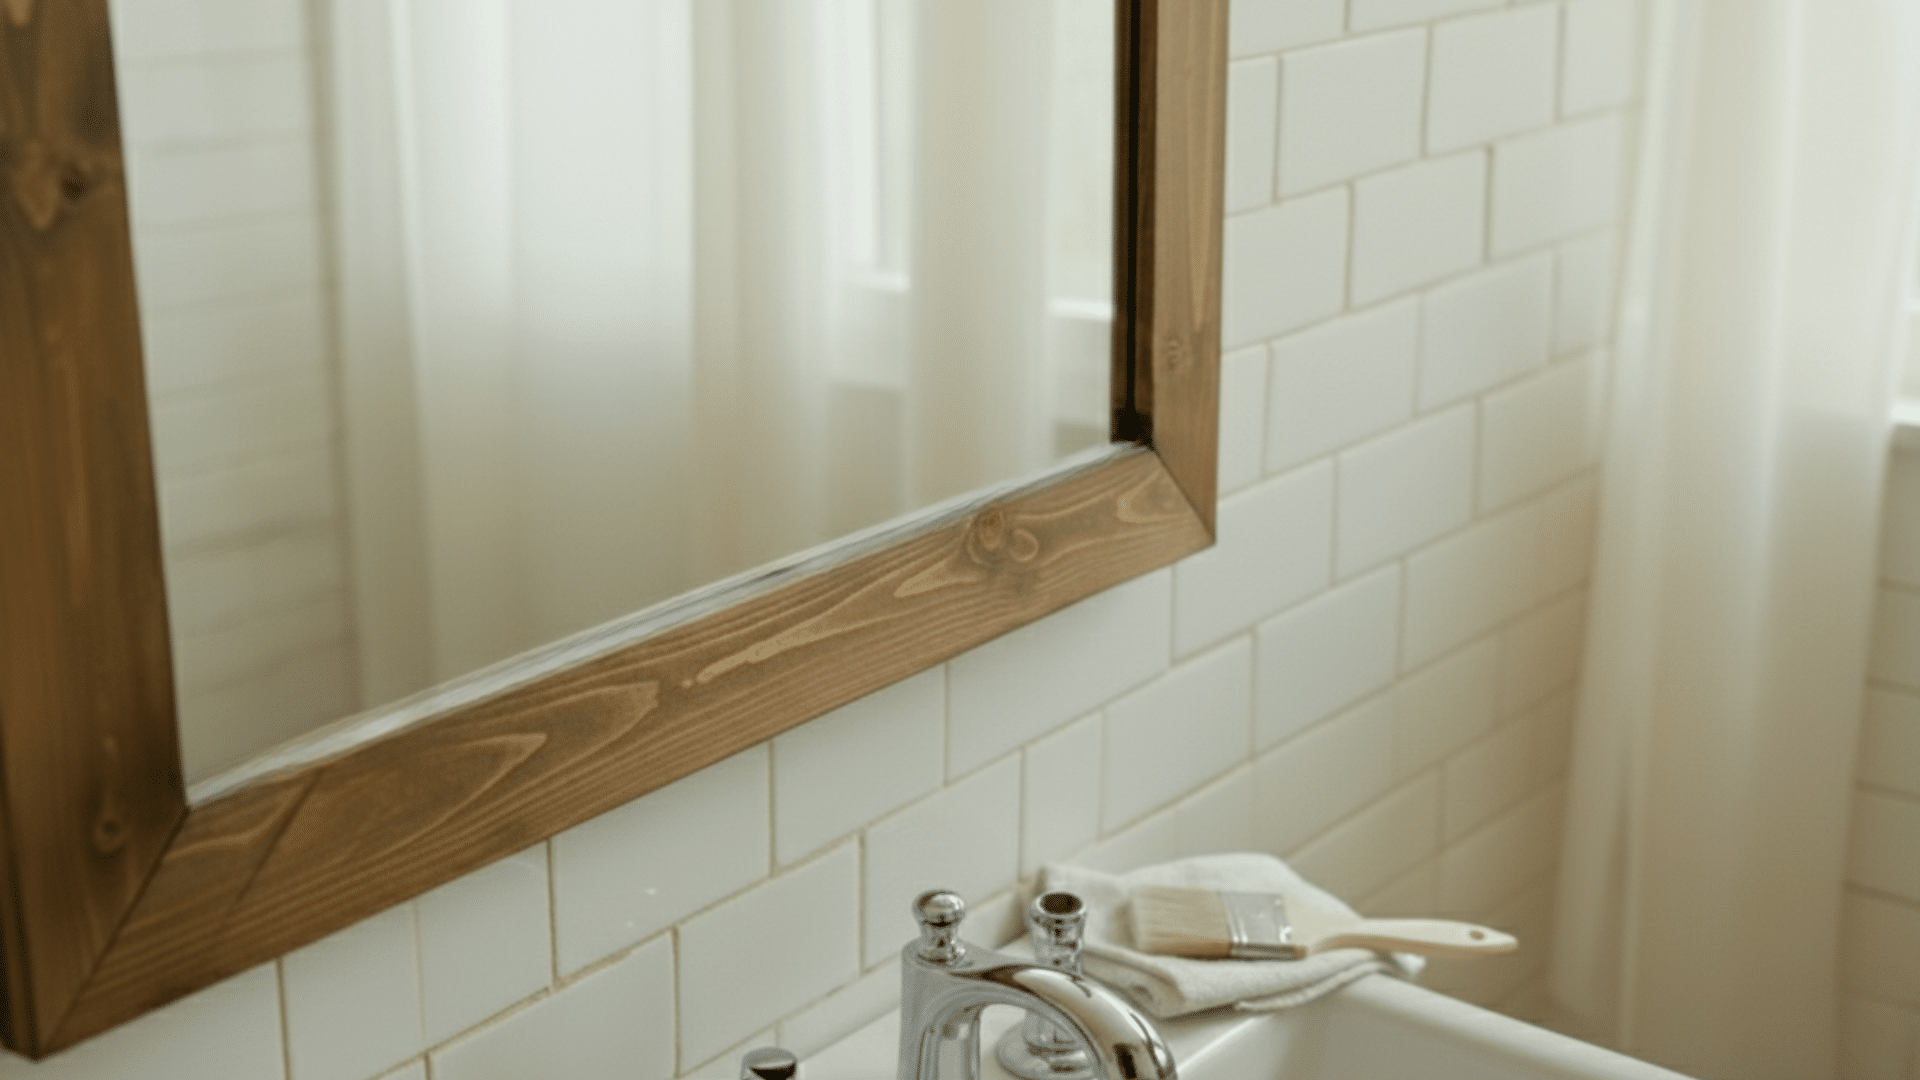
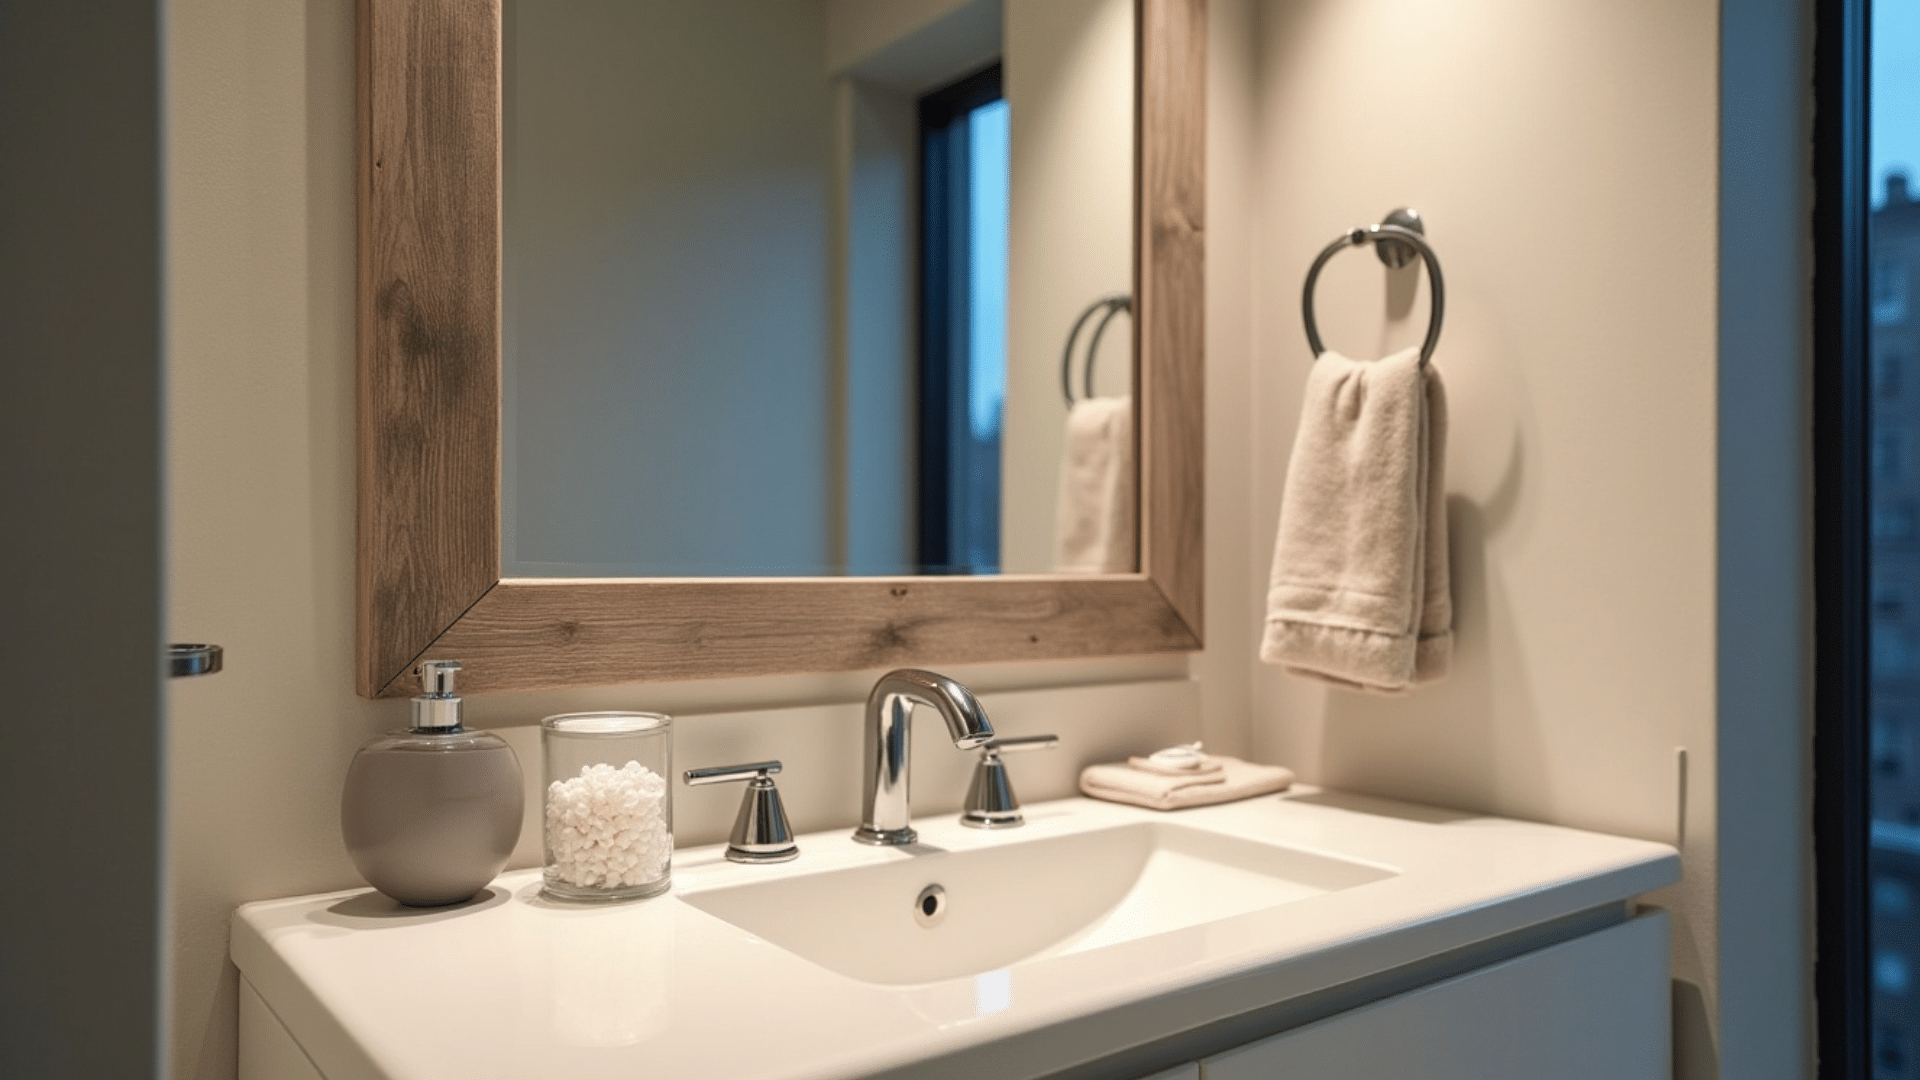
1. Classic Wood Stain Frame
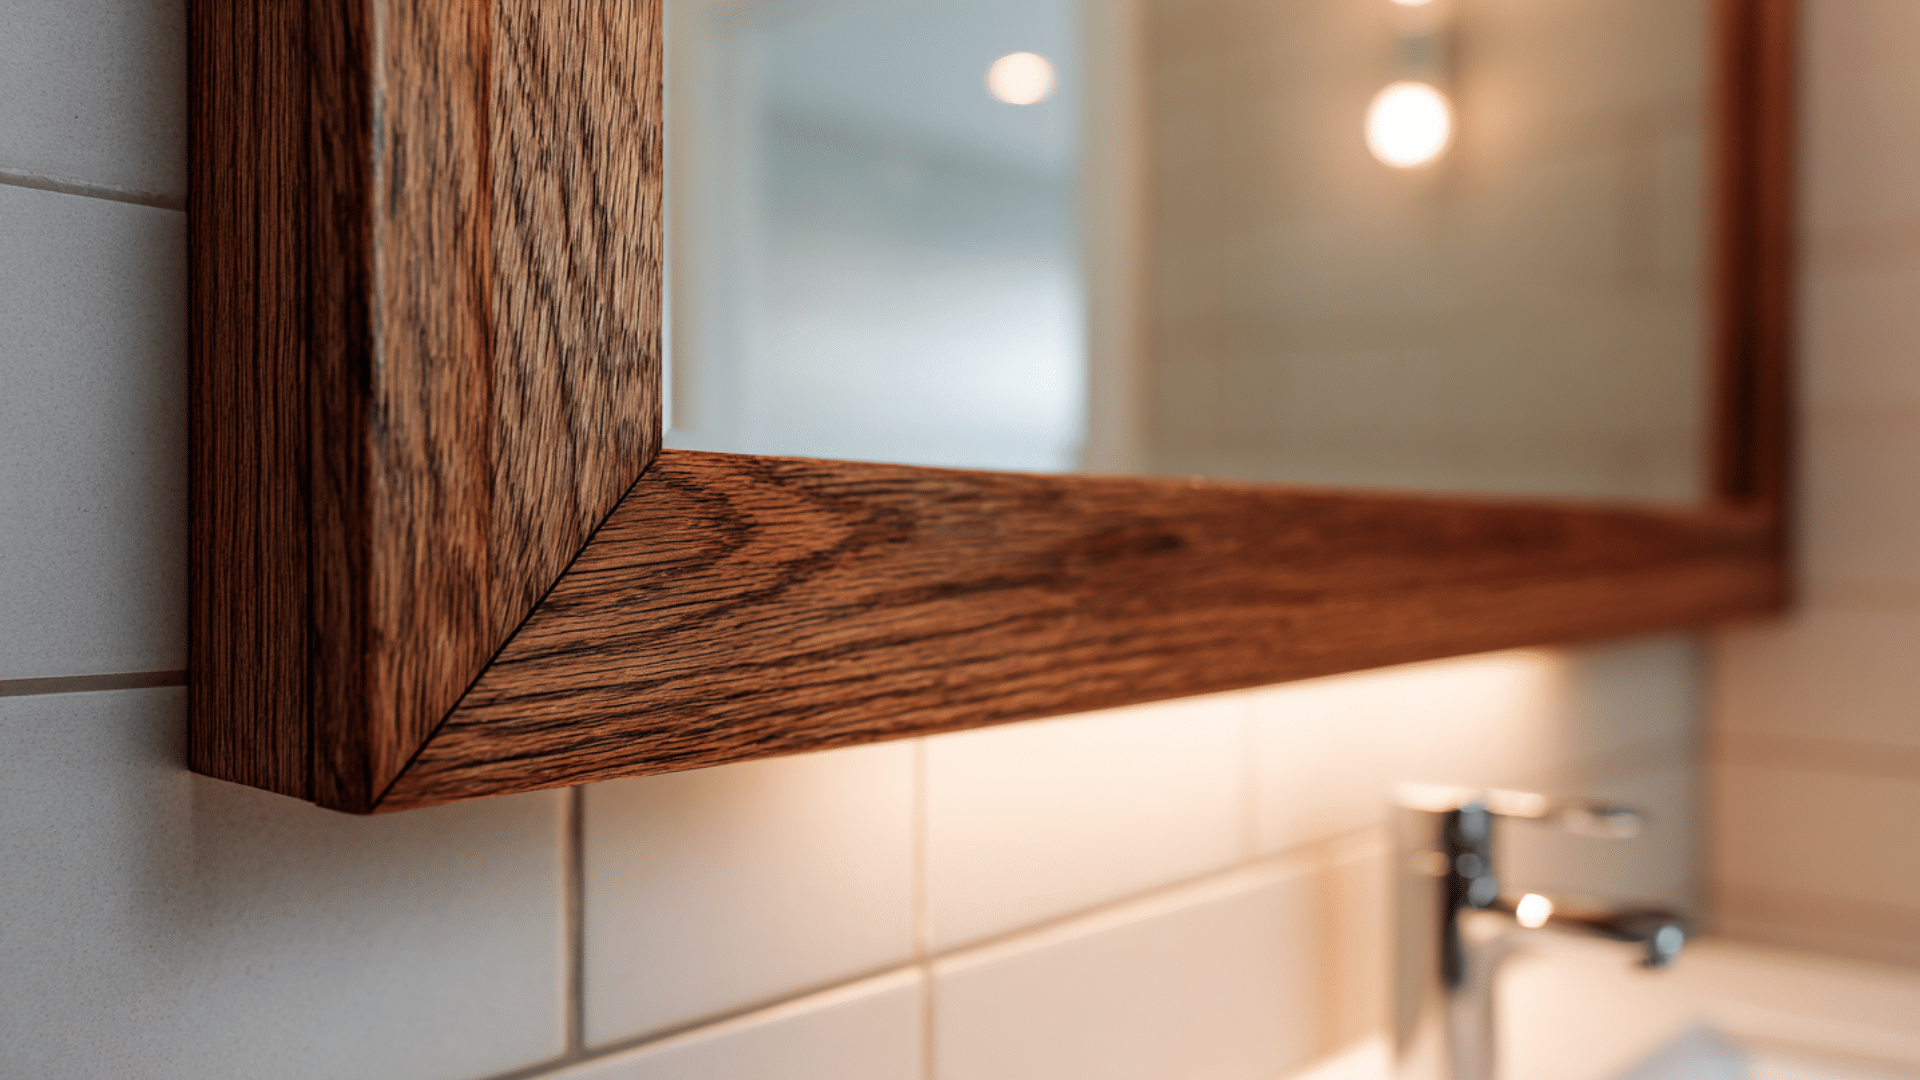
Use oak or pine trim with walnut or cherry stain for an effortless, calm look in bathrooms.
The wood grain is visible, and darkness can be increased with more coats. Seal with polyurethane for moisture protection.
2. Painted White Frame
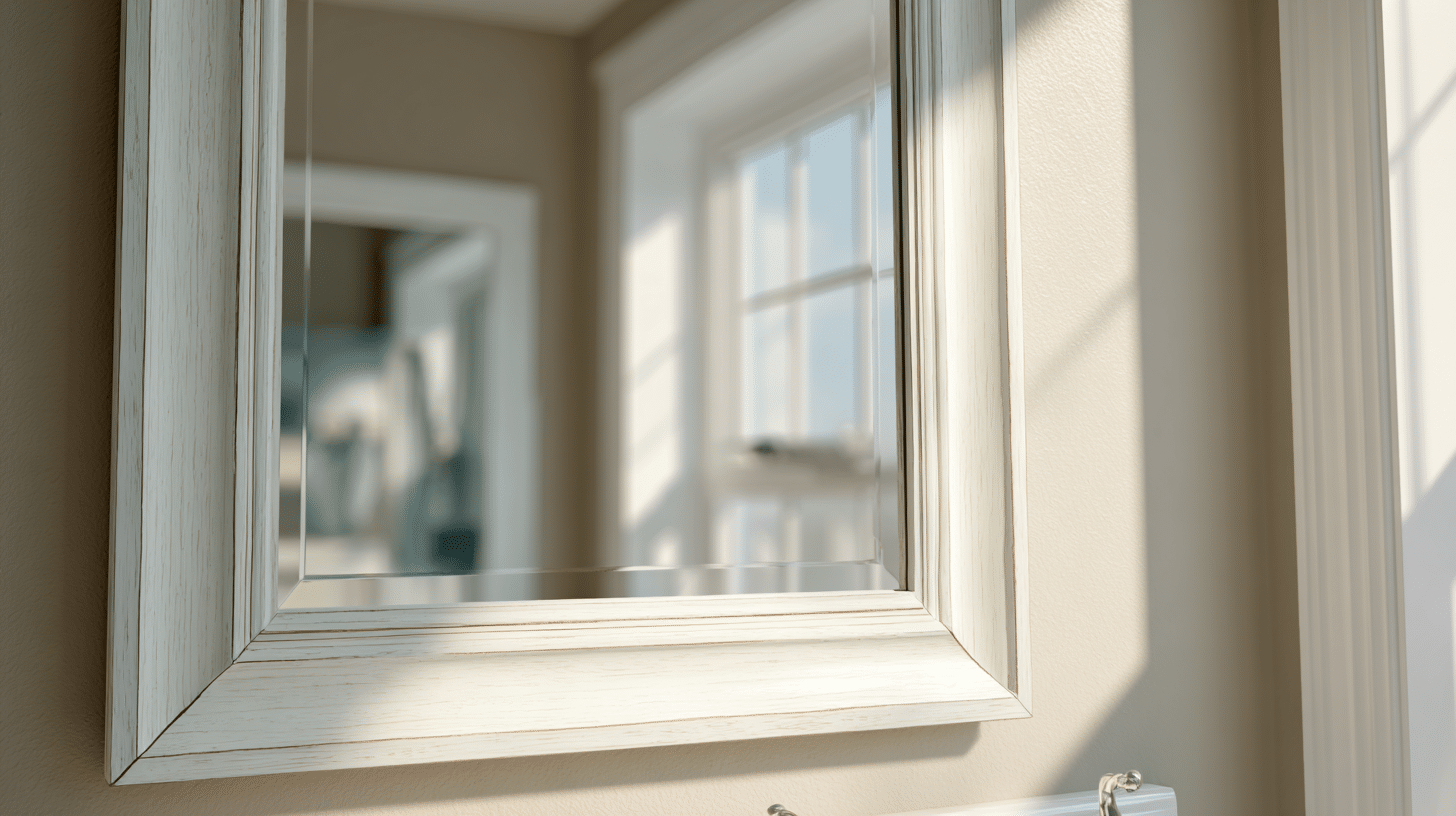
A white frame brightens any bathroom. Use semi-gloss paint for easy cleaning and moisture resistance, ideal for farmhouse or coastal bathrooms.
Paint primer, then two coats of white. For a shabby chic style, distress the edges slightly.
3. Rustic Barnwood Frame
Reclaimed barn wood offers a weathered, aged look with natural imperfections and gray tones that add character to farmhouse bathrooms.
No staining required, just seal with clear coat. Each piece is unique, and you can sand rough spots to keep that plain
texture.
4. Two-Tone Frame
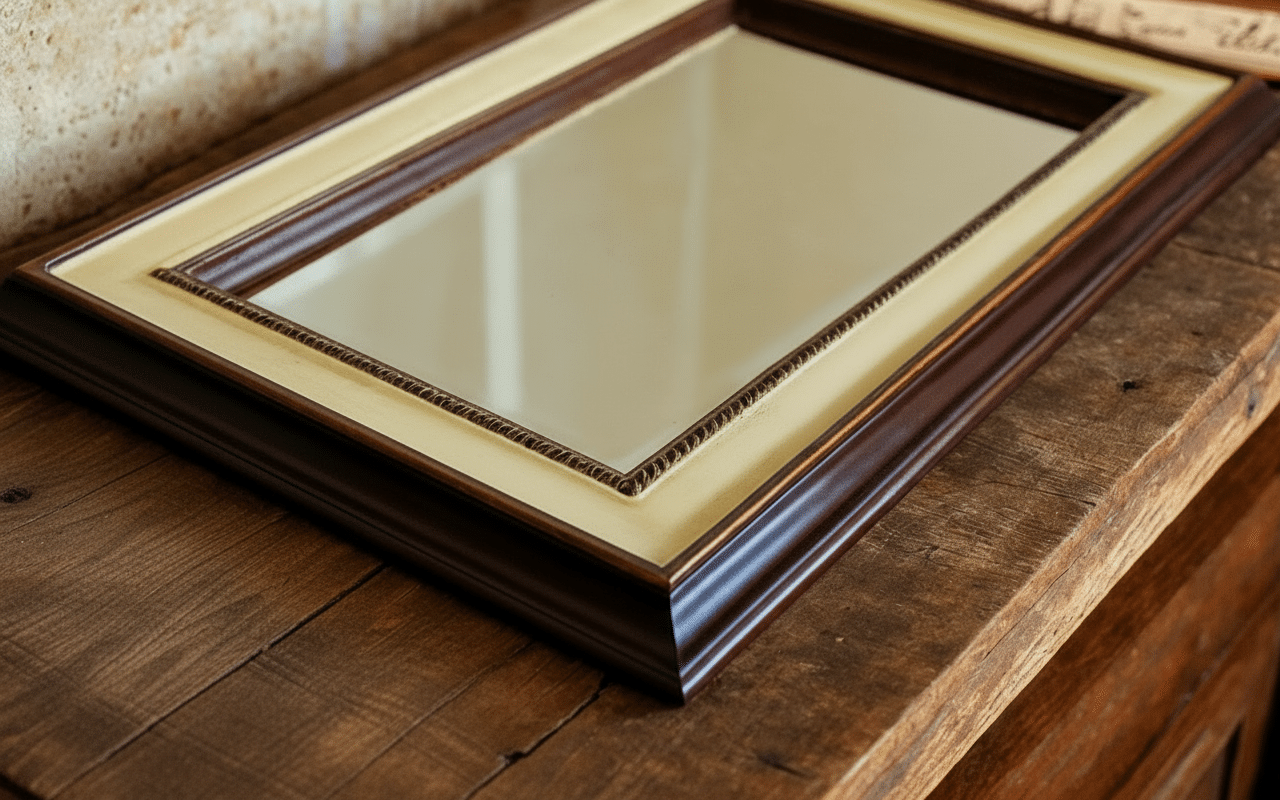
Combine two colors for interest and depth, like dark brown outside with cream inside, or bold navy blue and gold. This adds dimension without clutter.
Paint sections separately with painter’s tape for clean lines.
5. Rope-Wrapped Frame
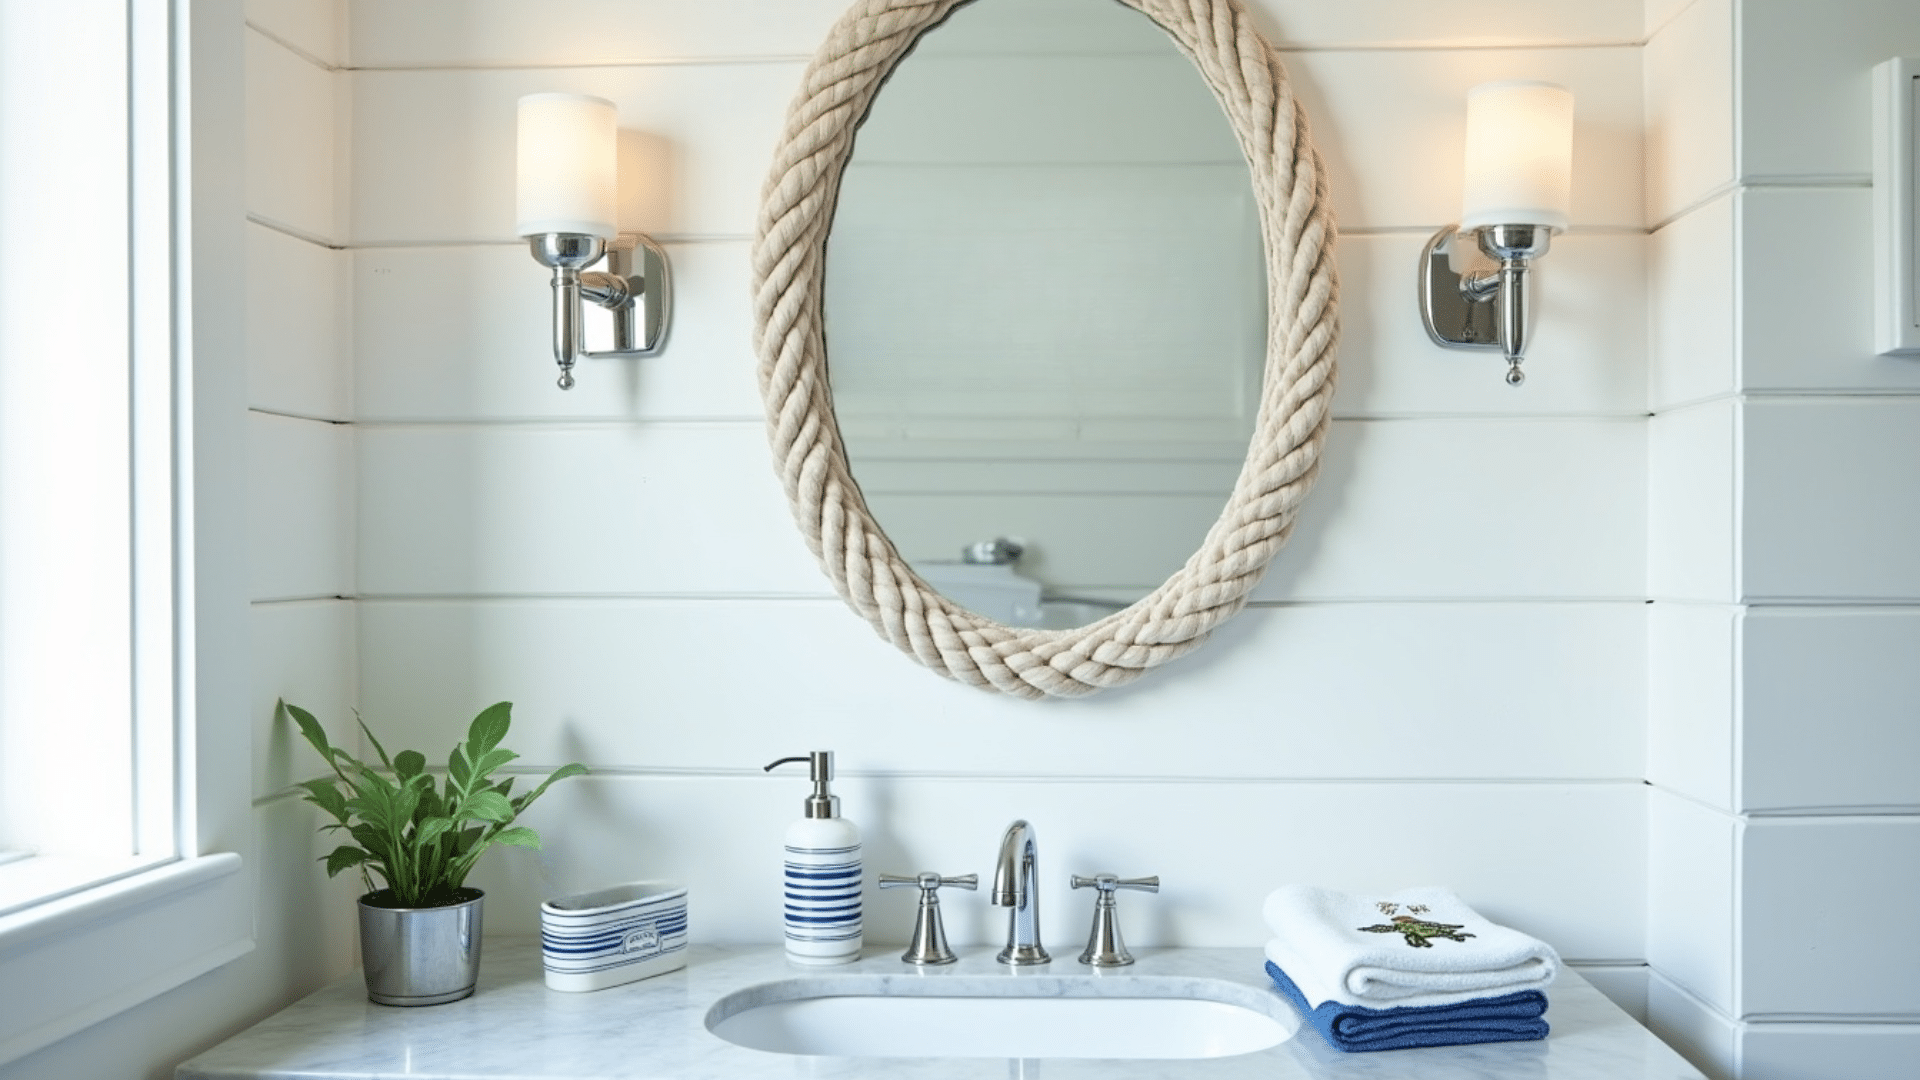
Wrap thick nautical rope around a wood frame, ideal for beach or coastal bathrooms.
Secure with hot glue while wrapping tightly from one corner around each piece. Seal with clear spray to prevent fraying.
6. Tile-Bordered Frame
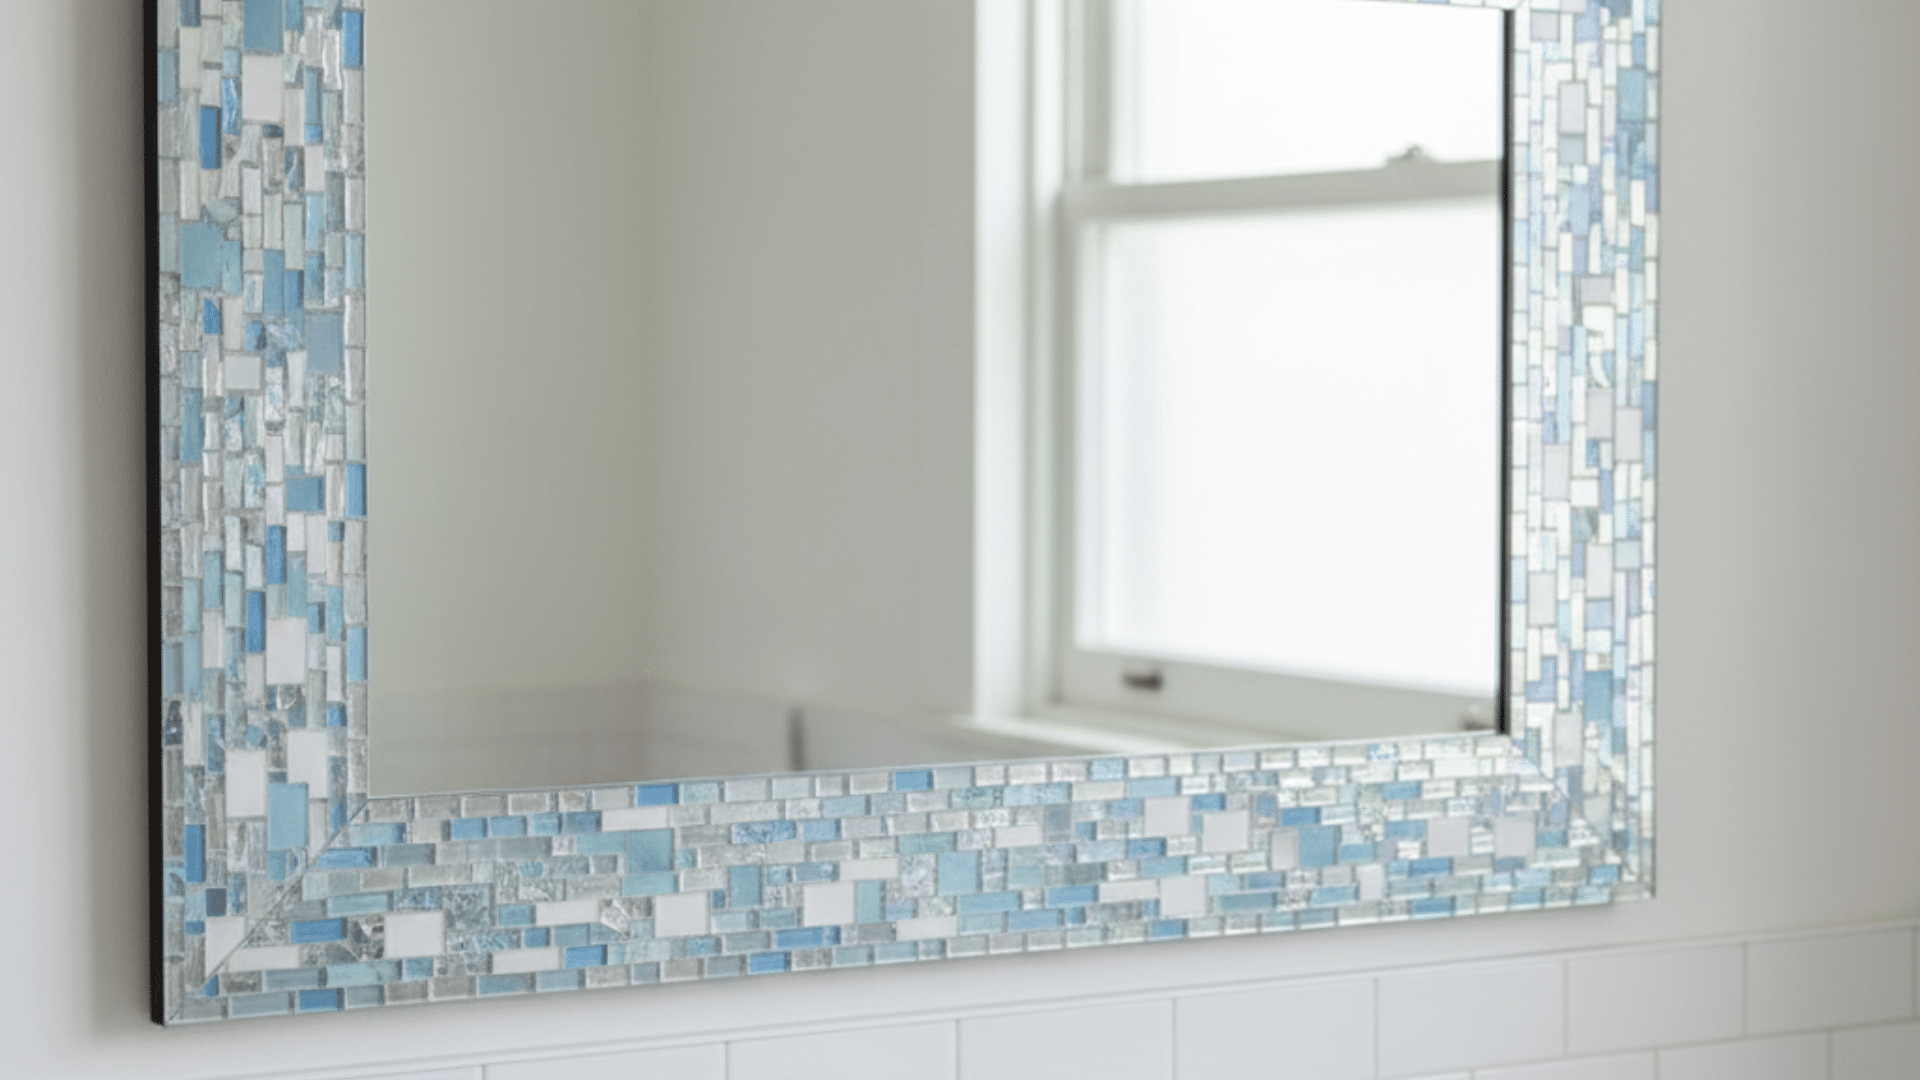
Attach small mosaic tiles to a flat wood frame for a spa-like feel. Glass tiles catch light and add sparkle. Use tile adhesive and grout for a backsplash project.
Works well with subway tiles or decorative patterns. Seal grout to prevent water damage and staining.
7. Industrial Metal Pipe Frame
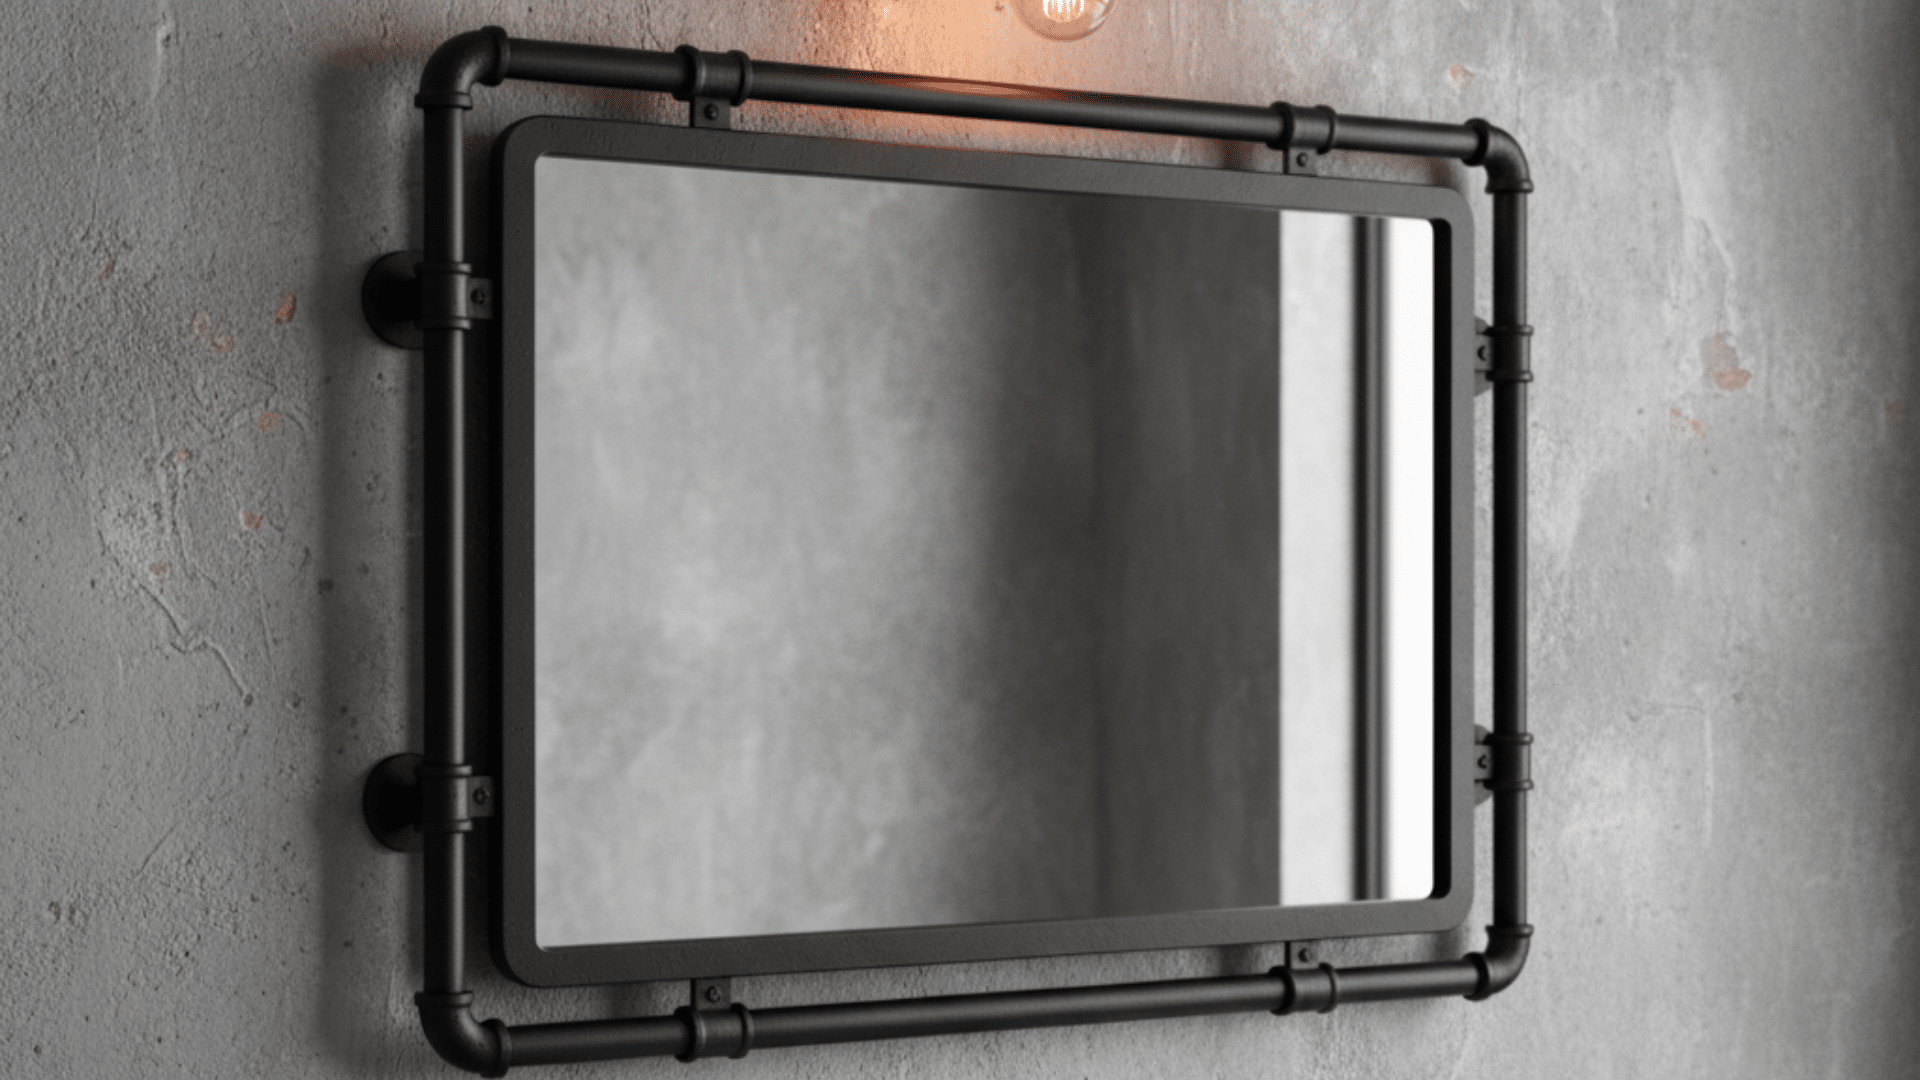
Build a frame with black iron pipes and fittings from the plumbing section for an industrial or modern bathroom.
The three-dimensional frame stands out from the wall, requiring no welding; just screw the pieces together. Apply a rust-resistant coating if your bathroom is very humid.
8. Beadboard Frame
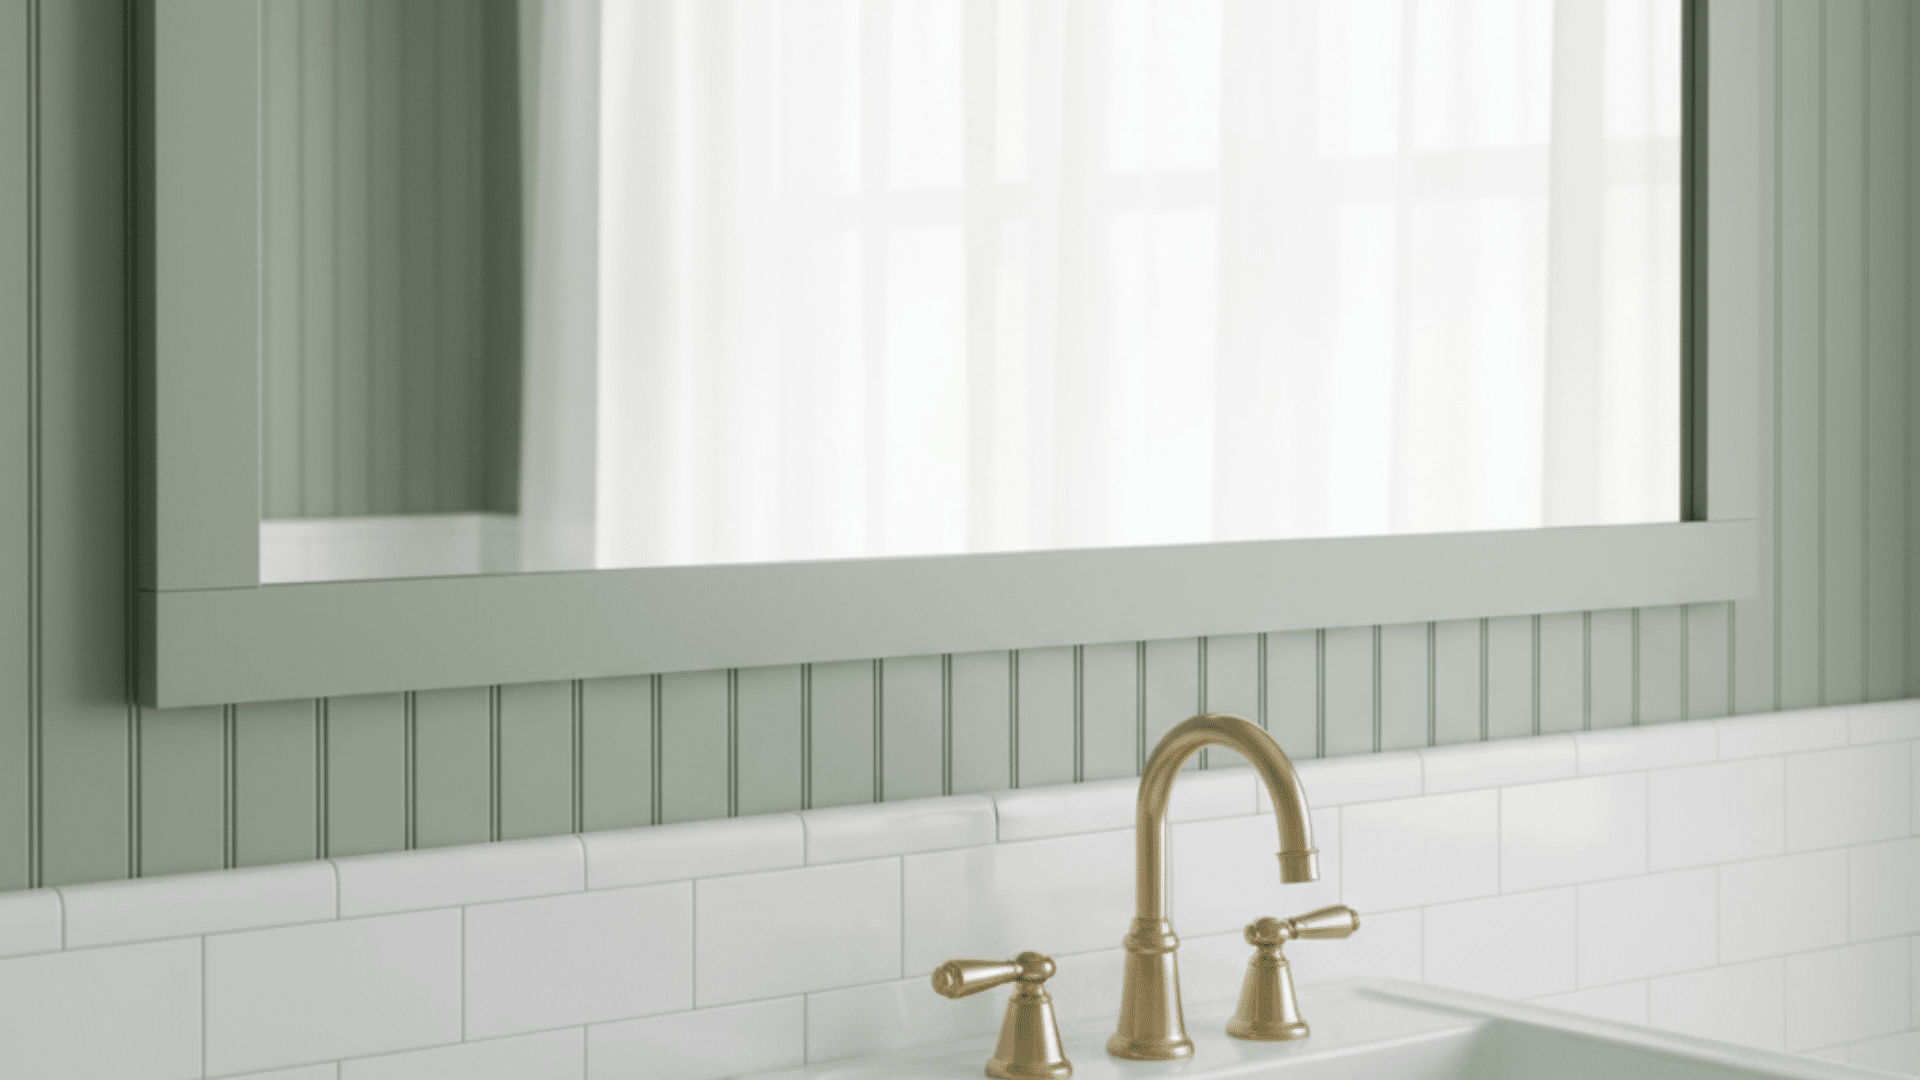
Use beadboard panels, cut to size, for cottage charm. Paint in soft hues, such as sage green by Sherwin-Williams or light blue colors of Benjamin Moore.
Vertical grooves add texture to a flat mirror, ideal for vintage or country bathrooms. Seal edges well to prevent moisture-induced warping.
9. Crown Molding Frame

Go for ornate crown molding for an upscale look. It creates a statement piece that appears expensive but isn’t.
The detailed curves and edges catch shadows well. Paint it glossy black or antique gold for drama. Require careful miter cuts, but the result looks professional.
10. Driftwood Frame
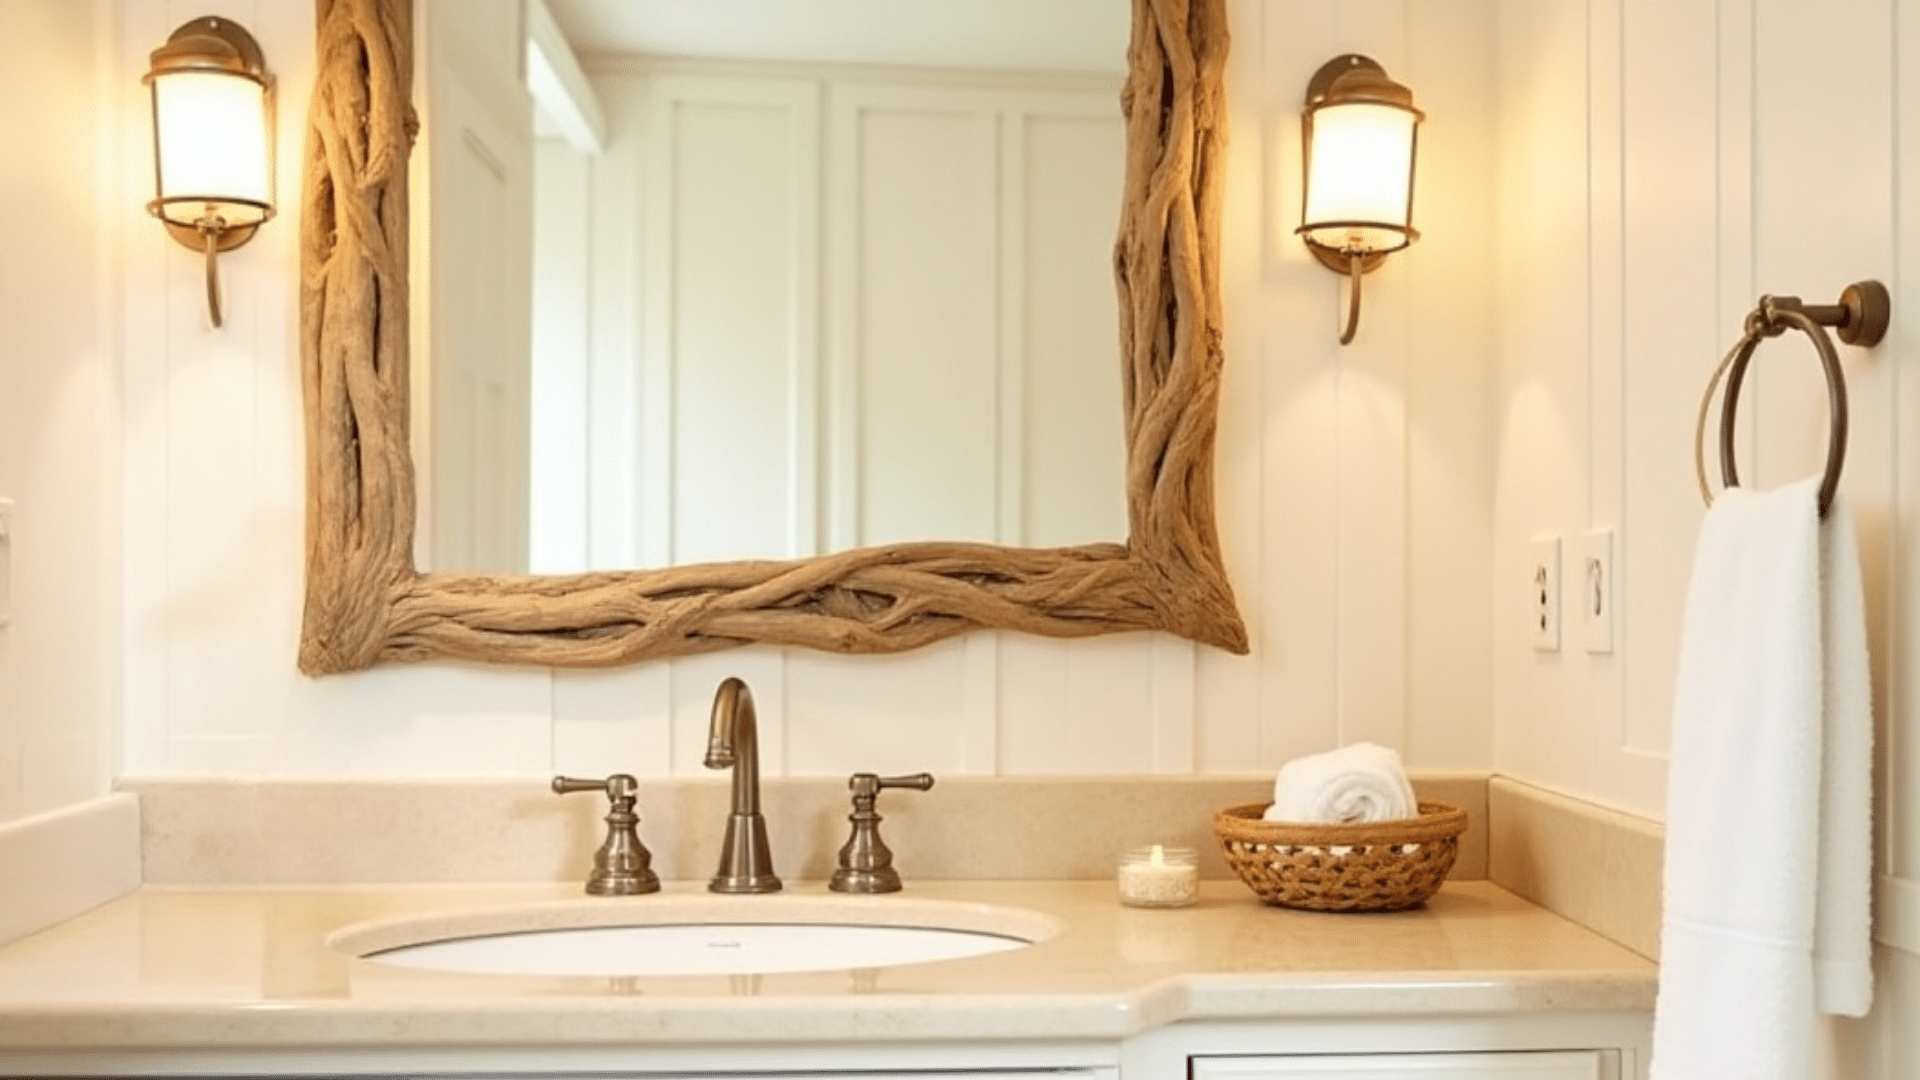
Collect driftwood pieces of different sizes and shapes, arrange them around your mirror, and secure them with hot glue or adhesive.
Keep the natural gray or whitewash for a softer look. This adds outdoor charm to your bathroom.
11. Modest Black Frame
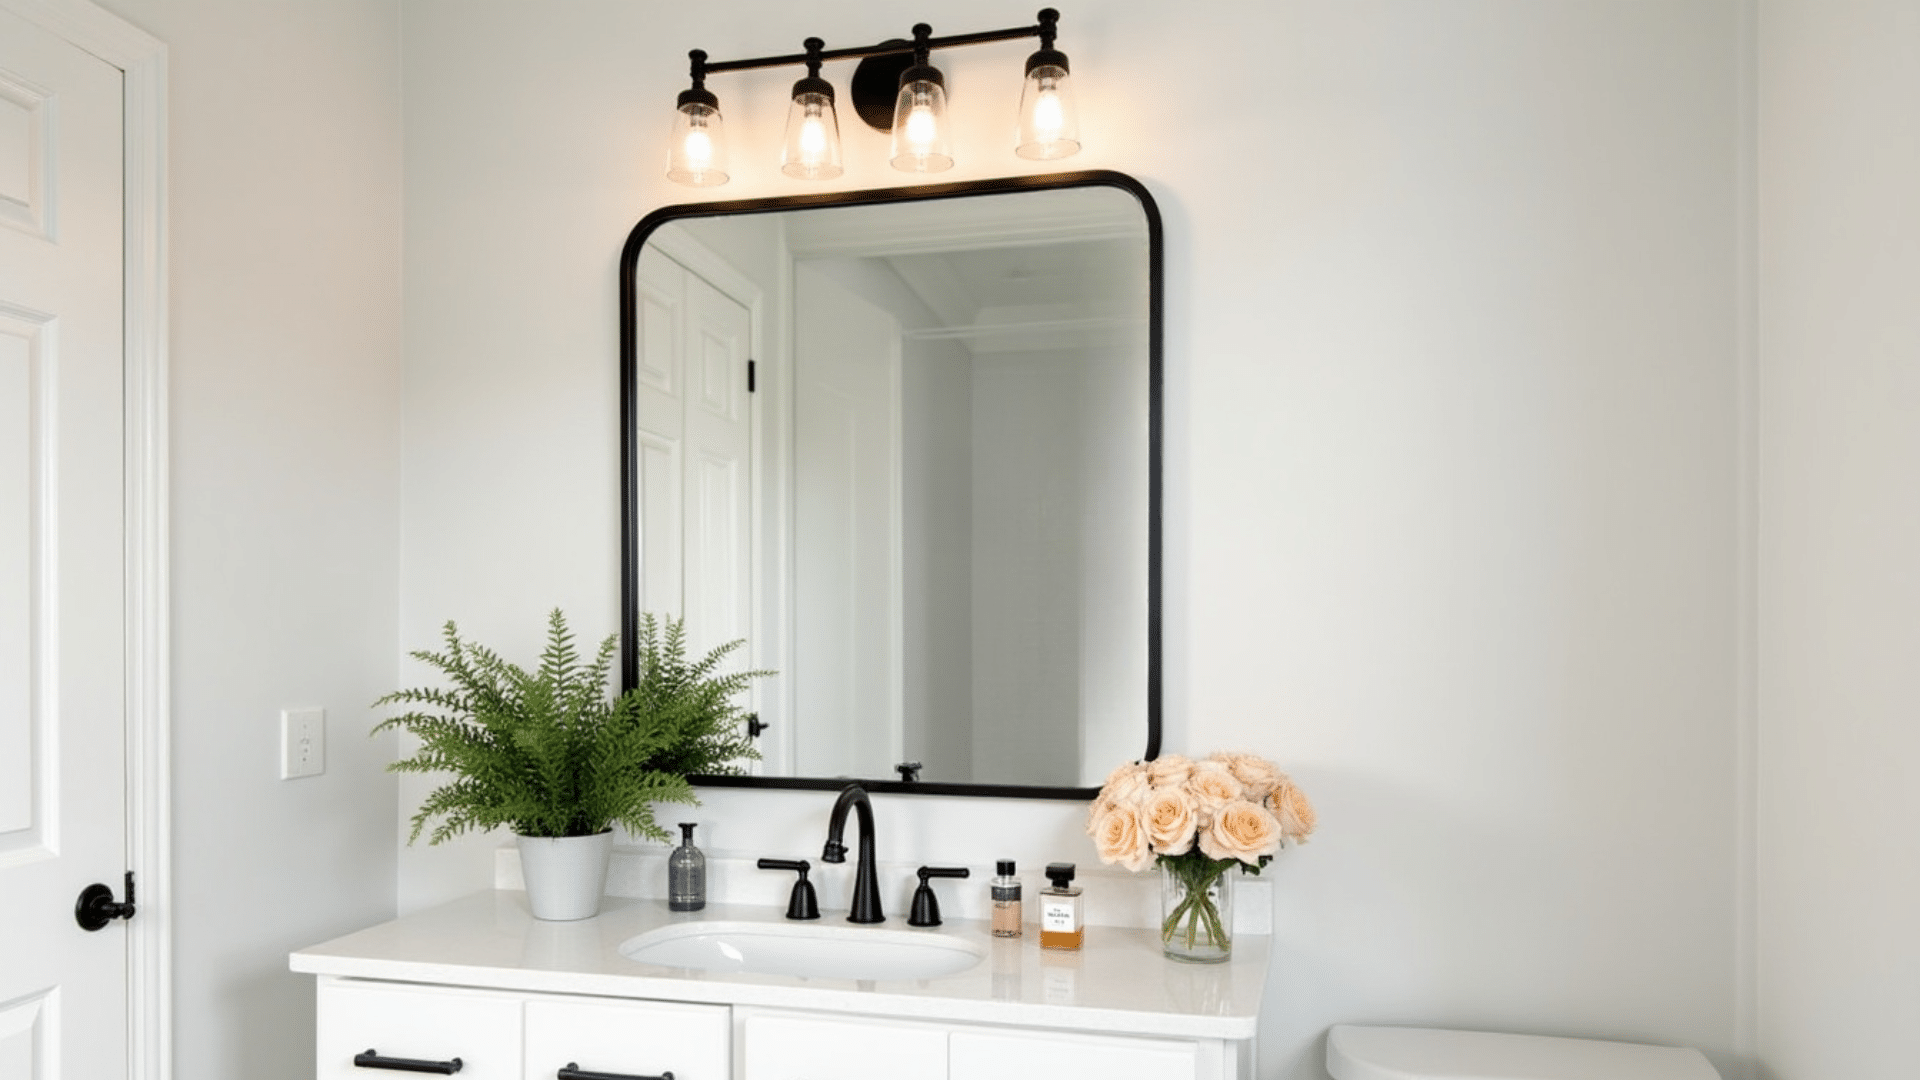
Simple flat black trim offers clean lines for modern bathrooms. Use 1×2 matte black boards for a sleek look, with no fancy cuts, just straight edges and perfect corners.
It blends into the background while defining the mirror and suits any bathroom color scheme.
Mirror Frame Care and Maintenance Tips
Proper care keeps mirror frames looking beautiful and extends their lifespan. Follow these simple maintenance tips.
- Dust regularly: Use a soft, dry cloth to remove dust weekly, preventing buildup that damages finishes over time
- Clean gently: Wipe frames with a slightly damp microfiber cloth; avoid harsh chemicals that strip finishes and dull surfaces
- Dry immediately: Remove moisture right away to prevent water spots and damage, which is especially important for wood frames
- Avoid direct sunlight: Keep mirrors away from harsh sunlight that fades colors and warps frames over extended periods
- Check for loose parts: Tighten screws and fixings regularly to keep frames secure on walls and prevent accidents
- Use appropriate cleaners: Wood frames need wood polish, metal frames need metal cleaner, plastic frames need mild soap solution
- Touch up scratches: Use matching paint or wood markers to fix small scratches and chips before they worsen
- Inspect mounting hardware: Check wall anchors and hanging wires periodically to ensure mirrors stay safely mounted
Conclusion
Now you know everything you need to frame your DIY mirror frame.
This project really isn’t complicated once you break it down into manageable steps. You’ve got the materials list, the instructions, and plenty of style ideas to choose from.
You’ll save hundreds compared to buying a pre-framed mirror or hiring someone else. And honestly, there’s something satisfying about looking at a project you built with your own hands every single day.
So grab your tools this weekend and get started. Your bathroom is waiting for that upgrade.
What style frame are you planning to build? Start gathering your materials today.