
Cold evenings outside can feel incomplete without a warm gathering spot.
Many people want to create a cozy outdoor area but think that it requires expensive contractors or complicated installations.
Well, no need to worry because building your own outdoor fireplace is more achievable than you might think. With basic materials, some weekend time, and straightforward instructions, you can add this feature to your backyard.
This blog will walk you through everything you need to know about creating a DIY outdoor fireplace.
You’ll learn about planning, materials, construction steps, and ways to counter any problems to ensure your project’s success.
Why Build an Outdoor Fireplace?
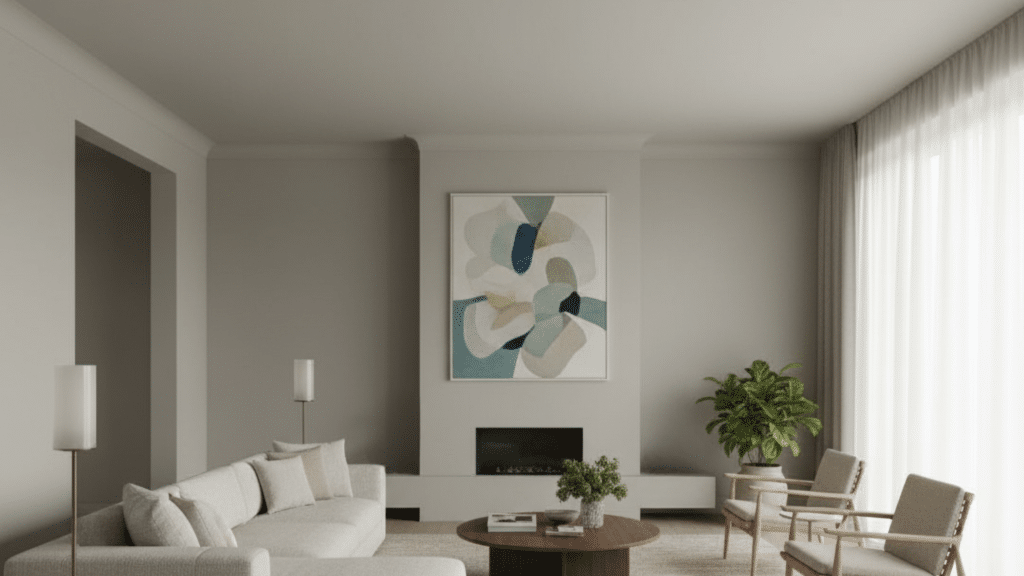
An outdoor fireplace changes how you use your backyard. It extends your time outside beyond the summer months.
You can enjoy cool spring nights and crisp fall evenings with friends and family gathered around the flames. Building one yourself saves thousands of dollars compared to hiring professionals.
You get exactly what you want instead of settling for pre-made options that might not fit your space or style.
The project also boosts your property value. Buyers love outdoor living features, and a well-built fireplace stands out during home tours.
Plus, there’s an absolute satisfaction in creating something with your own hands. Each time you light a fire, you’ll remember the work you put in. It becomes more than just a structure; it’s your accomplishment.
Materials and Tools Required
Get your materials together before you start building a fireplace. You don’t want to stop halfway through because you’re missing something.
Here’s everything you’ll need:
| Materials | Tools |
|---|---|
| Fire bricks | Level |
| Concrete blocks or pavers | Trowel |
| Mortar mix | Mixing bucket |
| Gravel | Shovel |
| Sand | Tape measure |
| Metal grate or firebox | Safety glasses |
| Rebar (optional for reinforcement) | Work gloves |
| Capstones | Wheelbarrow |
| Landscape fabric | Rubber mallet |
| Circular saw with masonry blade. |
Step-By-Step Guide: Building Your DIY Outdoor Fireplace

Building your fireplace takes planning and patience. Break it down into clear steps and you’ll avoid mistakes. Here’s how to get from start to finish.
Step 1: Choose the Right Location
Pick a spot at least a few feet away from your house. Check local building codes and HOA rules before you dig. Make sure the ground is level and well-drained.
Wind direction matters too. You don’t want smoke blowing towards the seating areas.
Step 2: Prepare the Foundation
Dig out the area about 6 inches deep and wider than your fireplace base. Fill it with gravel and compact it firmly. Add a layer of sand on top and smooth it out. Use a level to ensure everything sits flat before moving forward.
Step 3: Build the Base and Walls
Start laying your concrete blocks or pavers using mortar between each piece. Check with your level after every few rows to keep walls straight.
Leave an opening at the front for the firebox. Building up to your desired height, usually around 3 to 4 feet, works well.
Step 4: Install the Firebox and Chimney
Place fire bricks inside to line the burning area. Regular materials can crack from heat. Install your metal grate or firebox insert according to the manufacturer’s instructions.
If you’re adding a chimney, stack fire bricks vertically and angle them slightly backward to direct smoke upward.
Step 5: Add Finishing Touches
Cap the top with capstones for a polished look and weather protection.
Let the mortar cure for at least 48 hours before using your fireplace. Clean off any excess mortar with a wire brush. Consider adding a spark screen for extra safety during use.
Outdoor Fireplace Inspirations
Looking for ideas? There are plenty of styles and approaches you can take with your DIY outdoor fireplace.
Below are some popular options to match different spaces and skill levels.
1. Classic Brick Fireplace
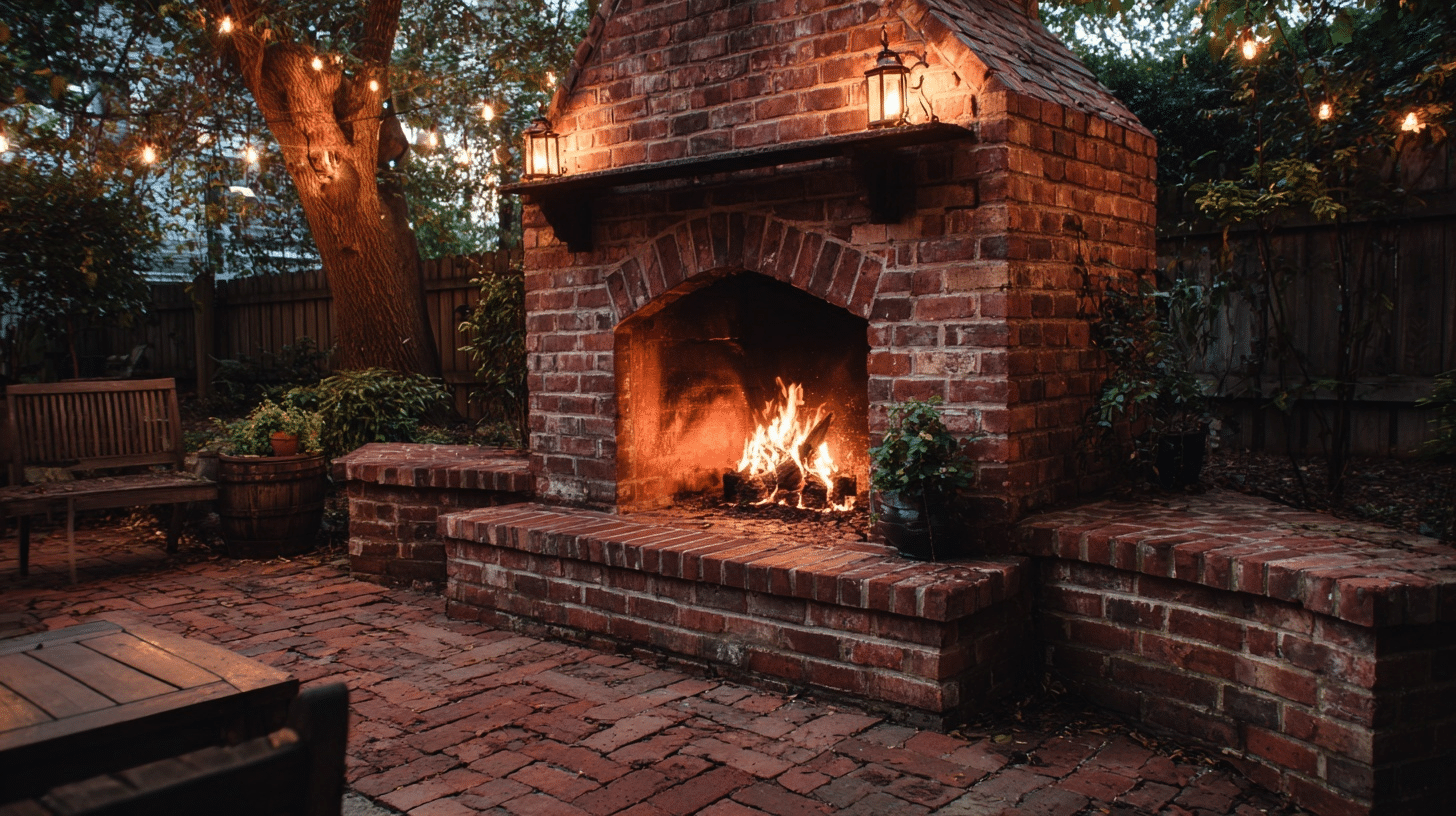
Traditional red brick never goes out of style. Stack bricks in a simple rectangular design with mortar. This works well in most backyards and pairs nicely with existing landscaping.
The materials are affordable and easy to find at any hardware store.
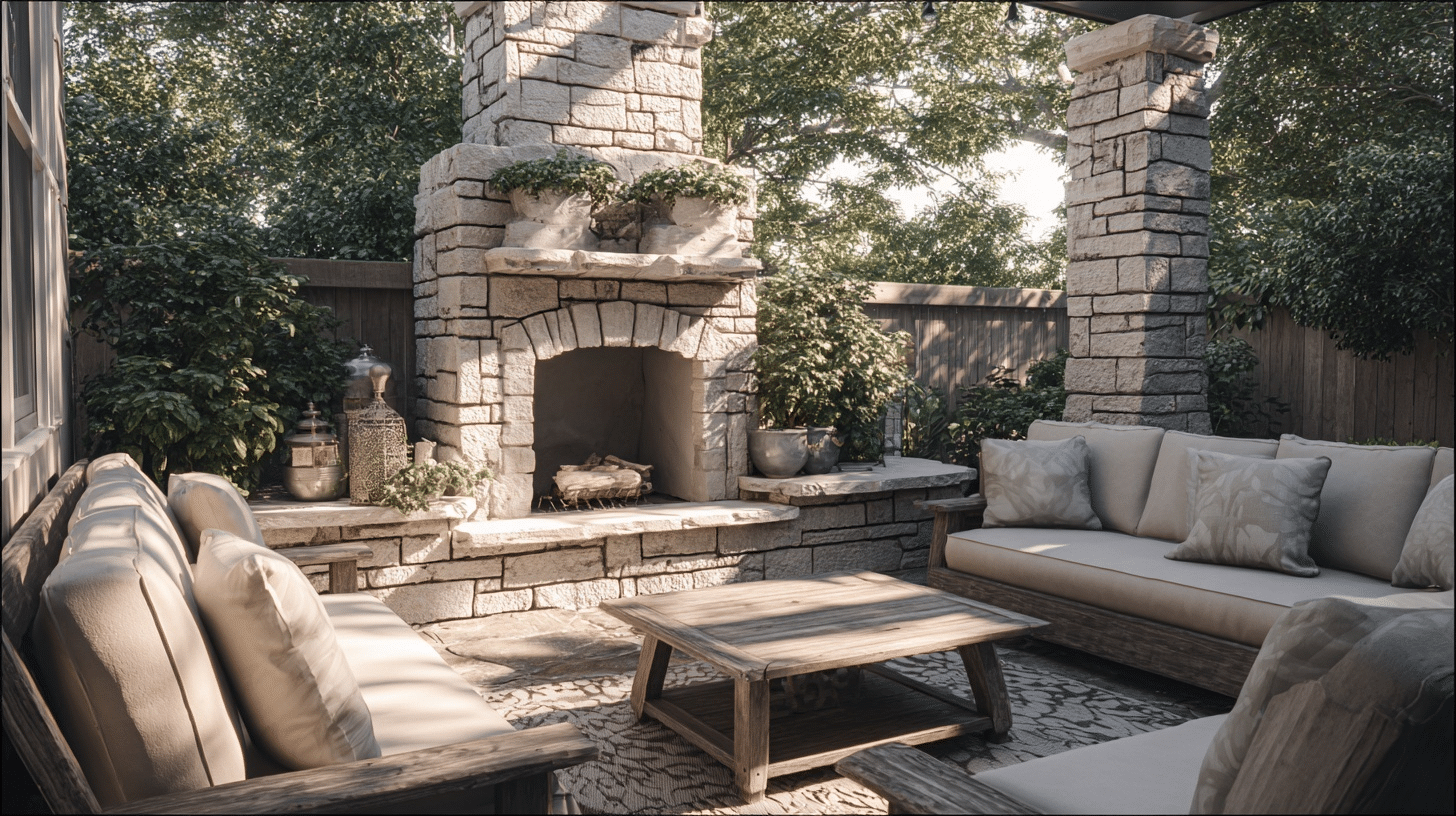
2. Stone Veneer Fireplace
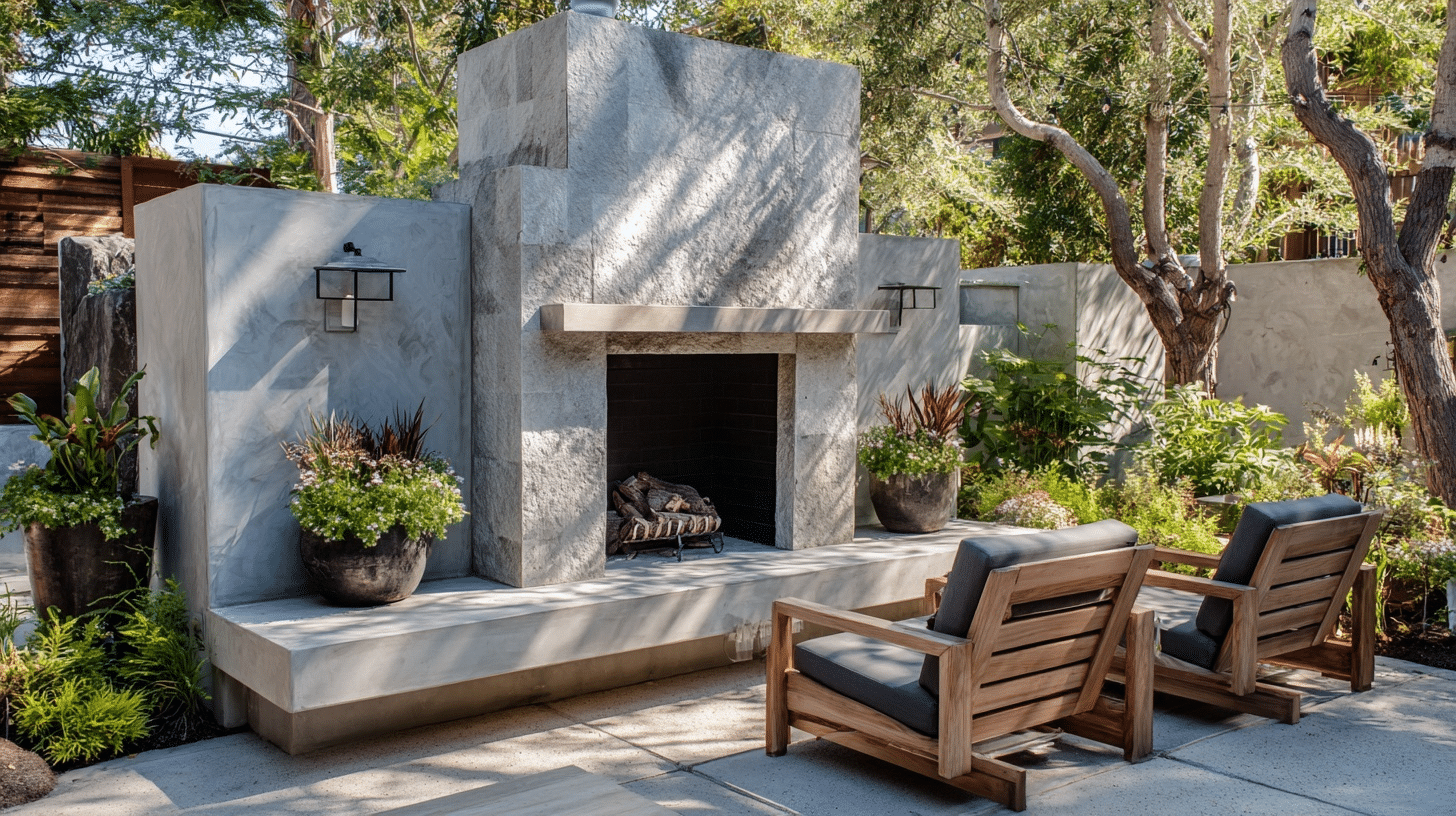
Use stone veneer over concrete blocks for a natural look without the weight. It’s lighter than real stone and easier to work with.
You get the appearance of a high-end stone fireplace at a fraction of the cost. Plus, installation goes faster than laying actual stone.
3. Corner Fireplace Design
Tuck your fireplace into a corner to save space in smaller yards. This layout creates a cozy nook for seating arrangements.
It also provides wind protection from two sides. Corner designs work especially well on patios or decks with existing walls.
4. Freestanding Metal Fireplace
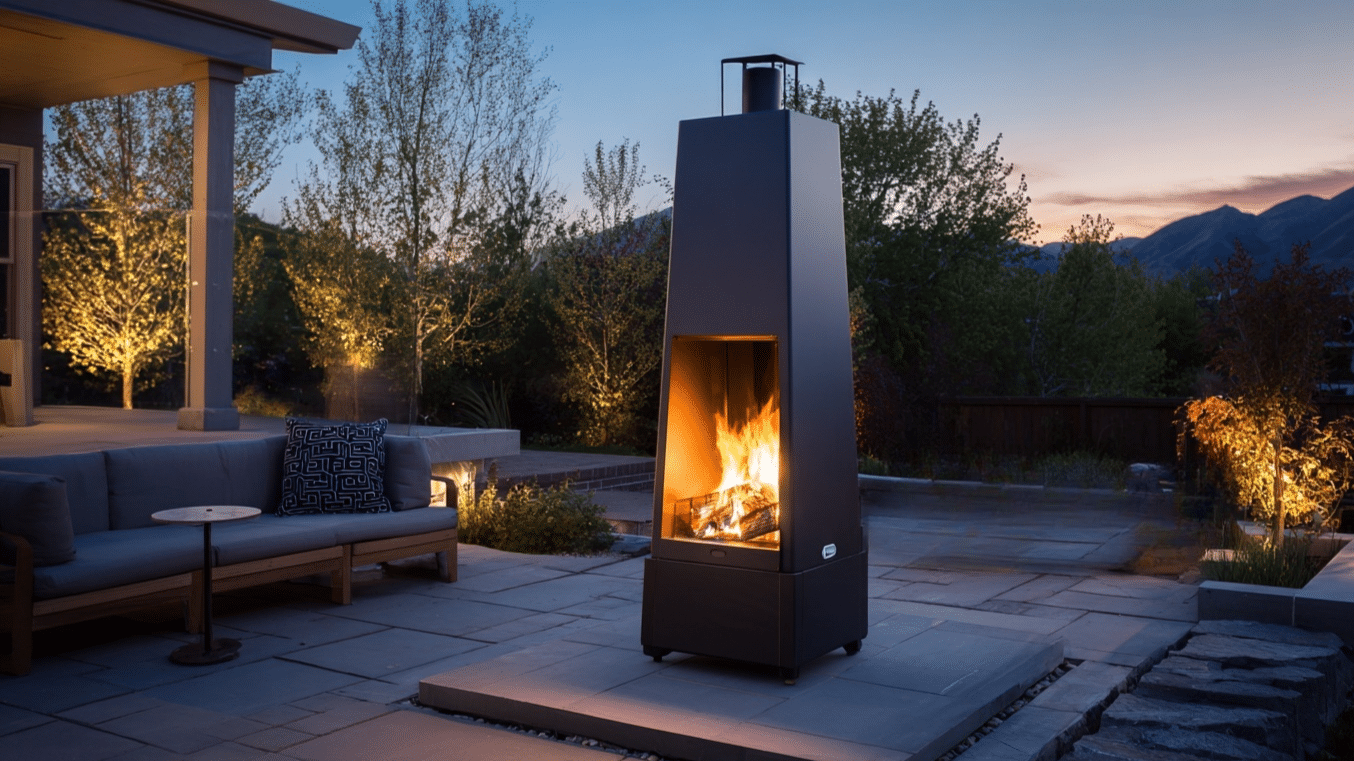
Buy a pre-made metal firebox and build a simple base around it. This cuts down construction time significantly. Metal units heat up quickly and radiate heat efficiently.
They’re perfect if you want function over complicated design.
5. Two-Sided Fireplace
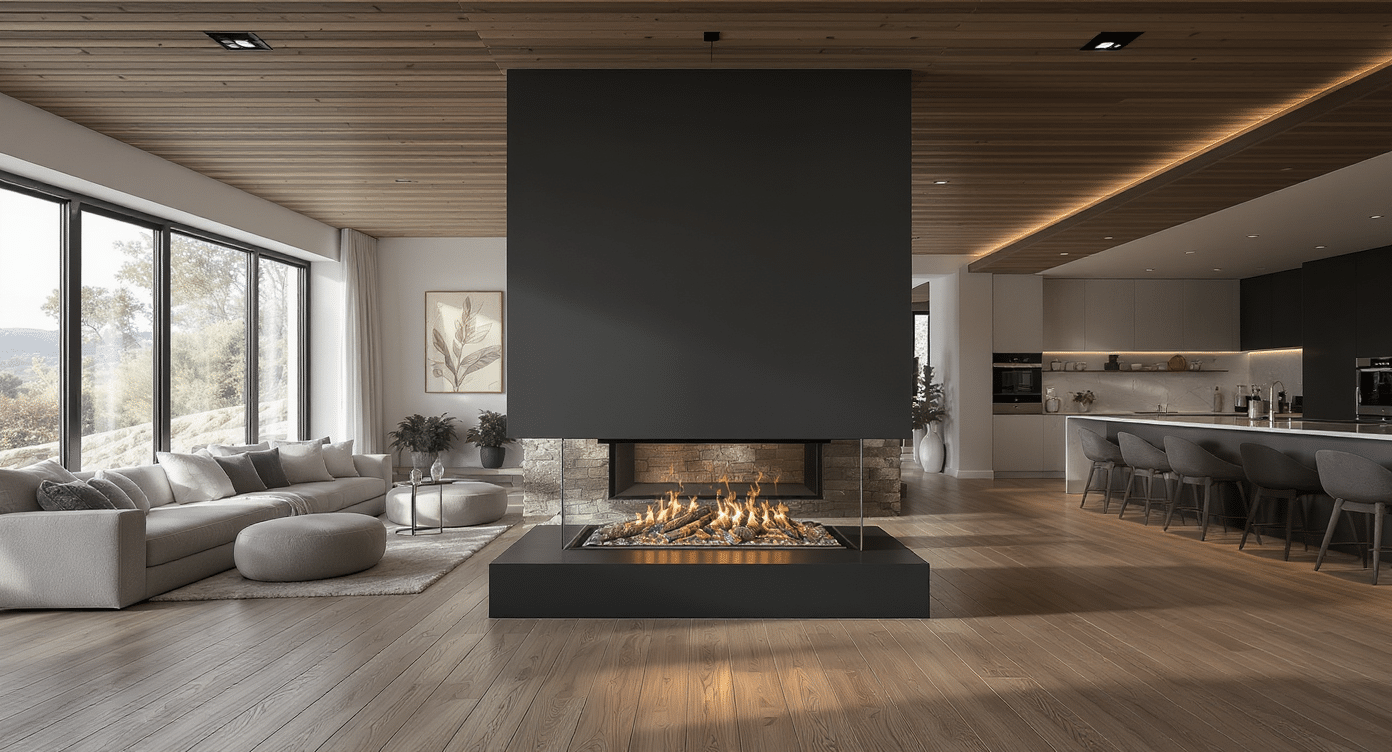
Build a fireplace that opens on both sides for viewing from multiple areas. This works great between two seating zones or a patio and pool area.
You’ll use more fire bricks for the double opening. The extra work pays off with better traffic flow and visibility.
6. Low-Profile Fire Pit Style

Keep your fireplace low to the ground, about 18 to 24 inches high. This creates a more casual, campfire feel. It’s easier to build than tall structures and uses fewer materials.
Perfect for yards where you want an unobstructed view.
7. Built-In Seating Fireplace
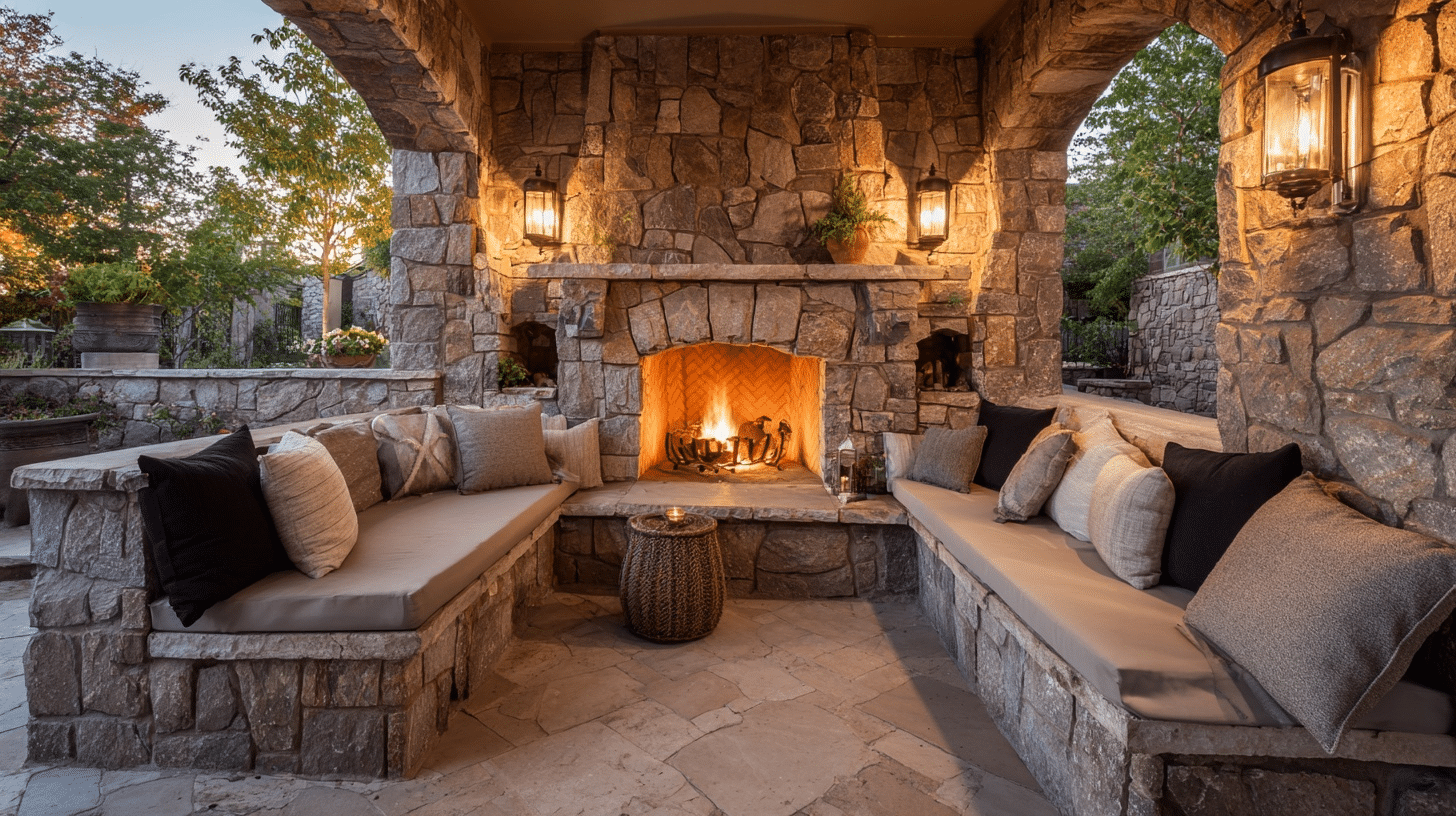
Extend your fireplace walls to create built-in bench seating on the sides. Add concrete or stone caps to the seat walls for comfort.
This saves you from having to buy separate outdoor furniture. The integrated design looks intentional and polished.
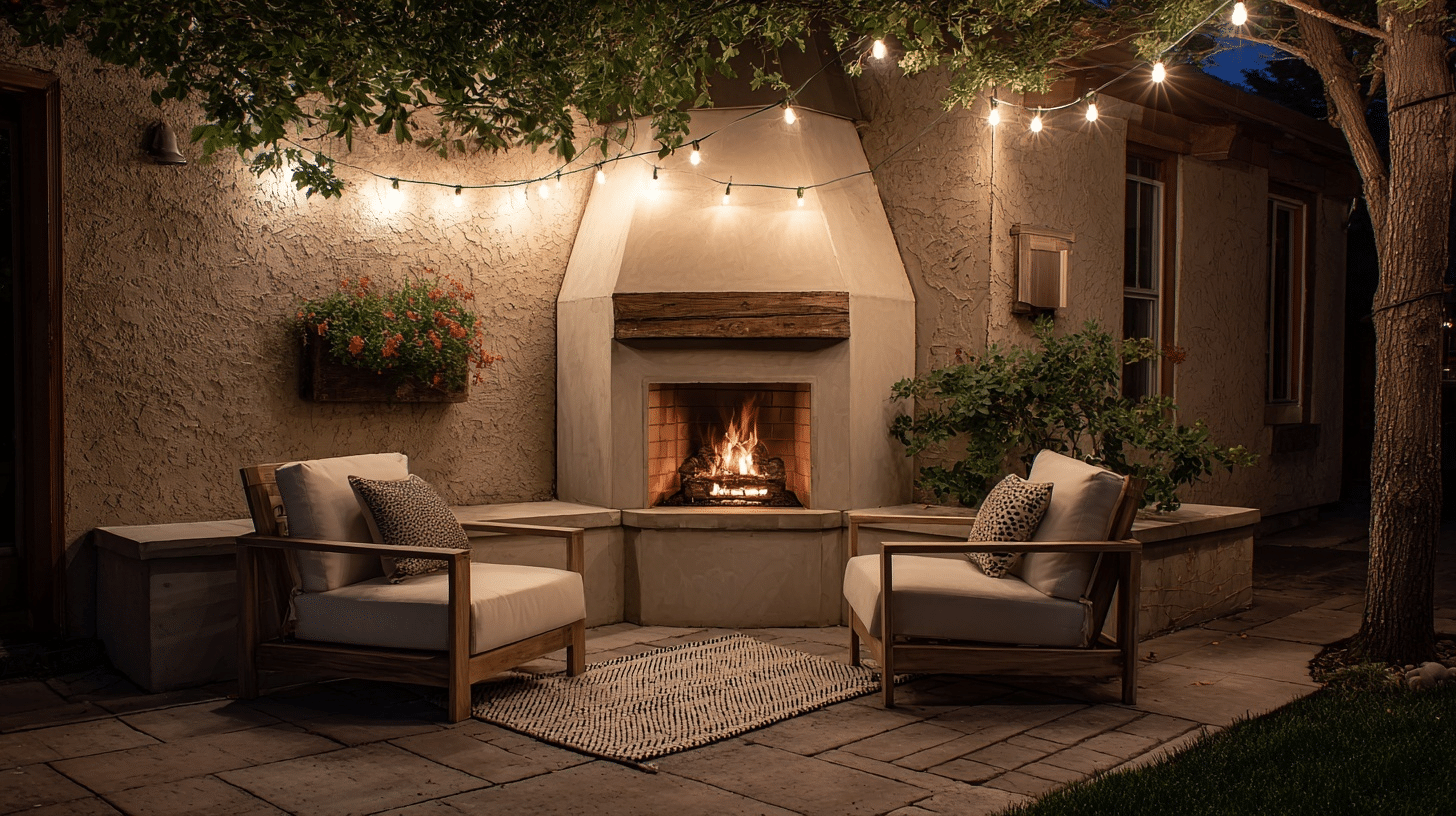
8. Stucco Finish Fireplace
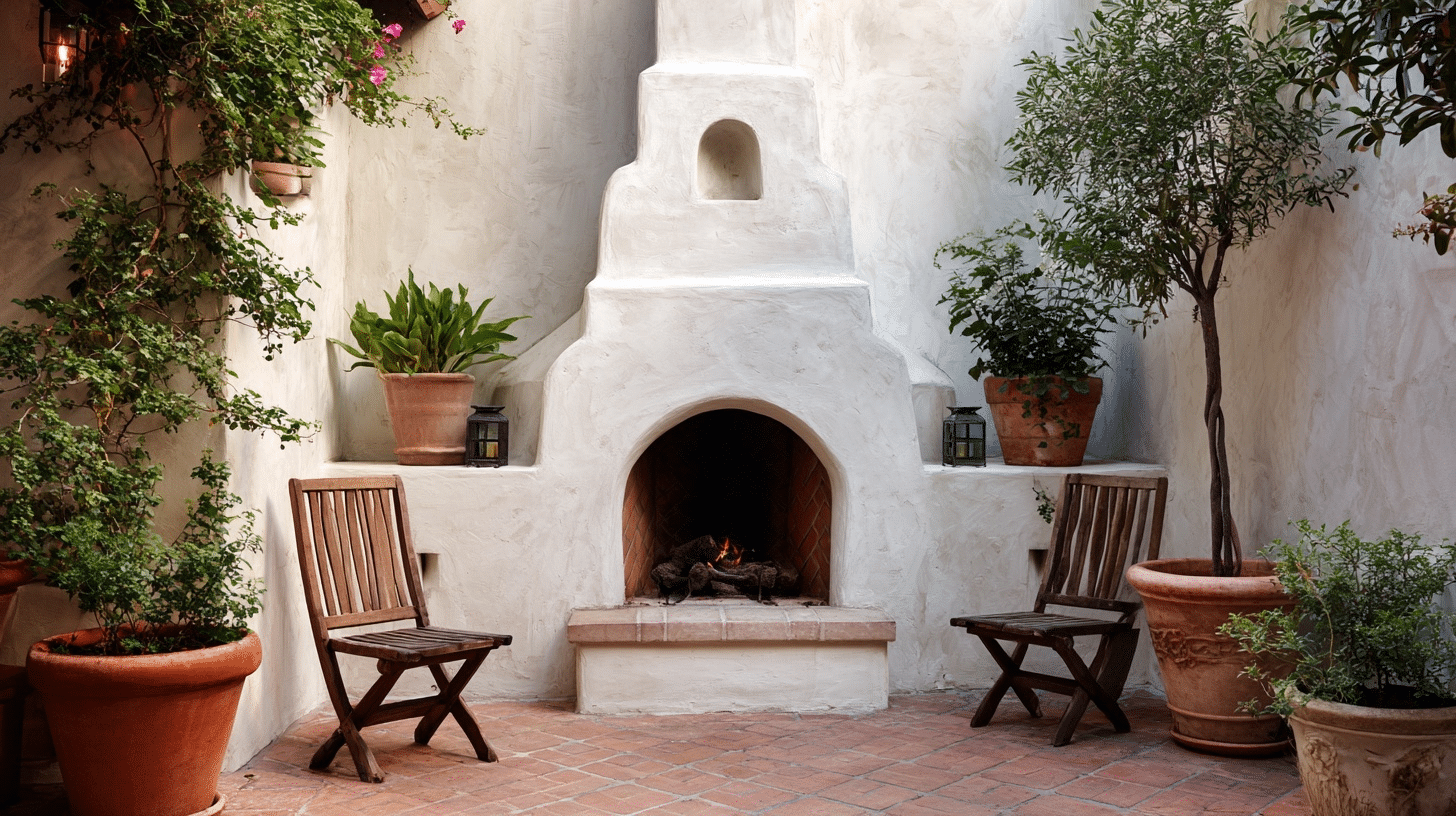
Build your basic structure, then apply stucco over it for a smooth, Mediterranean look. You can tint the stucco any color you like.
This finish hides imperfections in your masonry work. It also provides extra weather protection for the underlying materials.
9. Reclaimed Material Fireplace
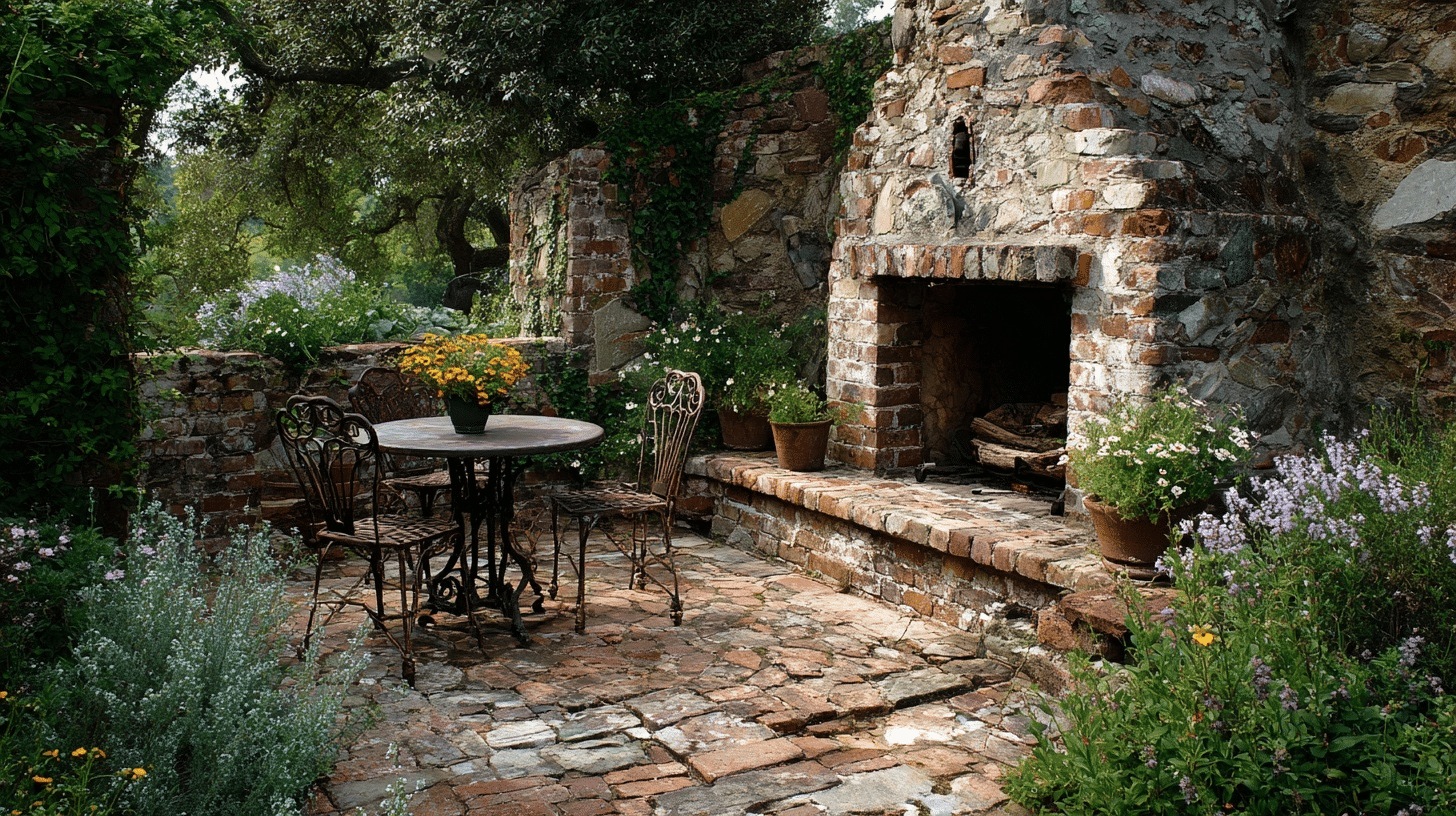
Use salvaged bricks, stones, or pavers from demolition sites or from the marketplace. Each piece adds character and history to your build.
You’ll save money while creating something unique. Just make sure fire bricks still line the actual burning chamber.
10. Tall Chimney Statement Piece

Extend your chimney up to 6 or 7 feet for dramatic visual impact. The extra height improves smoke draw and keeps it away from guests.
You’ll need more materials and careful planning for stability. This style becomes a true centerpiece in your yard.
Overcoming Common Challenges
Even a well-built DIY outdoor fireplace can have issues.
Don’t worry if something isn’t working perfectly right away. Most problems have simple fixes you can handle yourself.
- Smoke blowing back into the seating area: Check your chimney height. It might be too short to create a proper draft. Add more height or install a chimney cap to redirect airflow.
- Mortar cracking after a few uses: You may have mixed it too thin or didn’t let it cure long enough. Reapply mortar in cracked areas and keep the fireplace covered during curing.
- Fire won’t stay lit: Your firebox might lack proper air circulation. Add small vents near the base, or adjust your wood stacking to improve airflow.
- Water pooling inside after rain: Poor drainage is the culprit. Drill small weep holes at the base or adjust the foundation slope.
- Bricks discoloring or flaking: Regular bricks can’t handle direct heat. Replace the interior surfaces of your outdoor fireplace with fire bricks rated for high temperatures.
Conclusion
You now know everything you need to start building. The process might seem big at first, but taking it one step at a time makes it manageable.
Remember to check your local codes before breaking ground and never rush the curing process.
An outdoor fire changes how you experience your yard. And knowing you built it yourself? That feeling never gets old.
Ready to create your DIY outdoor fireplace? Grab your materials this weekend and get started.
Share your finished project with us in the comments below!