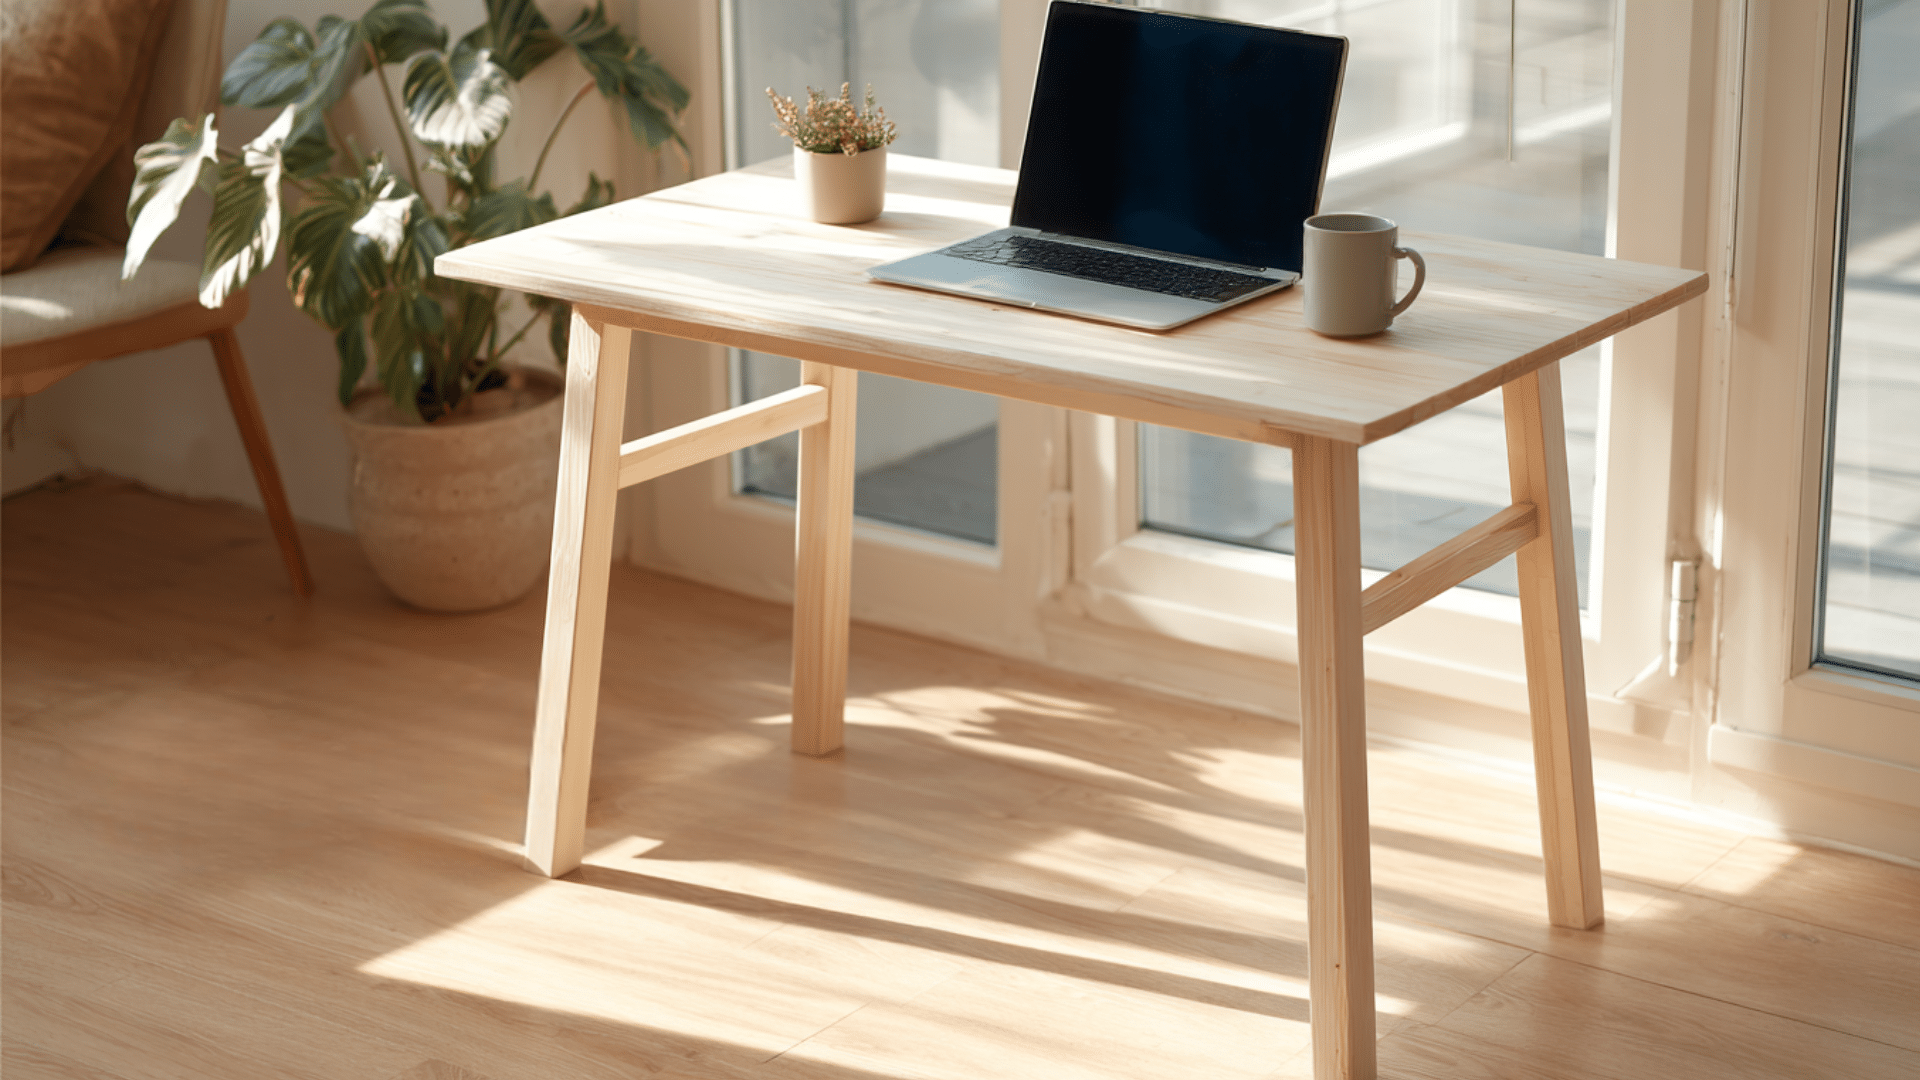

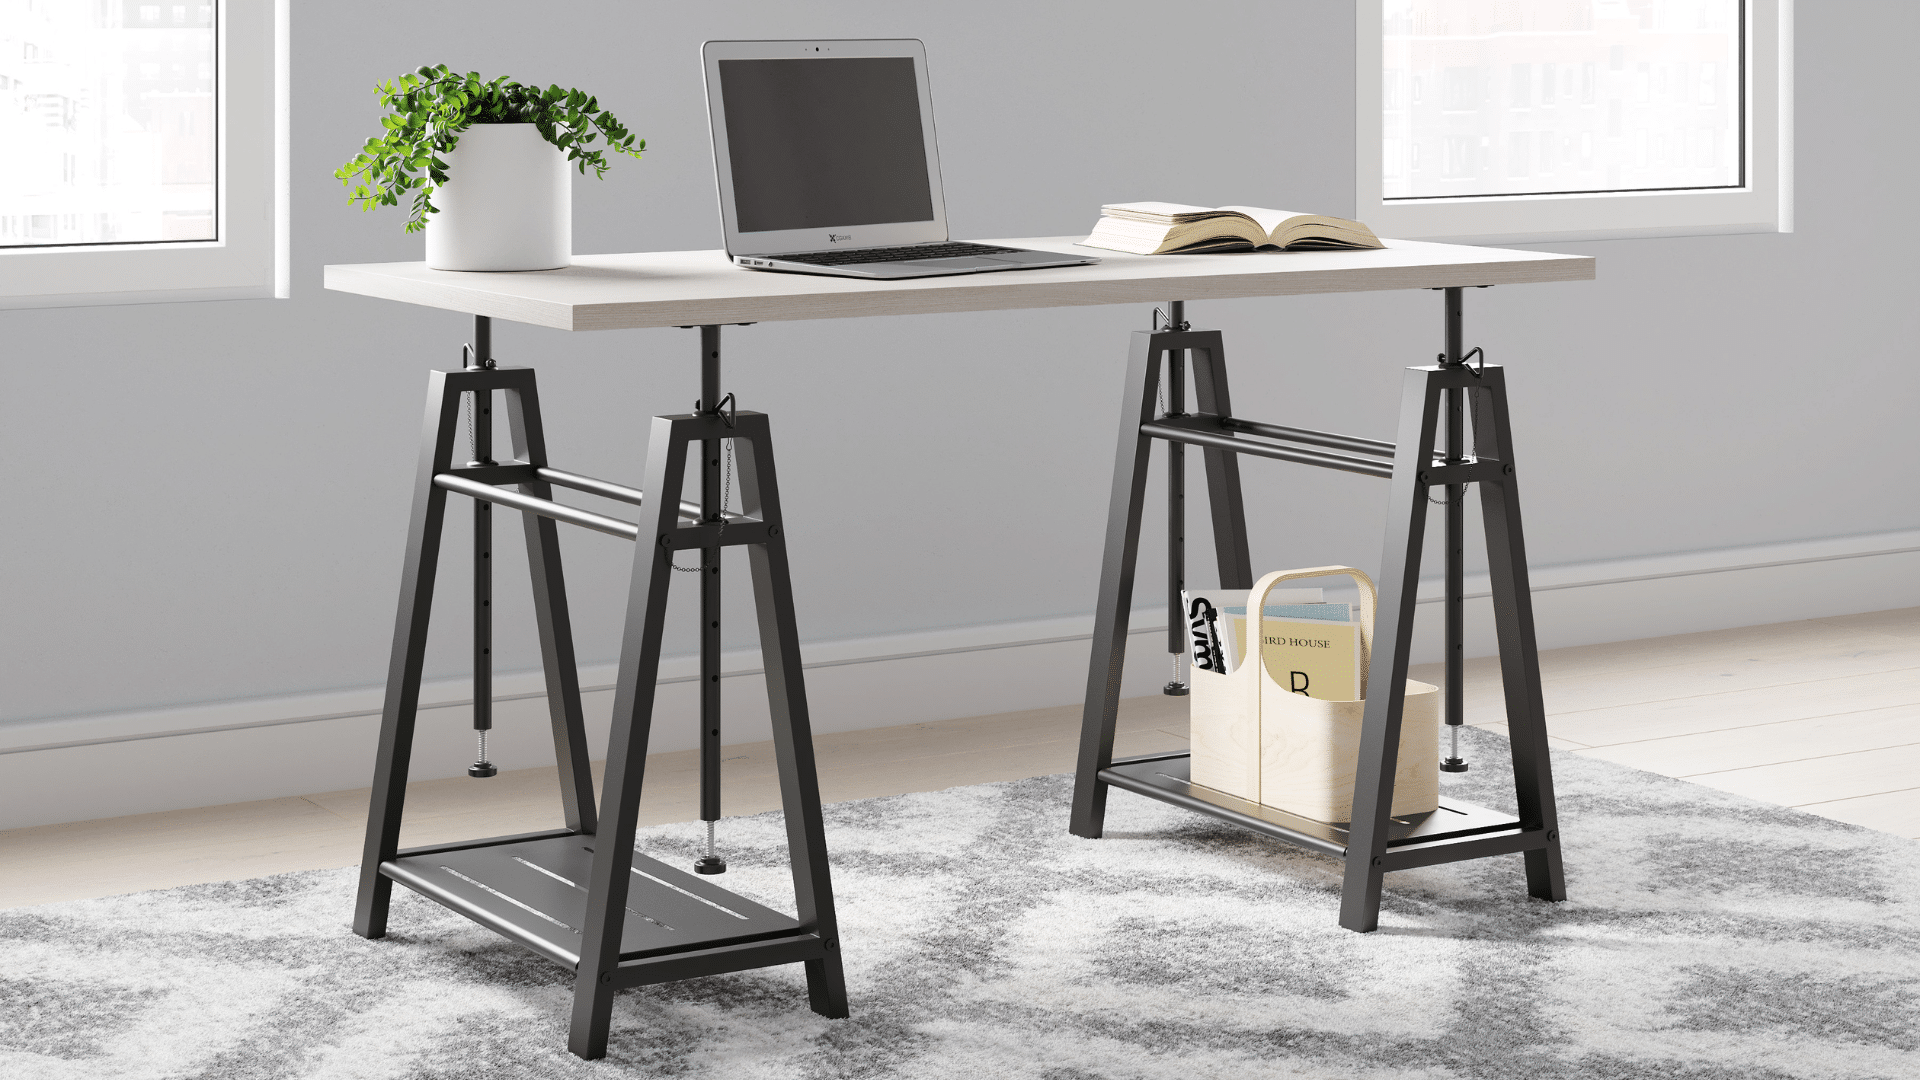
Standing desks cost $350 to over $1,000. You can build one yourself for much less with basic tools and simple materials, creating a functional desk that fits your space and budget.
In this blog, you will find step-by-step instructions for building a DIY standing desk.
You will see all the essential tools and materials, receive a cost breakdown, and some important tips, recommendations, and experiences.
Tools and Materials and Their Cost Overview
You’ll need some basic items to build your standing desk, and the estimated cost of the project $161-$303. Here’s everything you need to know.
| Materials | Tools | Cost |
|---|---|---|
| Plywood board (48″ x 24″) | Drill with bits | $25-$40 |
| Wood pieces (4×4 or 2×4) | Saw (circular or hand) | $15-$25 |
| Wood screws (2.5″ and 3″) | Measuring tape | $8-$15 |
| Wood glue | Level | $5-$20 |
| Sandpaper (120 and 220 grit) | Pencil | $6-$10 |
| Wood stain or paint | Safety glasses | $10-$20 |
| Polyurethane sealant | – | $12-$18 |
Step-by-Step Instructions for a DIY Standing Desk

Building your standing desk is easier than you think. Take your time and don’t rush. The whole process takes about 3-4 hours.
Let’s build something you’ll use every day.
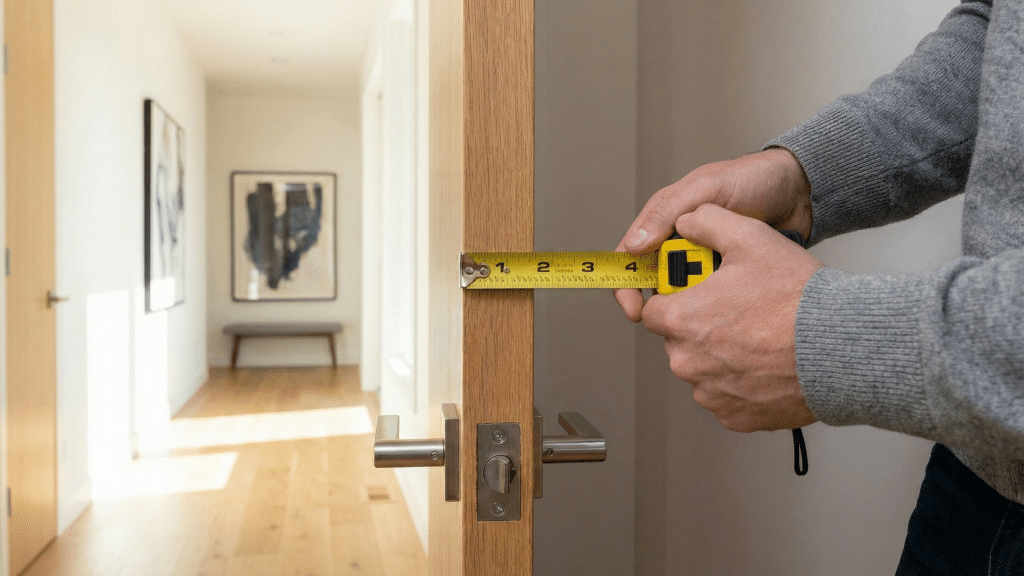
Step 1: Measure and Plan Your Desk Height
First, determine your ideal desk height by standing straight with arms at your sides, bending your elbows at 90°, and measuring from the floor to your forearms.
Add 1-2 inches for the keyboard, then note the measurement.
Step 2: Cut the Wood Pieces
Mark your measurements on plywood and legs, double-check, then cut the desk surface and four legs to size. Sand edges smooth to prevent splinters.
Step 3: Assemble the Frame
Start building the base structure. Lay four legs on a flat surface. Connect with support beams to form a rectangle. Use wood glue, then drill pilot holes.
Screw everything tightly. Ensure the frame is solid and wobble-free.
Step 4: Attach the Desktop Surface
Place the plywood on the frame, centered with equal overhang on both sides.
Mark where the legs meet, then drill pilot holes from underneath. Apply wood glue to the top of the frame, then screw the desktop down securely.
Step 5: Add Cross Braces for Stability
Your desk needs extra support to handle the weight. Cut two wooden pieces to fit diagonally between opposite legs.
Attach cross braces underneath to prevent wobbling and ensure stability. Use screws and glue for durability.
Step 6: Sand and Finish the Surface
Time to improve your desk. Sand with 120-grit, then 220-grit for a smooth finish. Wipe dust, then apply stain or paint in thin, even coats, drying completely between layers.
Step 7: Apply Protective Coating and Final Touches
Seal your work with two to three thin coats of polyurethane, drying each for 4-6 hours.
Sand lightly between coats. Once dry, flip the desk upright, check for levelness, and it’s ready to use.
DIY Standing Desk Ideas
Here are different ways to create your standing desk. Each one offers unique benefits based on your space and needs.
1. Pipe and Wood Standing Desk
Use metal pipes as legs with a wooden top for an industrial look in modern spaces.
Pipes are strong, adjustable by swapping sections, and cost around $80-$120. They’re sturdy for heavy monitors and equipment.
2. Modest Floating Standing Desk

Mount a simple board to wall studs with heavy-duty hidden brackets for support, creating a floating, modern desk look.
Keep the design clean with modern decorations suited to modest spaces. Ensure brackets support equipment weight safely.
3. Bookshelf Conversion Standing Desk
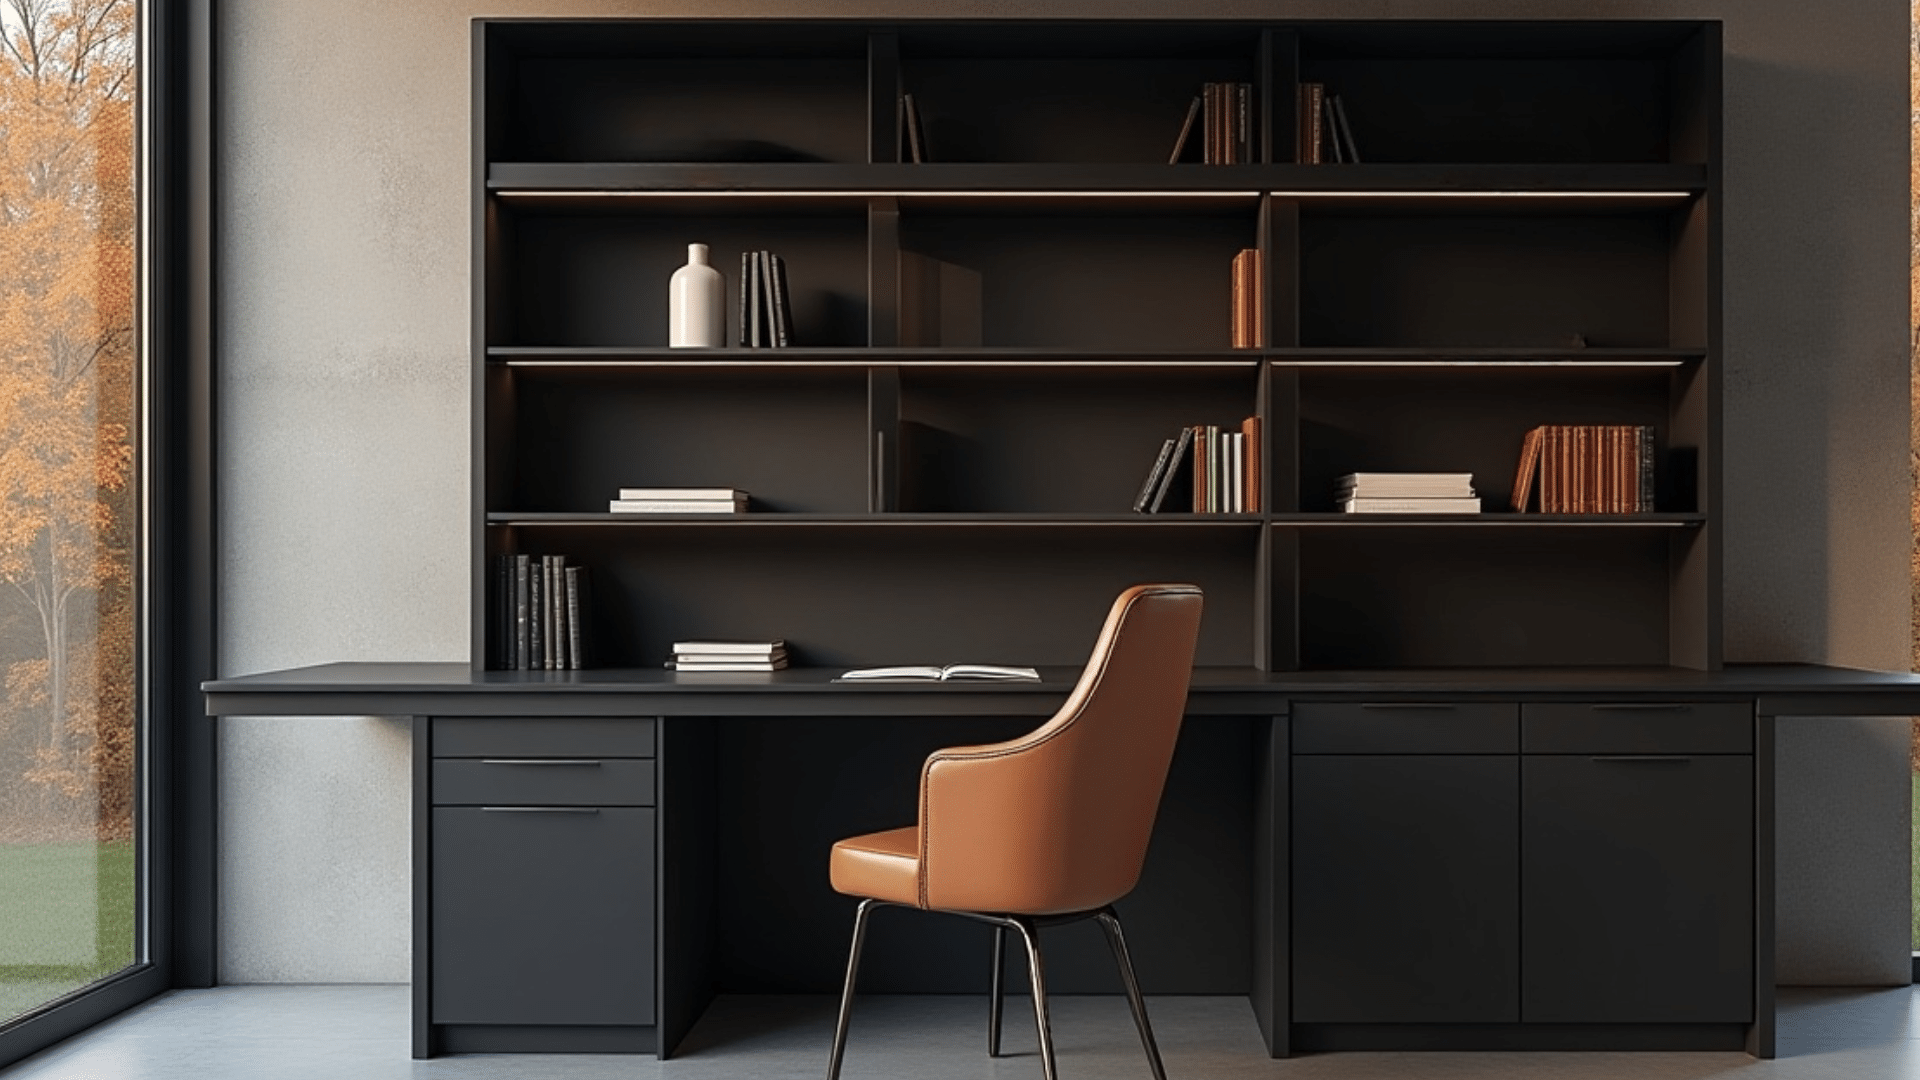
Turn a tall bookshelf into a standing desk by removing the shelves to create leg space and using the remaining shelves for storage.
Attach a front board for extra depth. Ideal for small spaces.
4. Sawhorse Standing Desk
Two sawhorses and a plank form a simple, portable desk that adjusts in height.
It can be moved easily between rooms, set up in under five minutes, and costs between $50 and $90. Ideal for temporary workspaces or renters.
5. Kitchen Counter Height Standing Desk
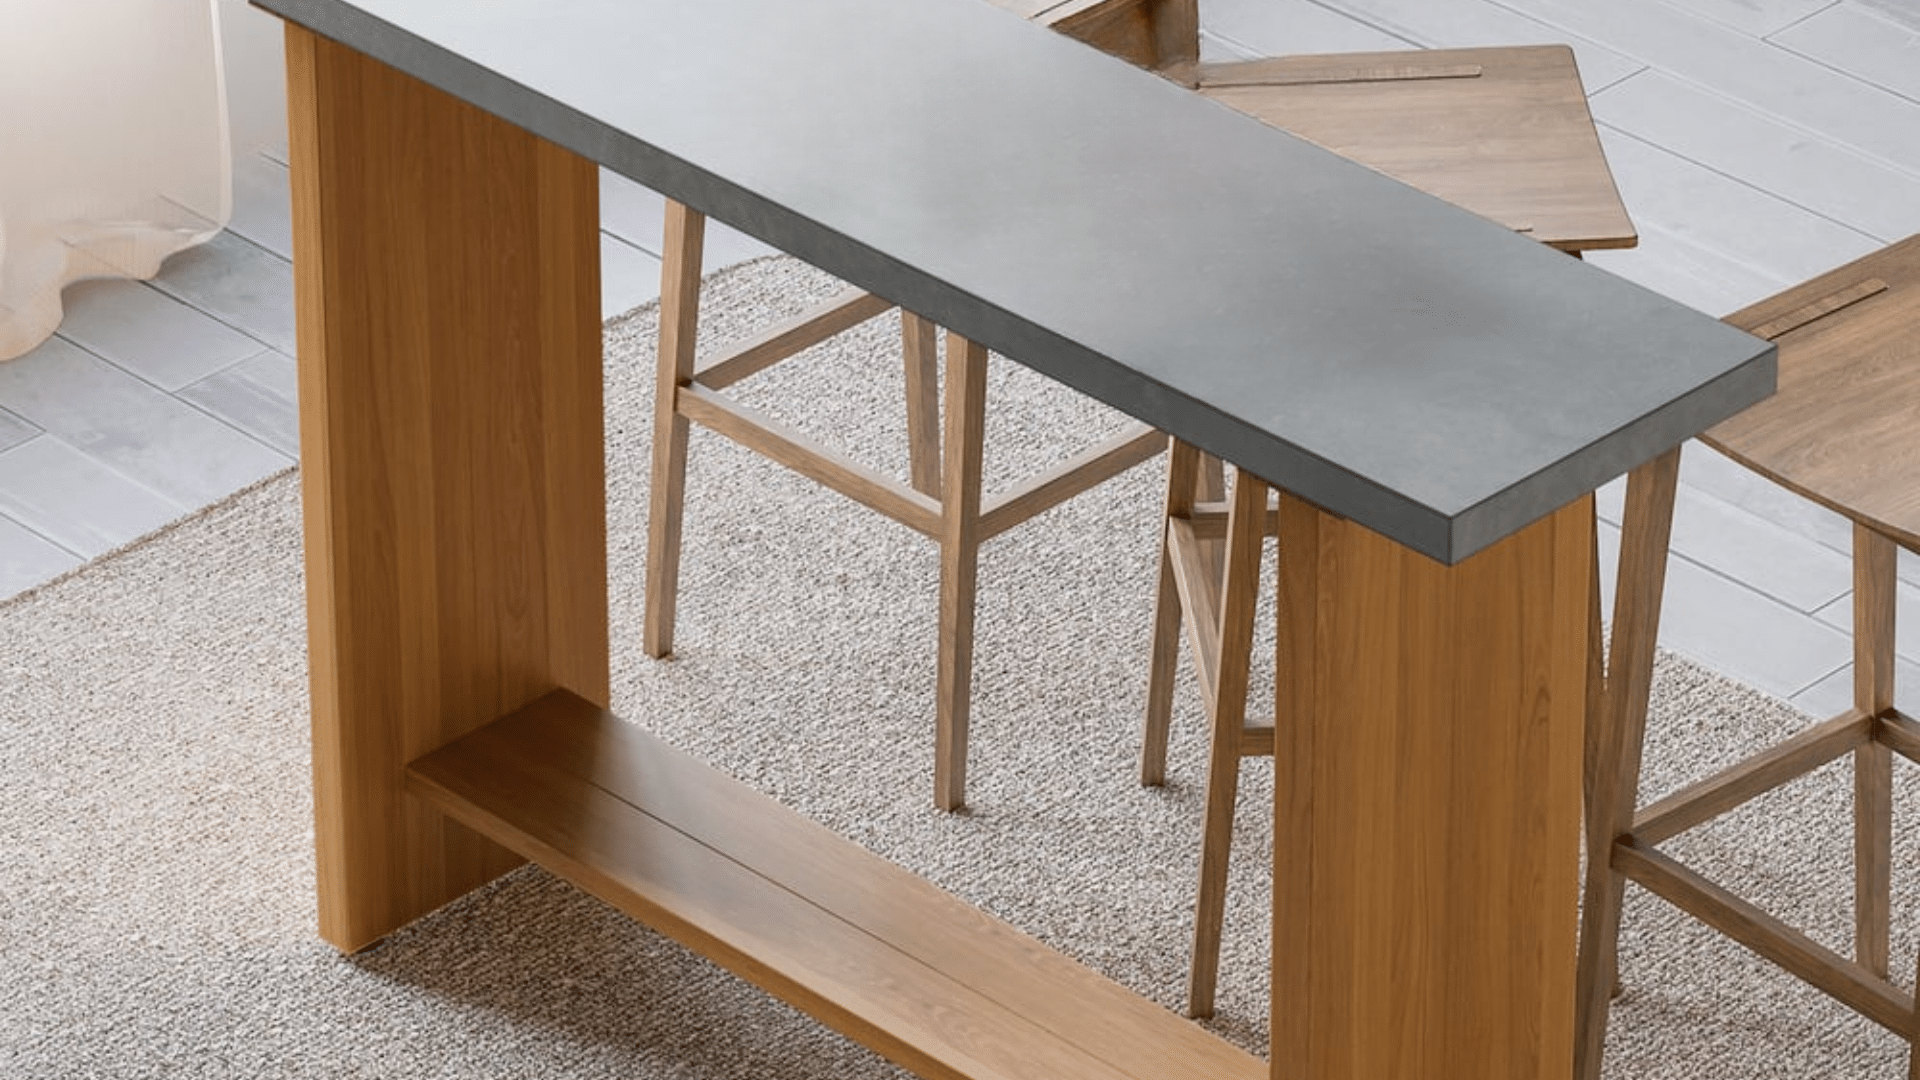
Build a desk at kitchen-counter height using matching materials and finishes for a cohesive look in open floor plans.
The standard height is 36 inches, suitable for most people. This helps the desk blend with existing furniture and look intentional.
6. Countertop Riser Desk
Place sturdy wooden risers or blocks under an existing countertop or table to raise it to standing height.
This setup works well for kitchens or laundry rooms that already have counter space.
7. Pallet Standing Desk
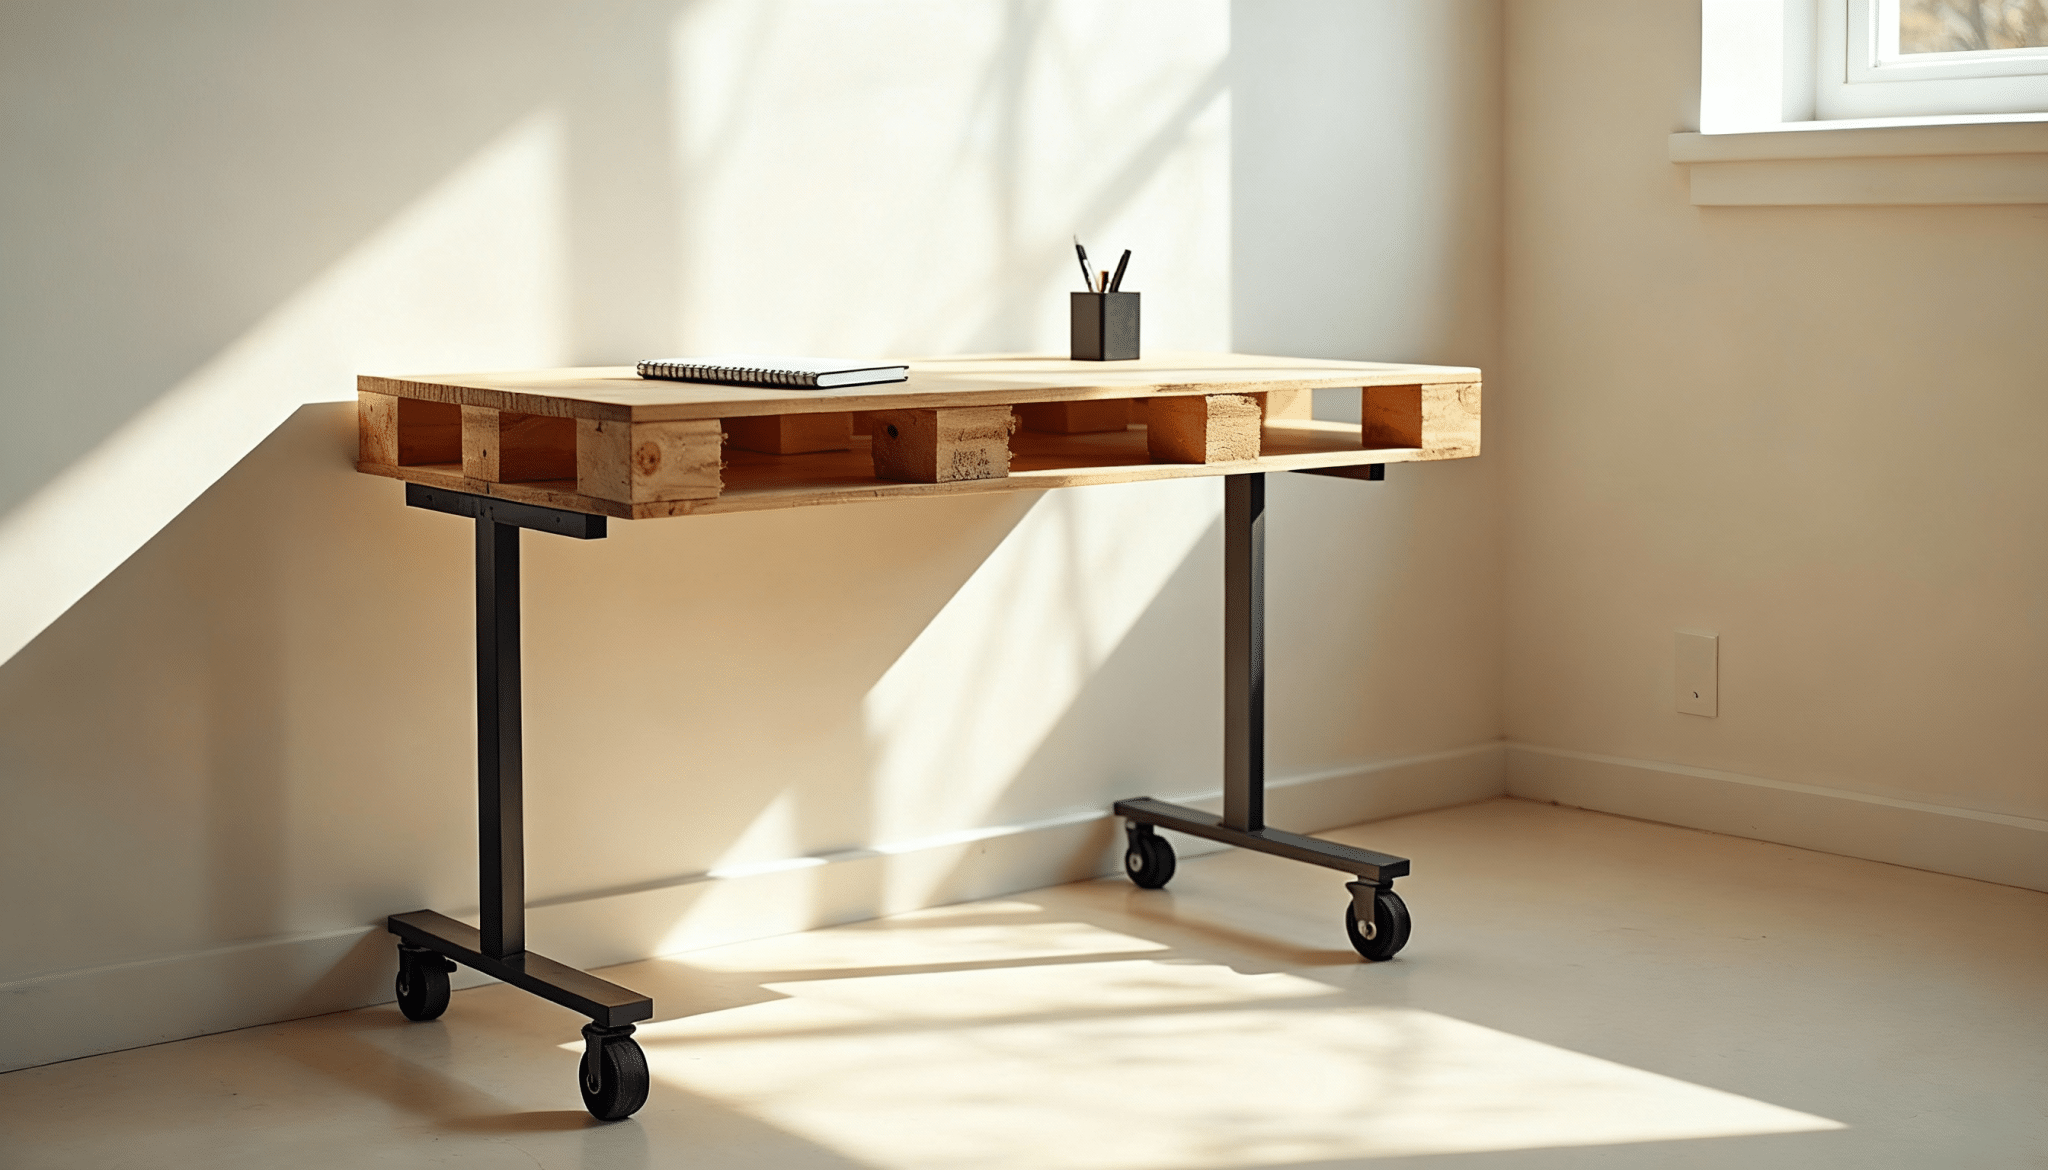
Reclaim wood pallets to create a rustic, eco-friendly desk. Use one pallet as the base and another as the desktop. Sand, paint, or stain for a smoother finish, and add casters for mobility.
8. Repurposed Door Standing Desk
An old, solid-core door makes a sturdy, flat, wide desk. Attach legs with brackets, then sand and refinish before assembly. Hollow doors can’t bear weight.
The cost is under $100 for a large workspace.
9. Adjustable PVC Pipe Desk
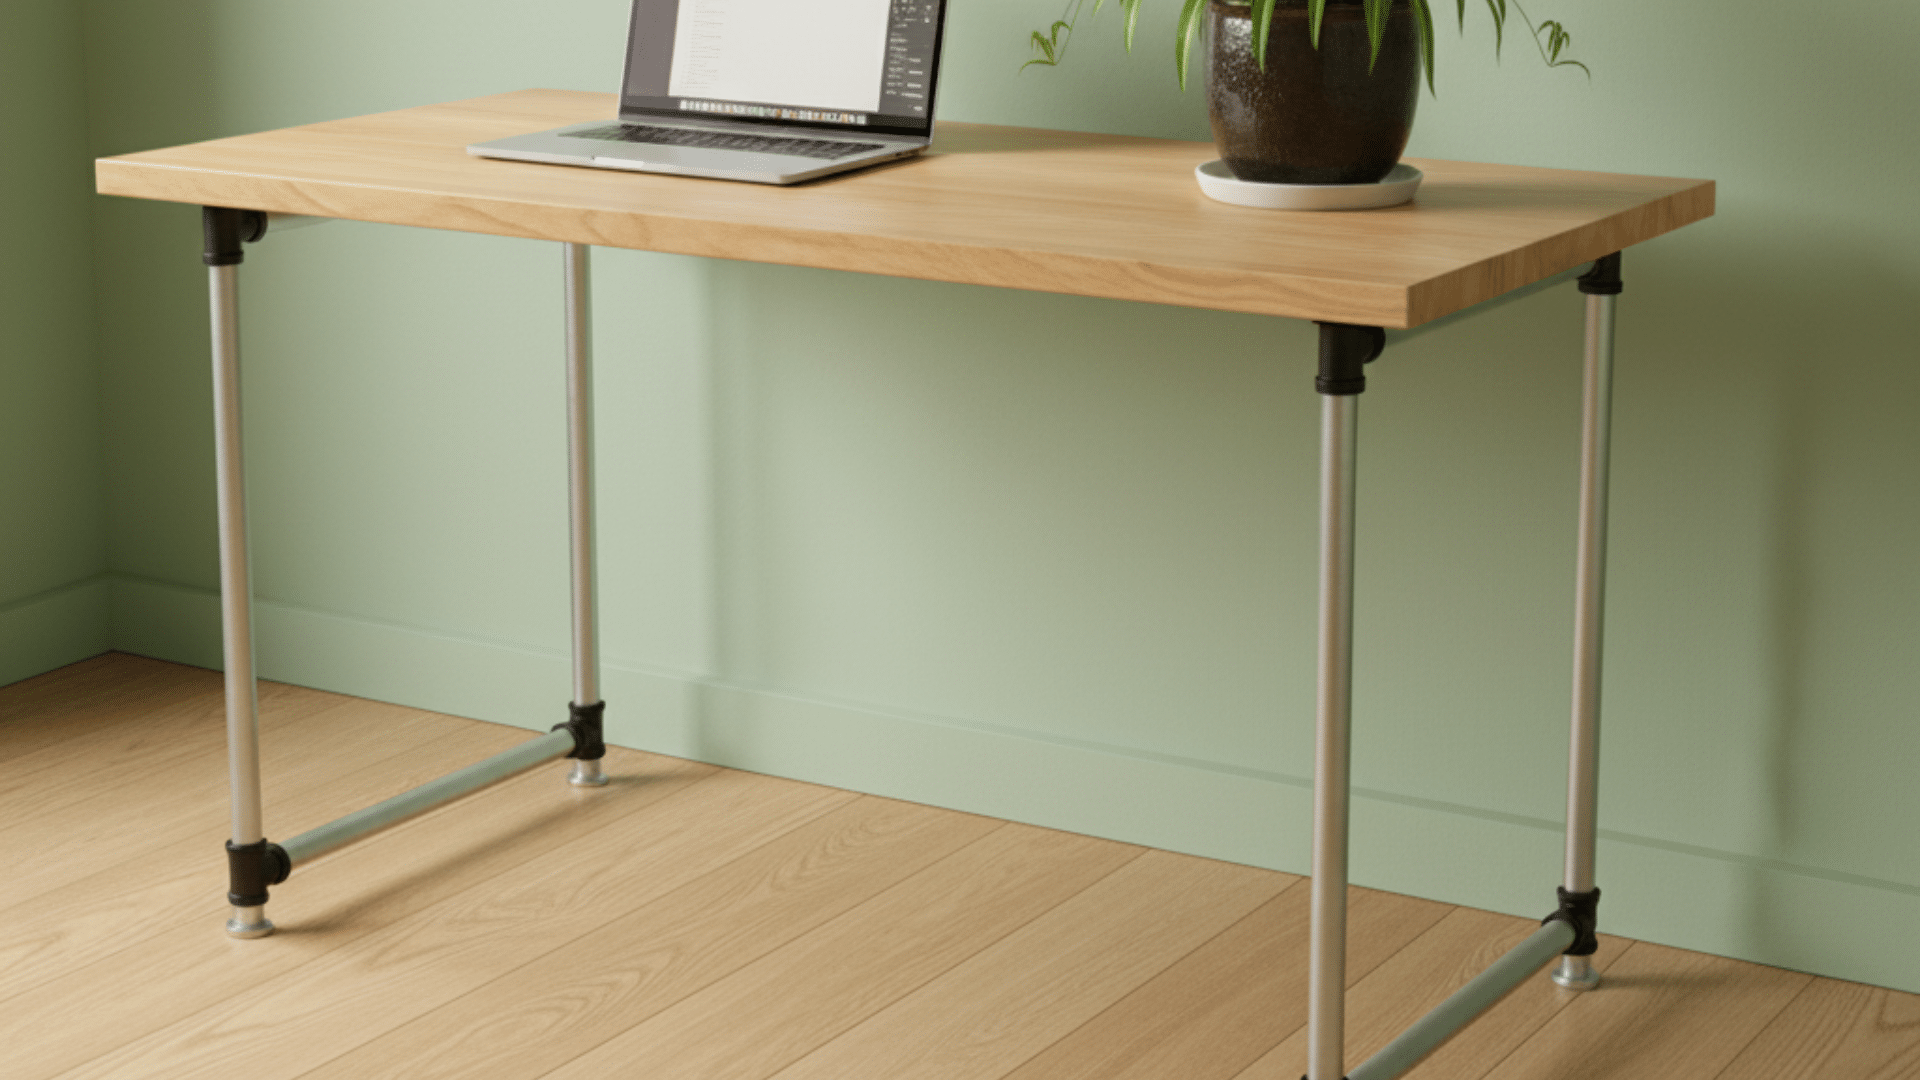
Cut PVC pipes and connectors to form a lightweight, portable standing desk frame. Easy to customize for height or width.
Spray-paint it any color for a cleaner finish.
10. Corner L-Shaped Standing Desk
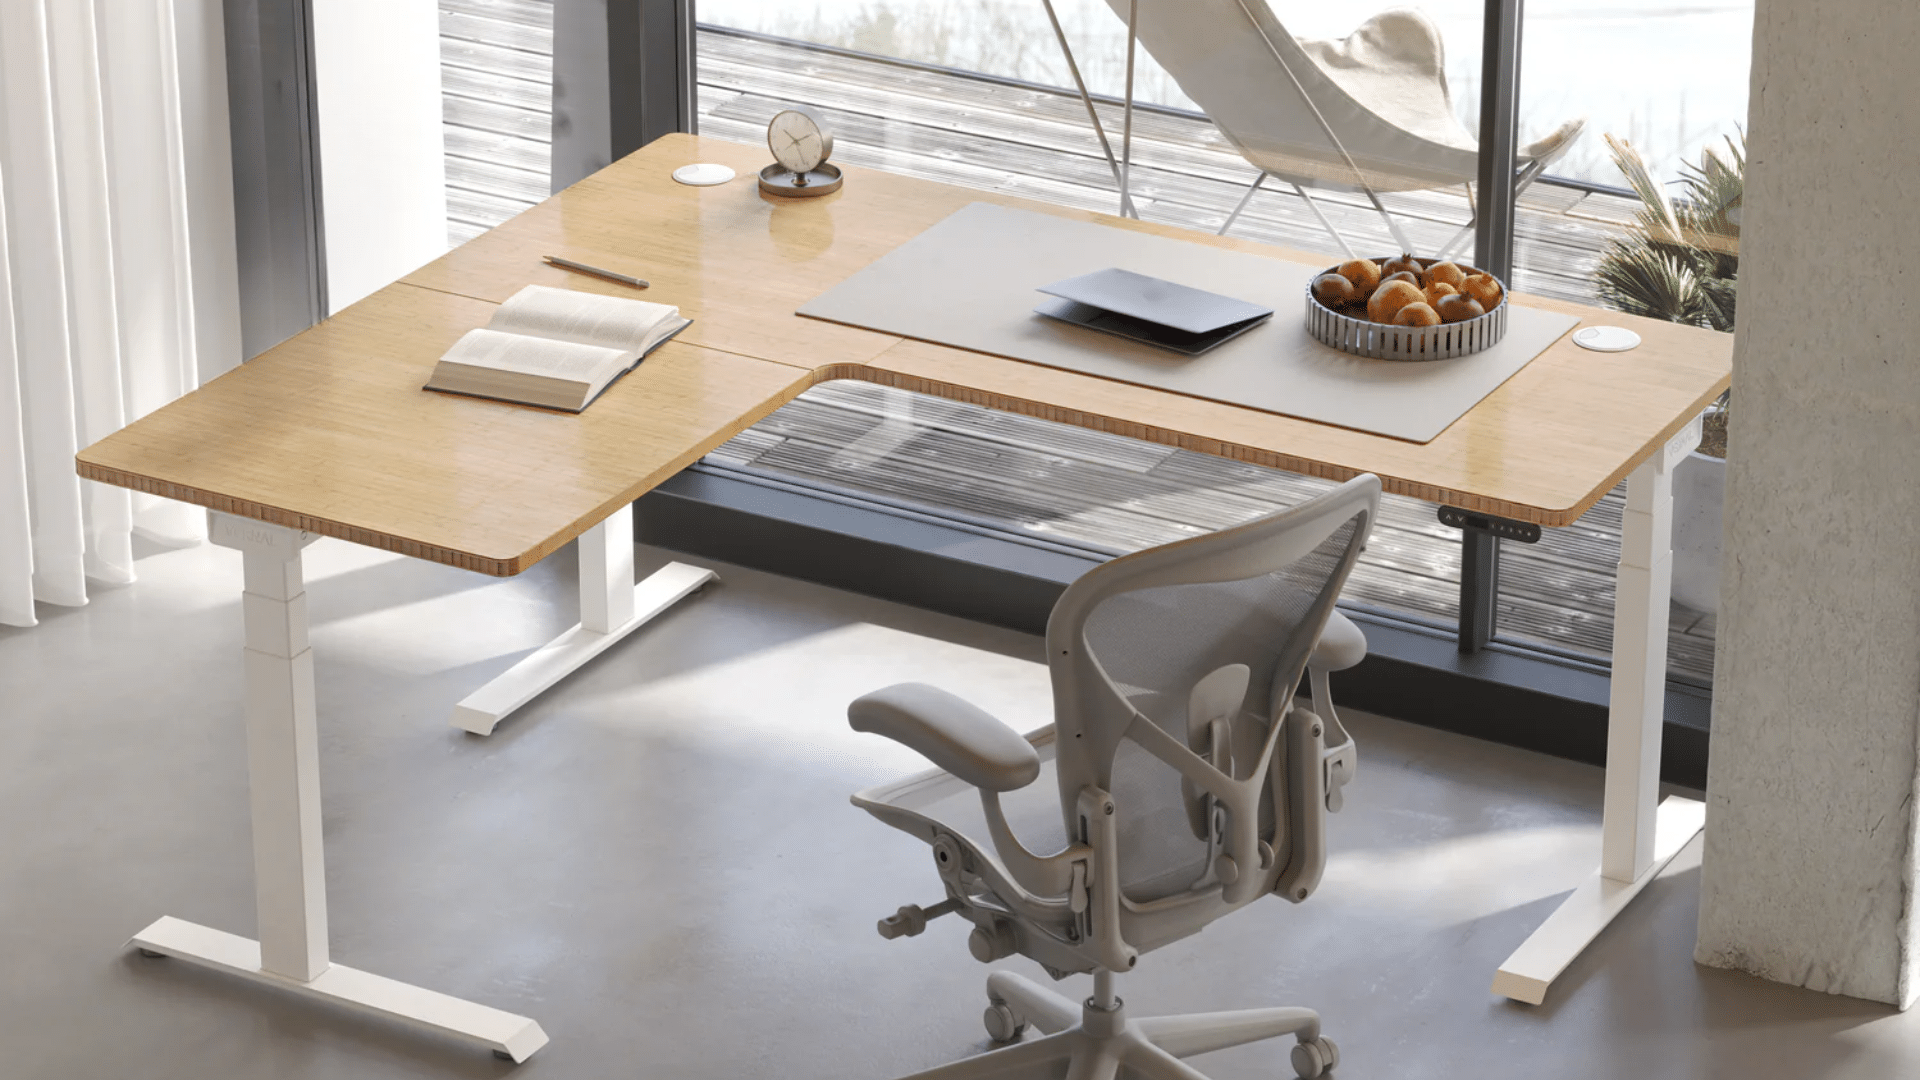
Maximize corner space with an L-shaped design by building two surfaces at 90 degrees, creating separate computer and paperwork areas.
Support the joint with an extra leg. Measure carefully before cutting. Ideal for limited-space home offices.
Key Considerations While Building a Standing Desk
Building your own standing desk takes a bit of planning. Keep these key points in mind to make sure your desk is sturdy, comfortable, and built to last.
- Measure desk height at elbow level when standing.
- Use sturdy wood that supports at least 50 pounds.
- Ensure all legs are equal length for stability.
- Leave enough legroom underneath.
- Sand surfaces well to prevent splinters.
- Apply thin, even finish coats and let them dry fully.
- Check level and stability before tightening screws.
- Keep cross braces clear of leg space.
- Work in a well-ventilated area when using stain or paint.
A DIY standing desk may seem challenging, but with the right tools, materials, and measurements, it becomes easy.
Remember to take your time with each step. Measure twice, cut once. Sand everything smooth. And don’t skip the protective coating.
A standing desk helps you work, reduces back pain, and boosts your energy levels.