
Old kitchen cabinets drain the life out of any room. Homeowners know that replacing them costs thousands, but living with dated, worn cabinets feels depressing every single day.
Laminate cabinet refacing offers the perfect solution for a complete change at a fraction of the replacement cost.
The right materials and proper technique make cabinets look brand new without demolition.
This blog covers everything needed for a successful refacing project.
From adhesive sheets and edge banding to tools and prep supplies, people will learn exactly what to buy and how each item works in the refacing process.
Why Refacing Instead of Replacing?
Refacing cabinets means giving your old cabinets a fresh new look without tearing them out.
Instead of replacing the whole cabinet, you keep the strong box and update the outside with new laminate, veneer, or peel-and-stick film. This makes your kitchen look modern without the mess and cost of a complete remodel.
Refacing is faster, cleaner, and much more budget-friendly than replacing everything. It’s also eco-friendly since you’re reusing what you already have instead of sending it to the landfill.
If your cabinets are sturdy but just look outdated, refacing is the perfect way to upgrade your space.
Supplies for Laminate Cabinet Refacing
Below are the basic tools and supplies you’ll need to make your cabinet refacing project smooth and successful:
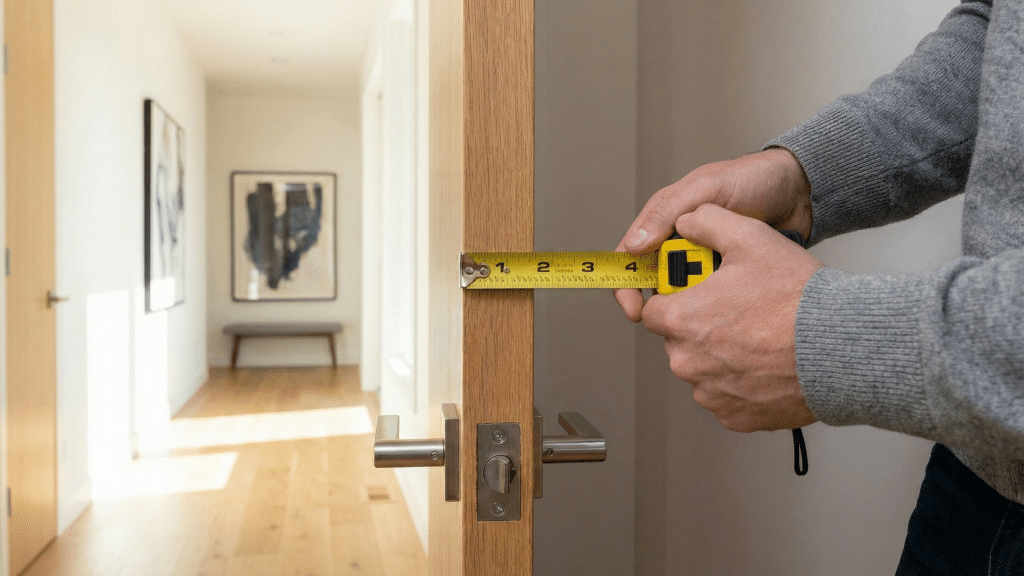
- Measuring Tape: For accurate measurements before cutting veneers or films.
- Utility Knife or Scissors: To cut laminate, film, or edge banding.
- Straight Edge or Ruler: Helps make clean, straight cuts.
- Roller or Squeegee: Smooths out bubbles and ensures good adhesion.
- Edge-Banding Trimmer: Cleans and trims extra edge banding for a neat finish.
- Iron or Heat Gun: Used when choosing heat-activated edge banding.
- Sanding Block & Sandpaper: Prepares cabinet surfaces by smoothing rough areas.
- Tack Cloth: Wipes away dust and dirt before applying new coverings.
- Clamps: Hold materials in place while the glue sets, if using adhesives.
- Protective Gear: Gloves, mask, and safety glasses to stay safe during sanding or gluing.
Materials Required For Cabinet Refacing
Below are some key materials used in cabinet refacing projects. Choosing the right ones will help you get a fresh, durable, and professional look for your cabinets:
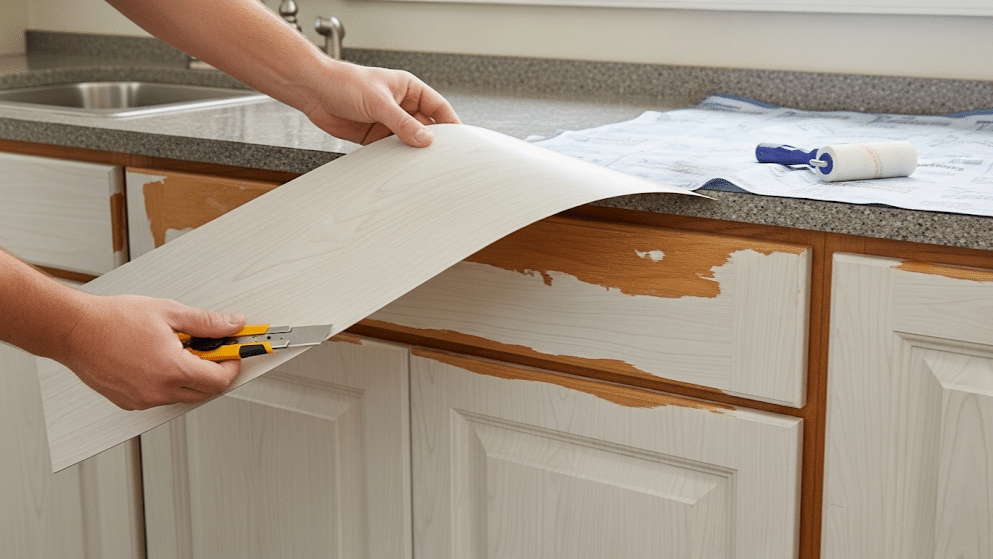
1. Peel-and-Stick Laminate Films
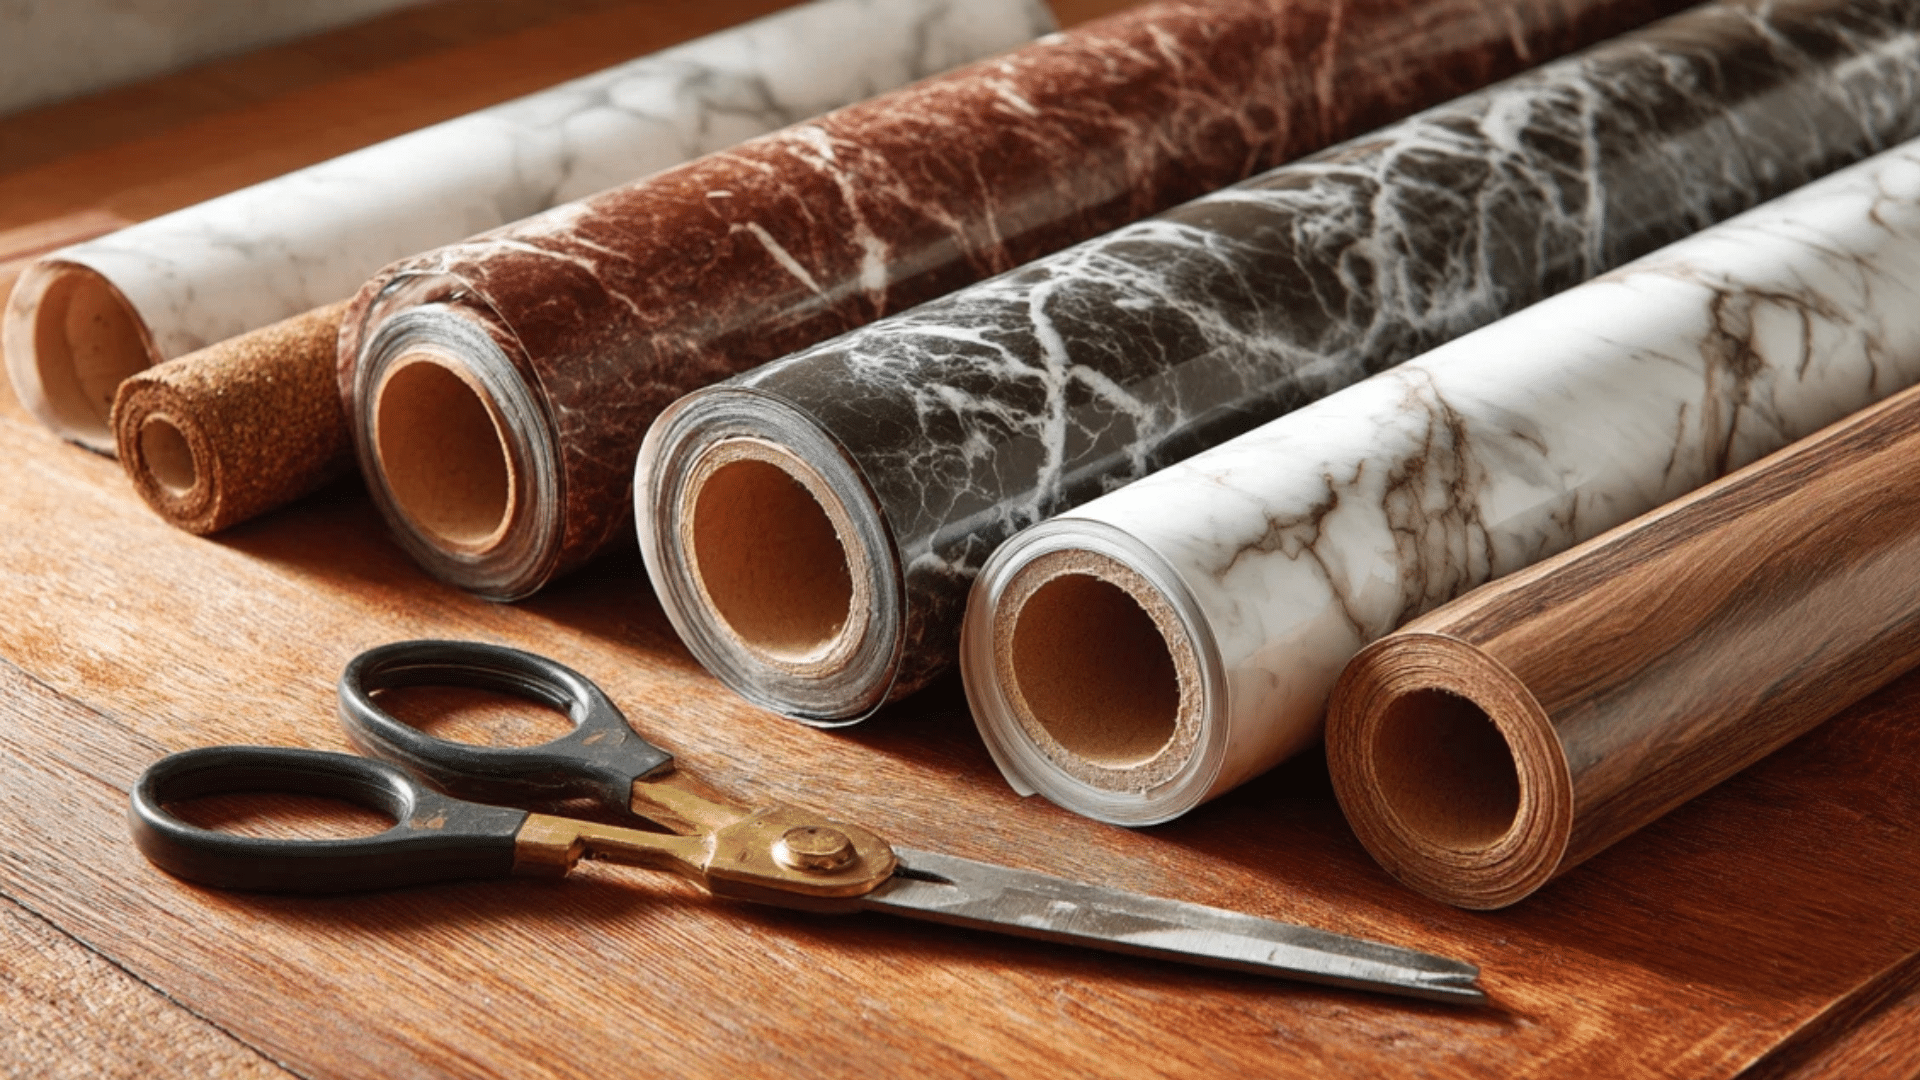
Peel-and-stick films are like big stickers for your cabinets. They come in rolls or sheets and are easy to cut and apply. They stick directly onto your cabinet surfaces without glue, making them a beginner-friendly option.
They’re available in many designs, colors, and textures.
2. Wood Veneers
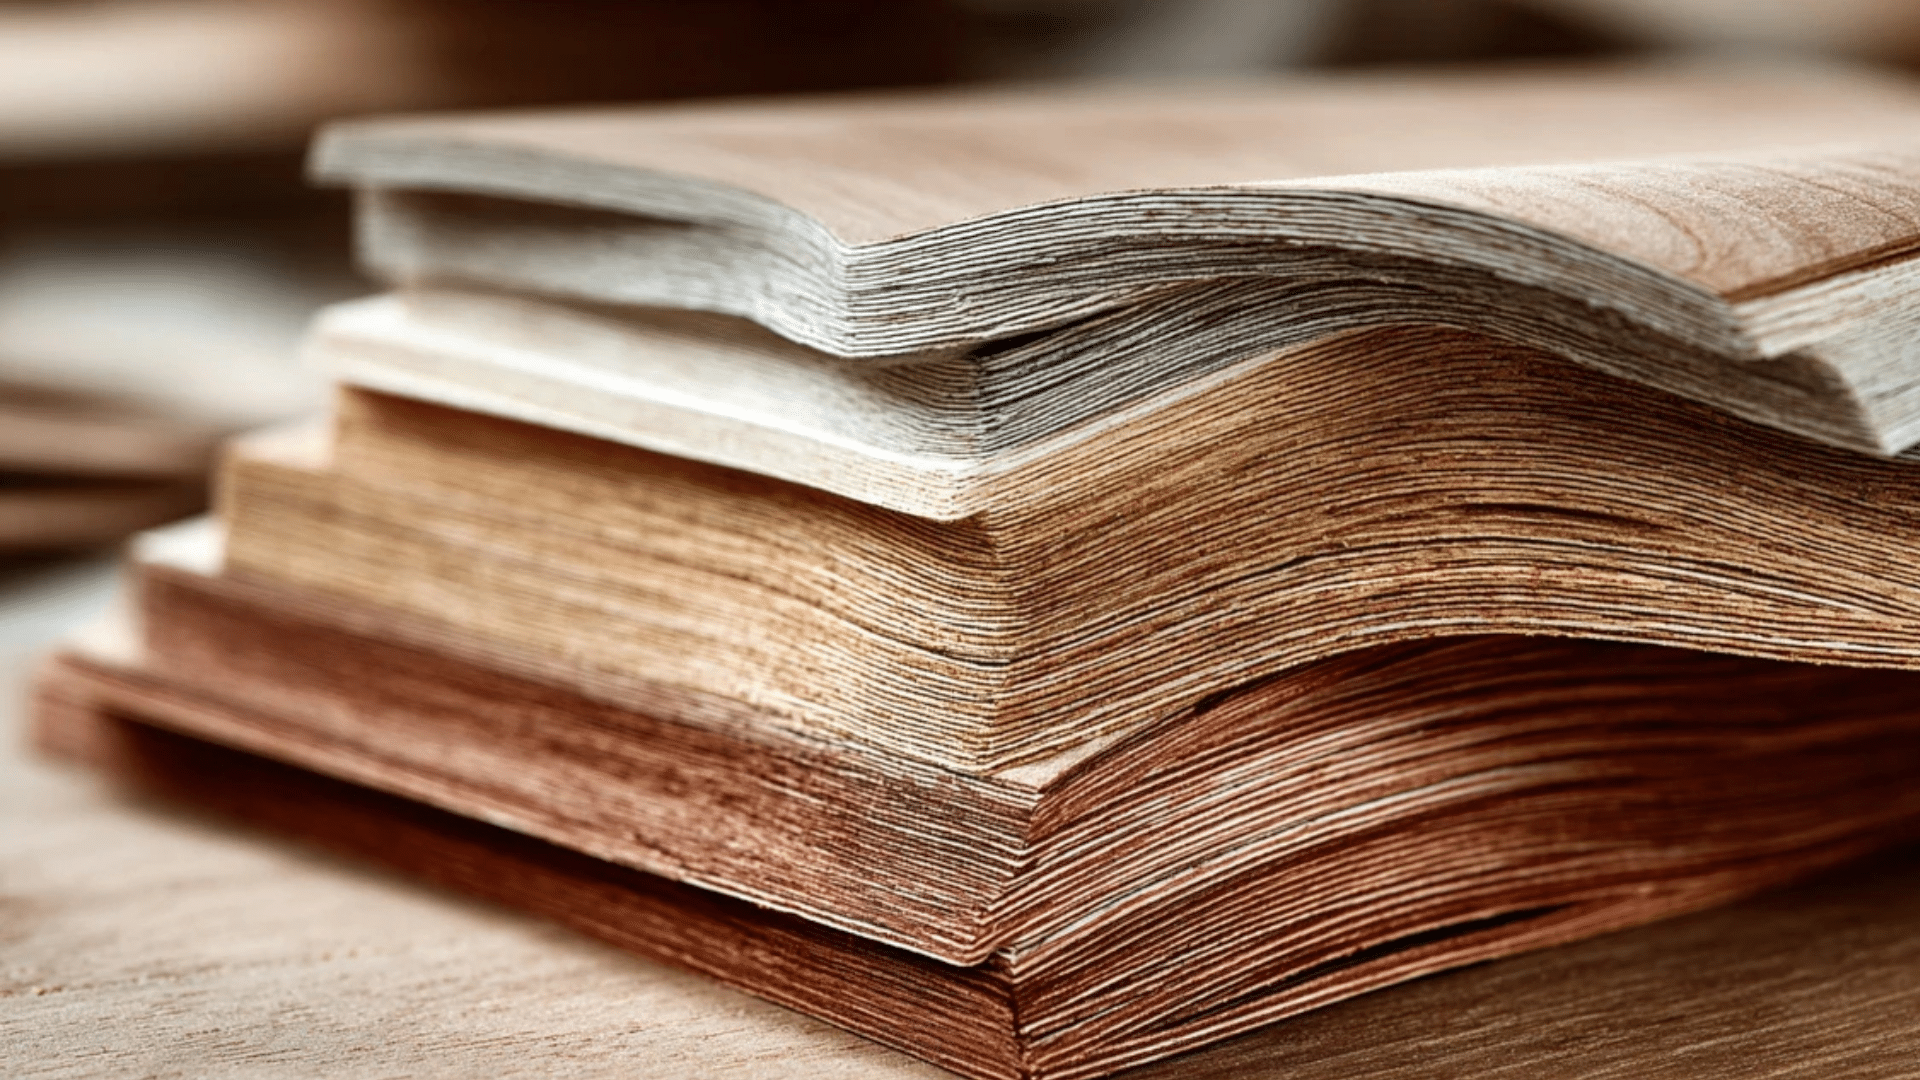
Wood veneers are thin sheets of real wood used to cover cabinet surfaces. They give a natural, inviting look and make old cabinets look brand new.
Veneers come in different styles, like peel-and-stick or glue-on. They are more high-end and usually cost more than laminates.
3. Plastic Laminates
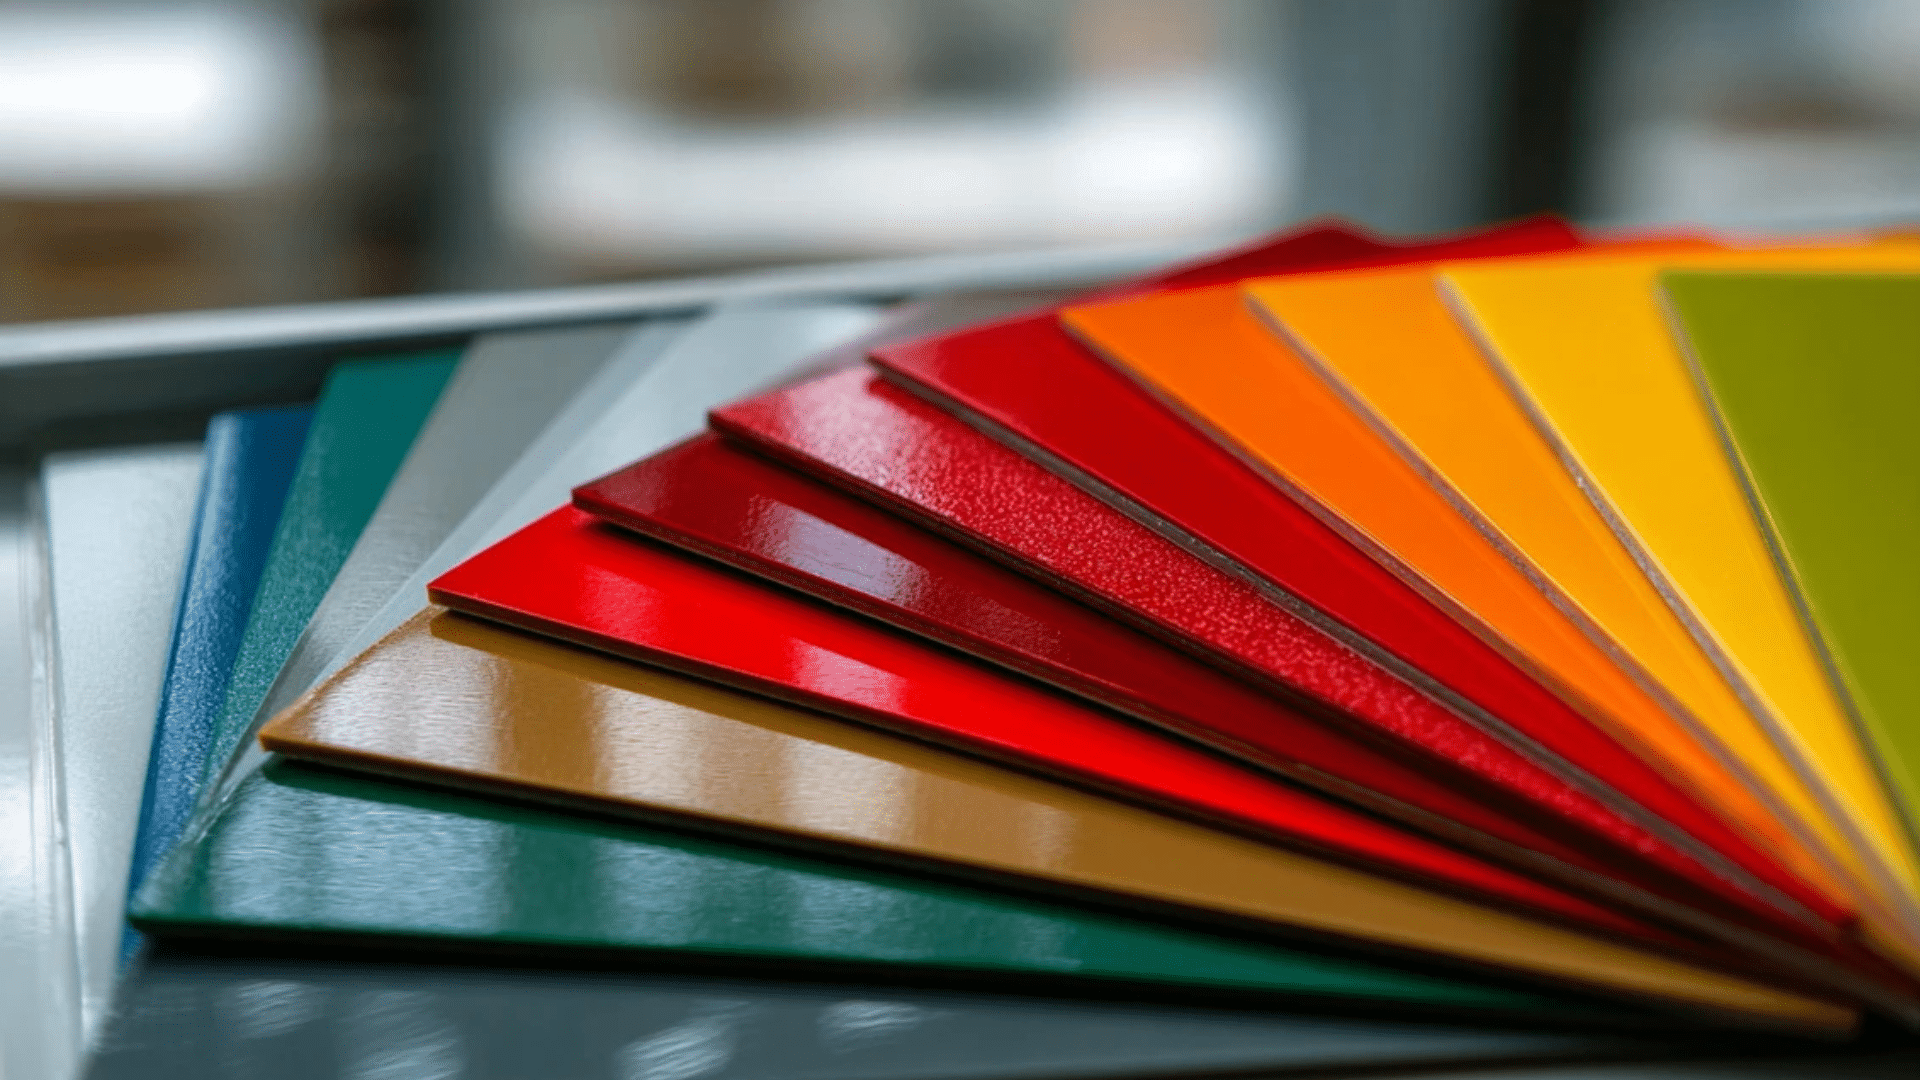
Plastic laminates are strong, budget-friendly, and easy to clean. They’re perfect for busy kitchens because they resist scratches, stains, and daily wear.
Unlike wood veneers, laminates don’t look like real wood, but they come in many styles and colors. They’re a practical choice for long-lasting results.
4. Edge Banding
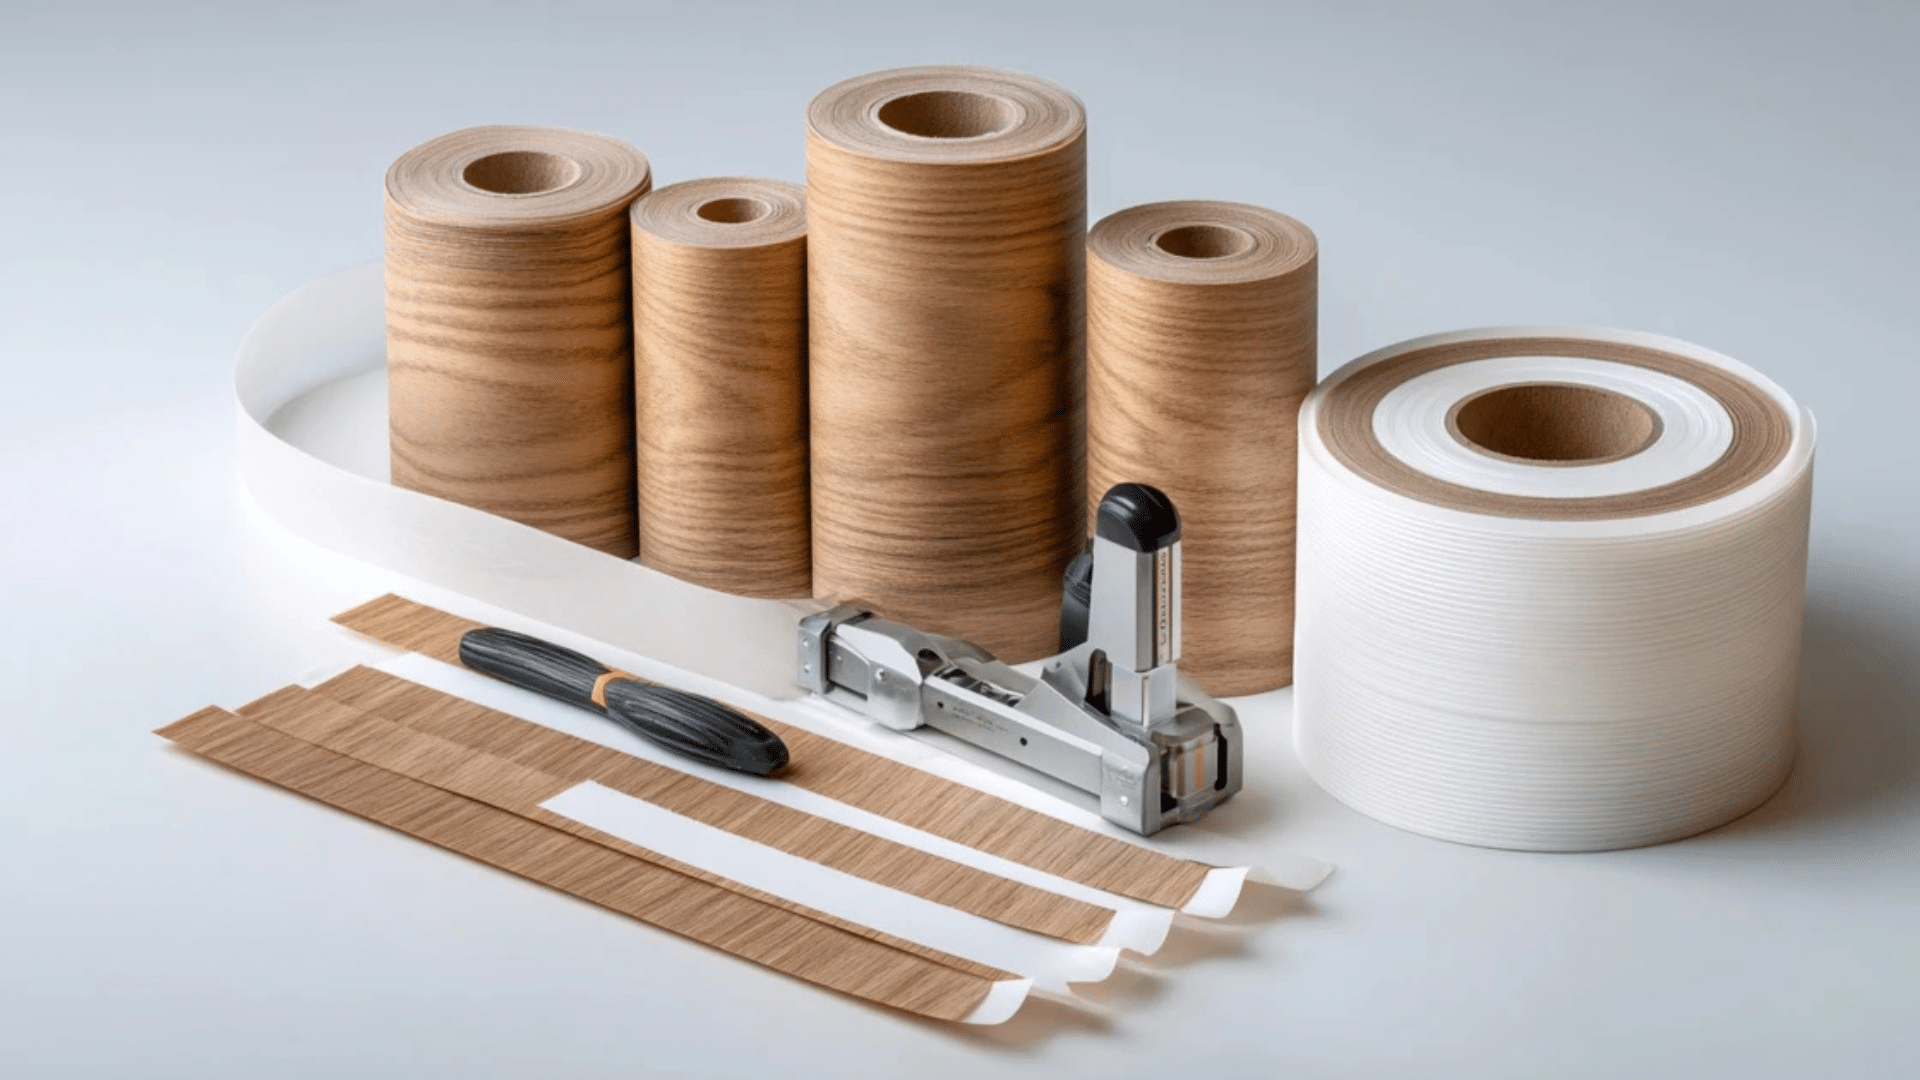
Edge banding is a thin strip that covers raw cabinet edges to make them look smooth and finished. It’s available in peel-and-stick or heat-applied styles.
This small detail makes a big difference, giving cabinets a neat, professional appearance and helping the new surface last longer.
5. Contact Cement or Adhesive
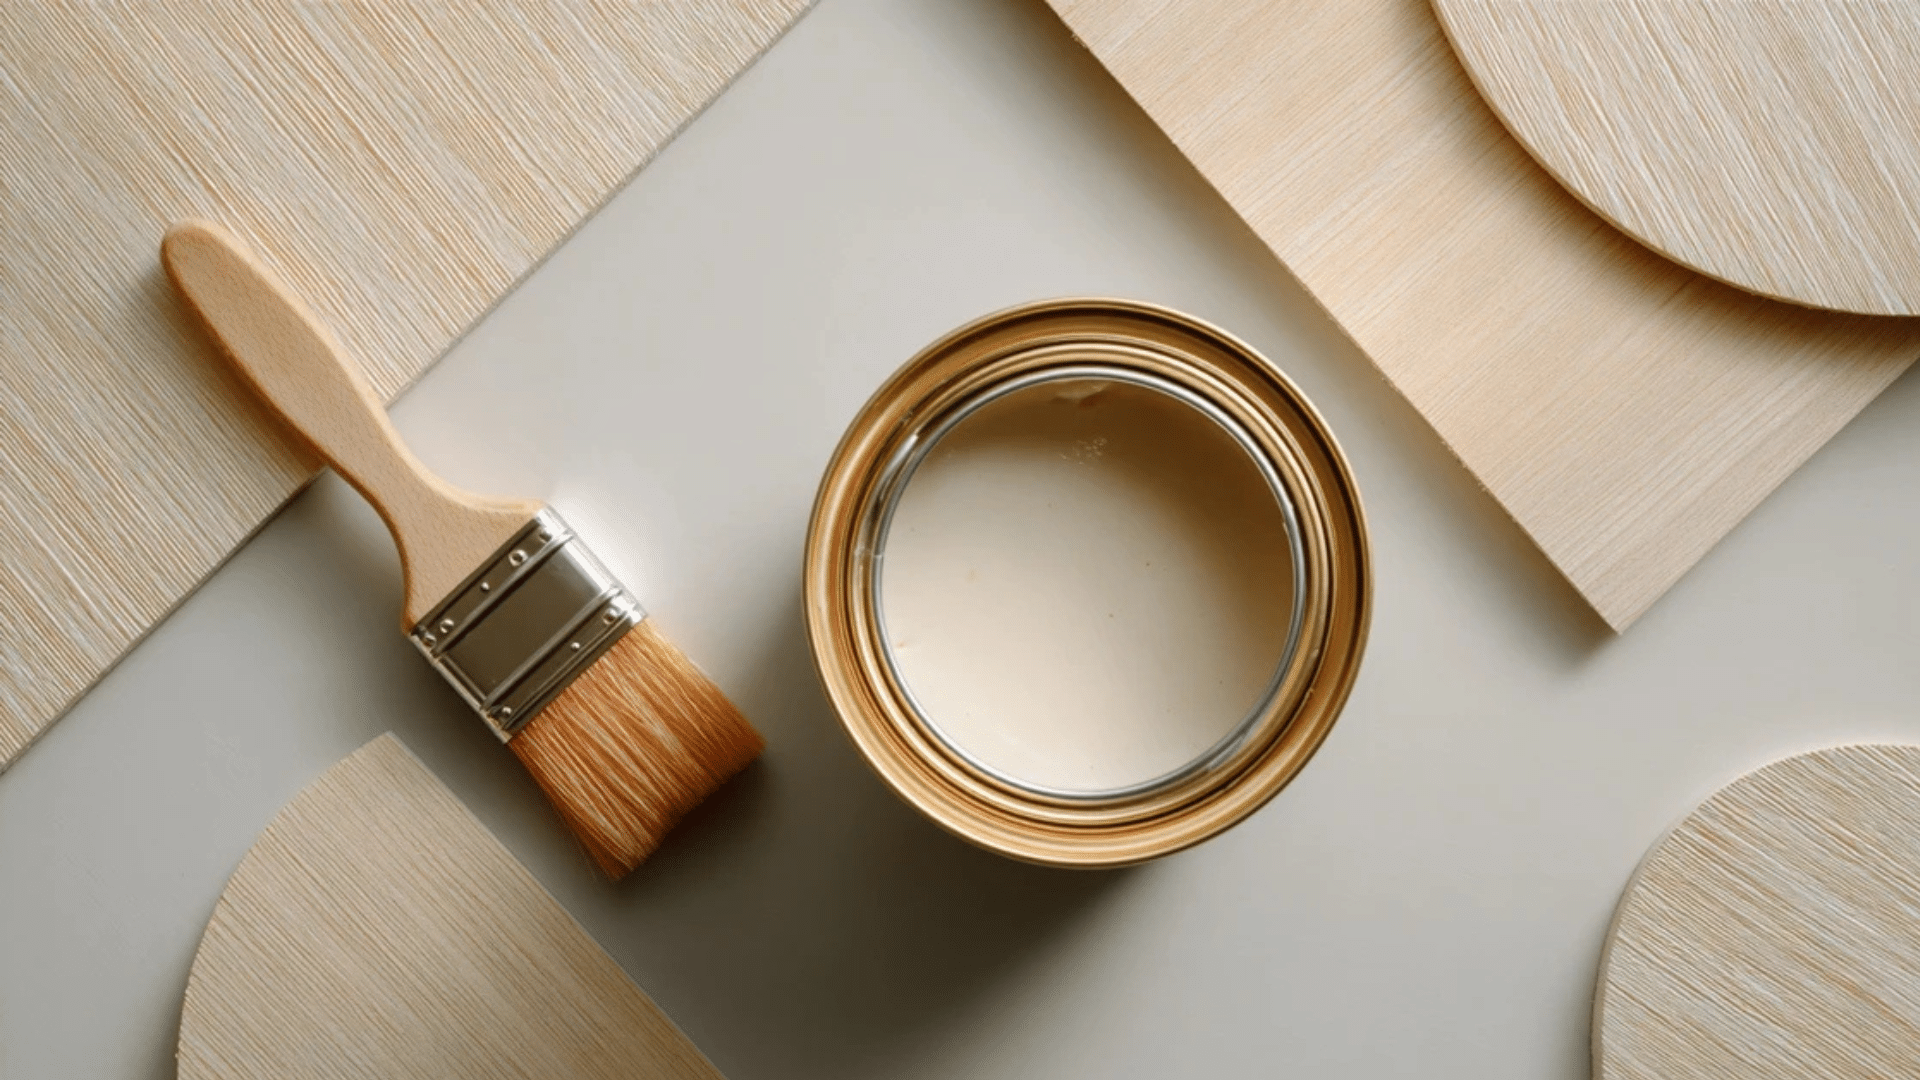
If your veneer or laminate doesn’t have a sticky back, you’ll need contact cement or special glue.
This adhesive helps the material bond tightly to cabinet surfaces. It’s strong, long-lasting, and ensures that your new cabinet covering doesn’t peel or lift over time.
6. Cabinet Refacing Kits
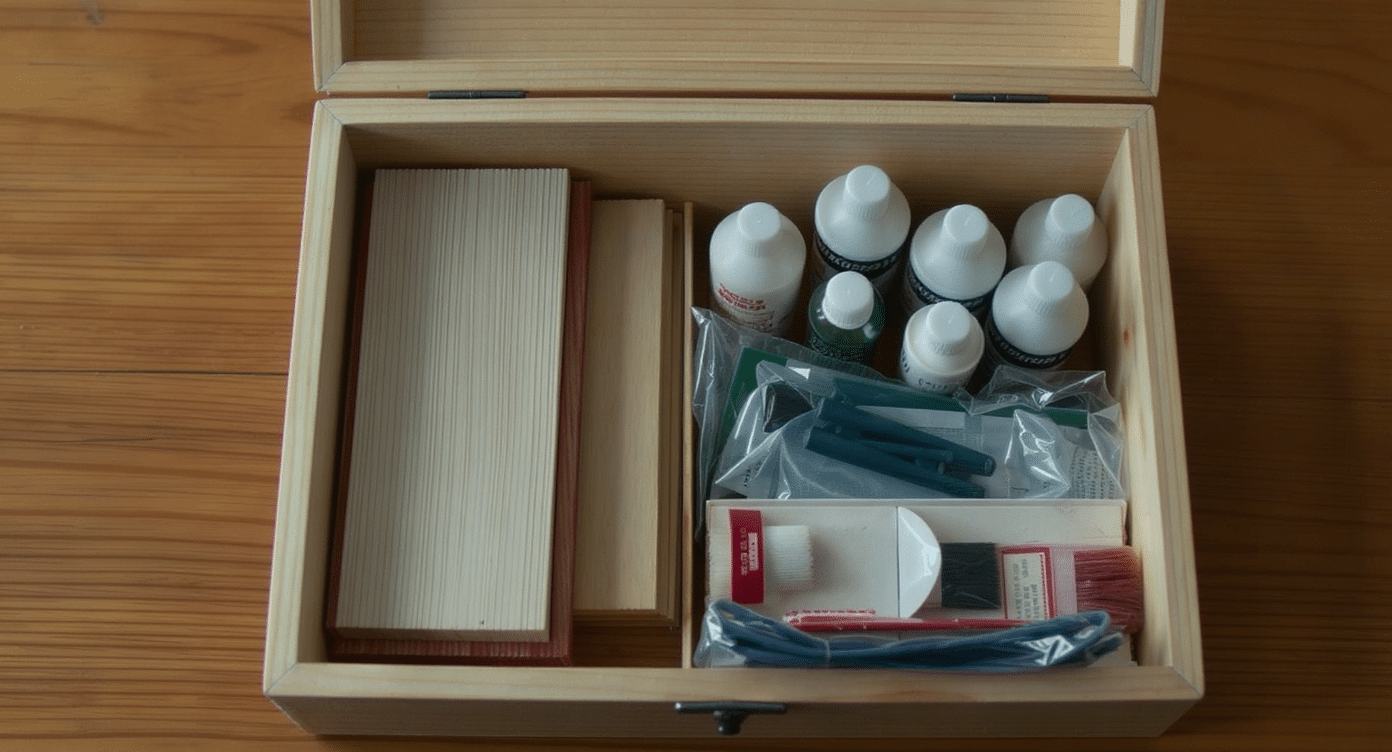
Cabinet refacing kits are ready-made packages with everything you need. Most include veneer sheets, edge banding, and glue. Some even come with small tools to help with cutting and trimming.
These kits are convenient for beginners because they provide all the basics in one box.
7. New Hardware
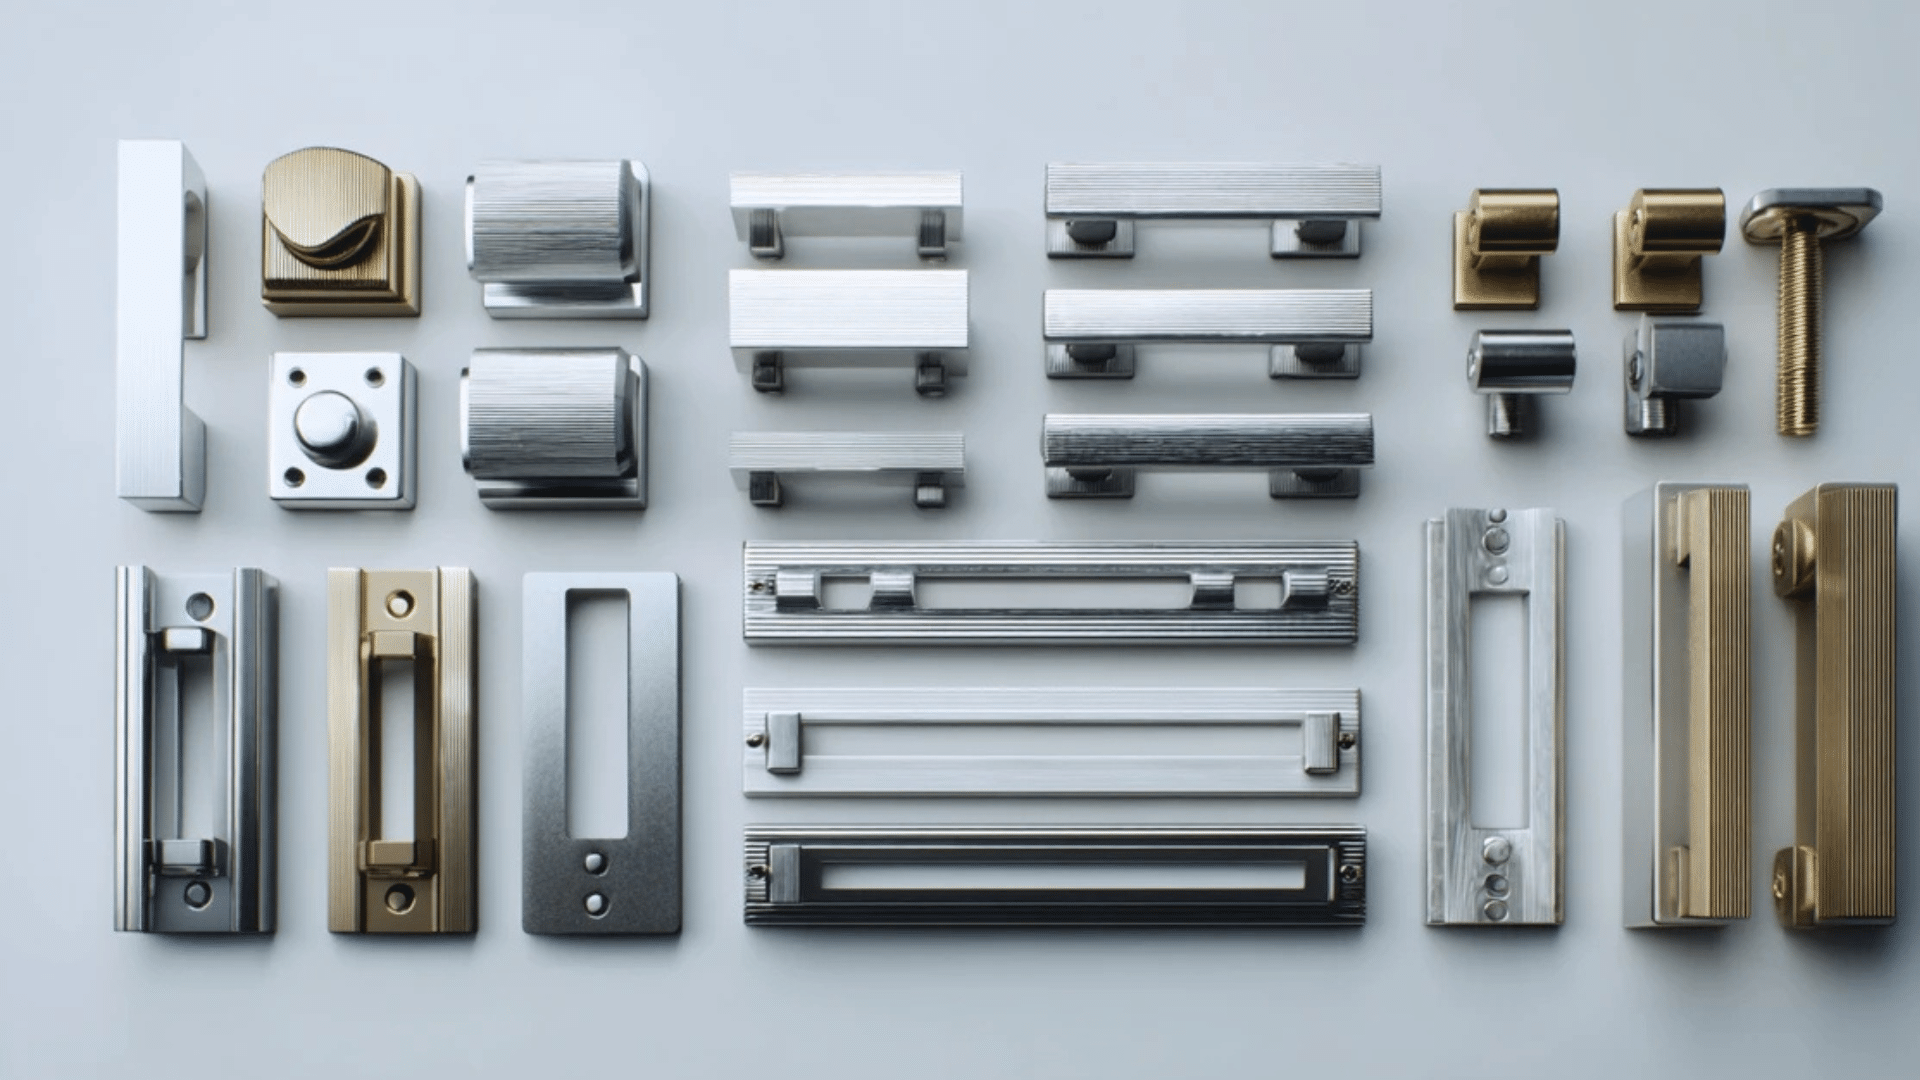
New hardware, such as knobs, pulls, and hinges, can completely change the look of your cabinets. It’s an easy upgrade that makes a big impact.
Replacing old, worn-out hardware adds shine, style, and a modern touch to your kitchen, completing the refacing project beautifully.
Step-by-Step Instructions for Laminate Cabinet Refacing
Follow these steps to reface your cabinets with laminate or peel-and-stick films. This beginner-friendly process will help you achieve a professional look with minimal effort:
1. Prep Surfaces: Remove doors, drawers, and hardware. Clean with a degreaser, sand lightly (120–150 grit), and wipe with a tack cloth.
2. Measure & Cut: Measure doors, fronts, and sides. Mark the laminate or film with a straight edge, then cut it slightly larger to allow for adjustments.
3. Apply Material: For peel-and-stick, peel slowly, press, and smooth with a roller. For glue-on, coat both surfaces with contact cement, let dry briefly, then press firmly.
4. Trim Edges: Use a utility knife and a straight edge to cut excess. Sand lightly if needed for smooth edges.
5. Add Edge Banding: Apply peel-and-stick or heat-activated banding, then trim with an edge-banding tool.
6. Reattach Hardware: Reinstall doors, drawers, and hardware. Align hinges for smooth use.
7. Final Touches: Check for bubbles or loose spots. Press down, add adhesive if needed, and clean surfaces.
How Much Does Cabinet Refacing Cost?
Below is a table showing the average costs for cabinet refacing in the USA, based on recent averages from home improvement retailers.
For example, a small 8×10 kitchen with peel-and-stick films might cost $300–$400, while a similar-sized kitchen with professional wood veneer could range from $5,000 to $9,000.
| Type of Refacing | Estimated Cost (USD) | Notes |
|---|---|---|
| DIY Peel-and-Stick Films | $200 – $500 (approx.) | Budget-friendly, easy for beginners. |
| DIY Veneers & Laminates | $1,000 – $3,000 (approx.) | Requires tools and patience, with a mid-level difficulty. |
| Professional Laminate Veneer | $4,000 – $8,000 (approx.) | Includes professional labor and materials. |
| Professional Wood Veneer | $7,000 – $15,000+ (approx.) | Higher-end finish, more expensive option. |
| Per Linear Foot (General Range) | $100 – $450 (approx.) per linear foot | The cost depends on the materials, finish, and layout size. |
| Full Kitchen (Large Layouts) | Up to $23,000+ (approx.) | Covers labor, materials, and large cabinet runs. |
DIY vs. Professional Refacing
DIY laminate cabinet refacing is a budget-friendly option, perfect for peel-and-stick films or simple veneers.
It costs less, typically ranging from a few hundred to a few thousand dollars, but it requires patience, steady hands, and some basic tools.
On the other hand, professional refacing offers a polished, long-lasting finish, particularly with wood veneers or intricate layouts.
It’s more expensive, ranging from $4,000 to $15,000 or more, but it saves time and reduces the likelihood of mistakes.
DIY is ideal for small projects or those with tight budgets, whereas hiring a professional is best for achieving a flawless, high-end look that can boost home value.
Tips to Save Money & Time
These tips make the process easier and more affordable.
- Measure Carefully: Accurate measurements prevent waste and save money on extra supplies.
- Start Small: Practice on a small cabinet before tackling the whole kitchen.
- Choose Peel-and-Stick Options: They’re easier, faster, and less messy for beginners.
- Update Hardware Together: New knobs and pulls are cheap upgrades with a big impact.
- Shop Smart for Materials: Buy in bulk or hunt for discounts to cut costs.
- Work in Sections: Refacing in smaller parts saves time and keeps the kitchen usable.
Conclusion
Laminate cabinet refacing can change your kitchen faster than you think. You don’t need a complete renovation to get that fresh, modern look you want.
Choosing eco-friendly materials, like low-VOC adhesives or sustainable veneers, also helps reduce your environmental footprint while transforming your space.
Most projects only require basic tools, making DIY refacing possible for many people.
With smart planning and careful shopping, you can achieve brand-new-looking cabinets at a fraction of replacement costs. The results speak for themselves.
Which refacing option sounds right for your kitchen?