
If you’re considering an upgrade to your bathroom, onyx shower wall panels may be on your radar. They look great and promise to last for years.
But let’s talk about what really matters: the price of onyx shower walls and if they’re worth your money.
Now, I’ll break down everything you need to know about onyx shower walls price, from what you’ll actually pay for different styles and materials to installation costs and maintenance tips.
Let’s start right away.
What are Onyx Shower Walls?
Onyx shower walls are solid surface panels made from alumina trihydrate and polyester resin. They’re not natural onyx stone, just named after the brand, The Onyx Collection.
These panels offer a sleek alternative to traditional tiles.
No grout lines to scrub, no cracked tiles to replace. These are just smooth, stylish surfaces that can make your bathroom look like it belongs in a magazine.
They’re non-porous, so water can’t soak in, which prevents mold and mildew from growing.
You’ll find them in various colors and patterns; some resemble stone, while others feature solid colors. The panels are about 1/4 to 3/8 inch thick and can be cut to fit your shower.
The Price – A Worthy Investment?
Let’s talk numbers, because I know that’s what you really want to know about.
The total cost for onyx shower installation typically runs between $2,500 and $6,500 for a standard 60-inch shower.
- Total Project Cost: $2,500 to $6,500 for a standard 60-inch shower, including all necessary materials and installation.
- Onyx Panels: $1,200 to $2,400 for basic panels; you need 3-4 sheets, each costing $400-$600.
- Premium Options: Fancier patterns and custom colors cost more than standard designs.
- Labor Charges: $1,000 to $2,500; installers charge $50-$75 per hour for 1-2 days’ work.
- Old Tile Removal: $300 to $500 if you need existing shower tiles taken out first.
- Wall Preparation: $200 to $800 for patching, skim coating, or fixing damaged substrate.
- Installation Supplies: $150 to $300 for trim pieces, adhesive, and sealant materials.
Types of Onyx Shower Walls
Not all onyx shower walls are the same. Let me break down the different options so you can pick what works for your bathroom.
1. Glossy Smooth
Made from standard alumina trihydrate and polyester resin with a high-gloss gel coat finish. The flat, shiny surface works perfectly in modern or minimalist bathrooms where clean lines matter.
Light bounces off these panels, making tight spaces feel roomier and brighter.
2. Subway Tile
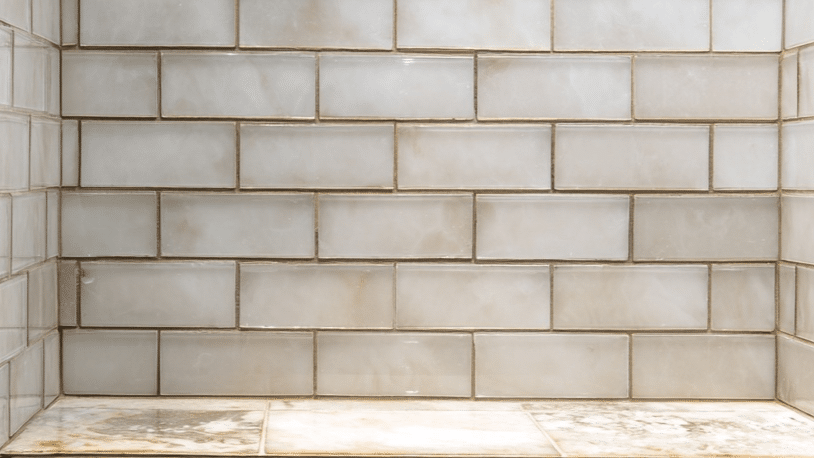
Uses the same resin-stone composite but molded to create raised tile edges and recessed grout lines. This pattern fits traditional, contemporary, or transitional bathroom styles without the maintenance hassles of real subway tiles.
The textured surface provides better grip than smooth panels while keeping that classic rectangular tile look
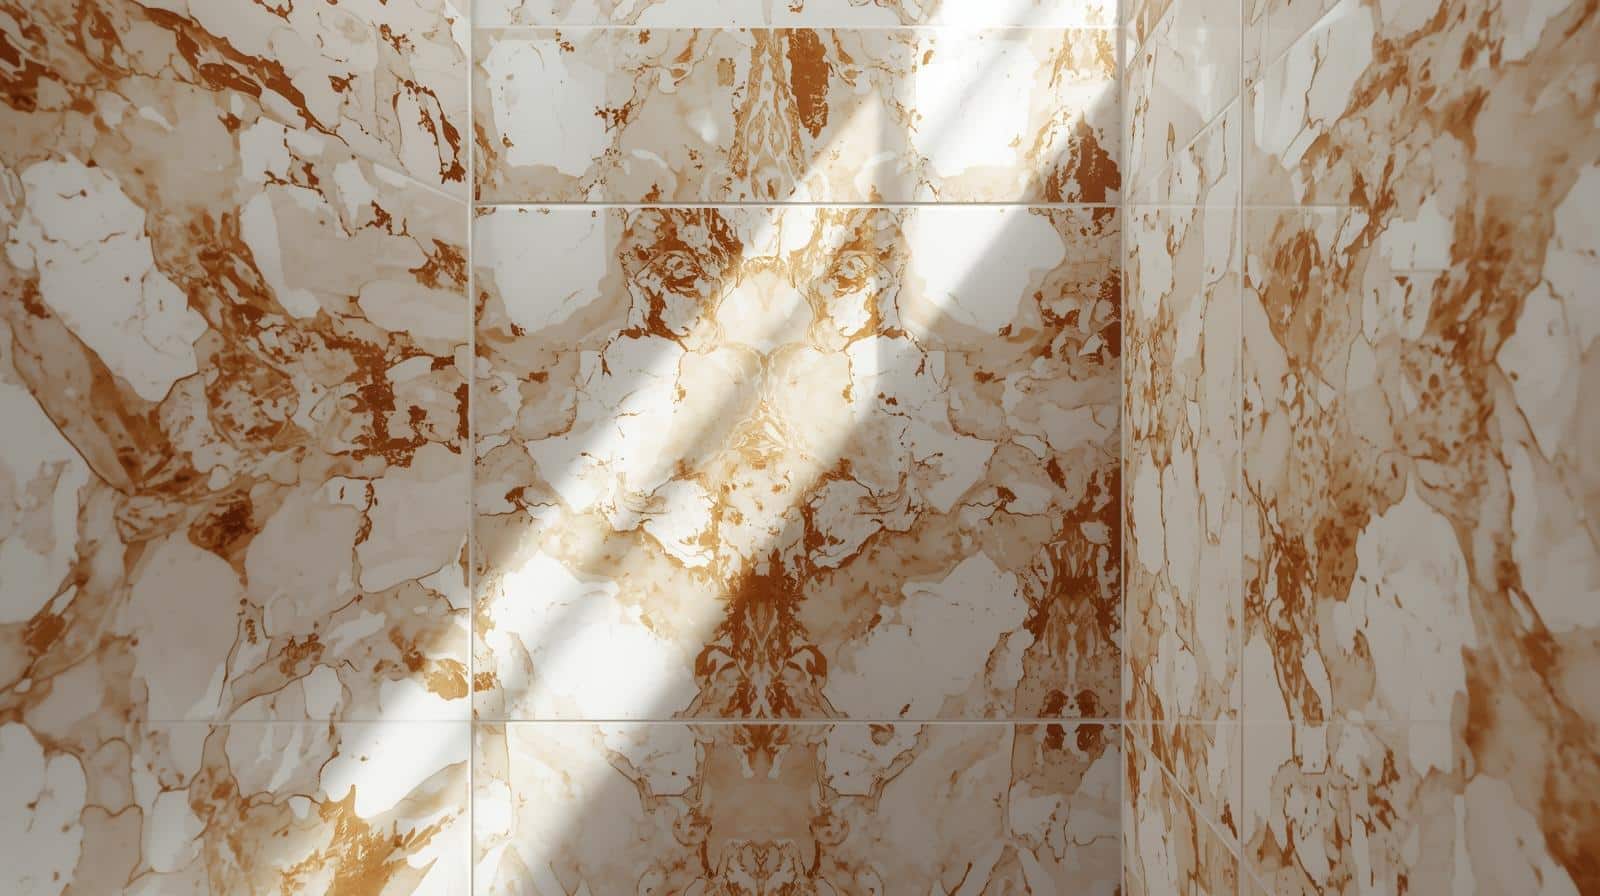
3. Stone Tile
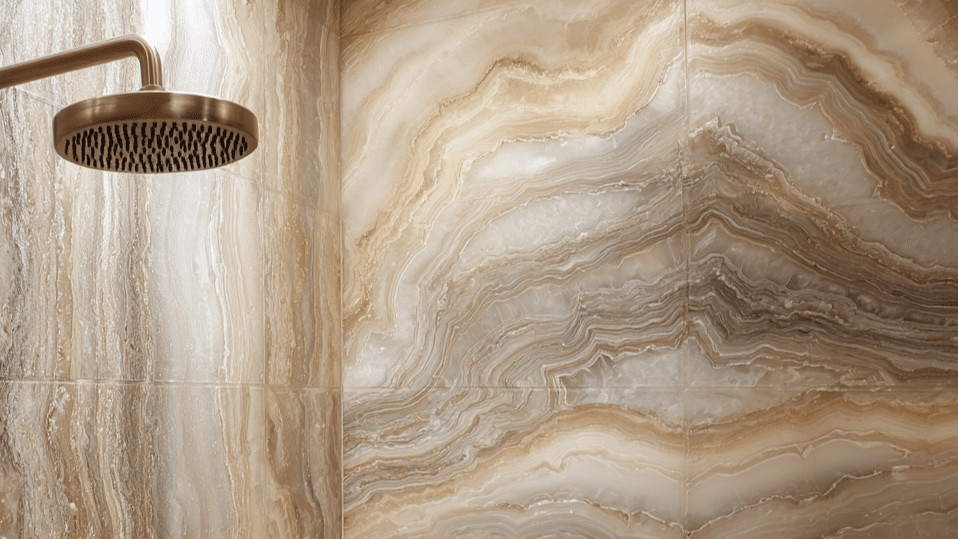
Features a textured resin surface with mineral additives that mimic granite, marble, or travertine patterns. These panels bring luxury spa vibes to master bathrooms or any space that wants a natural stone appearance.
The varied colors and realistic veining make each panel look unique, just like real stone would.
4. Wavy Tile
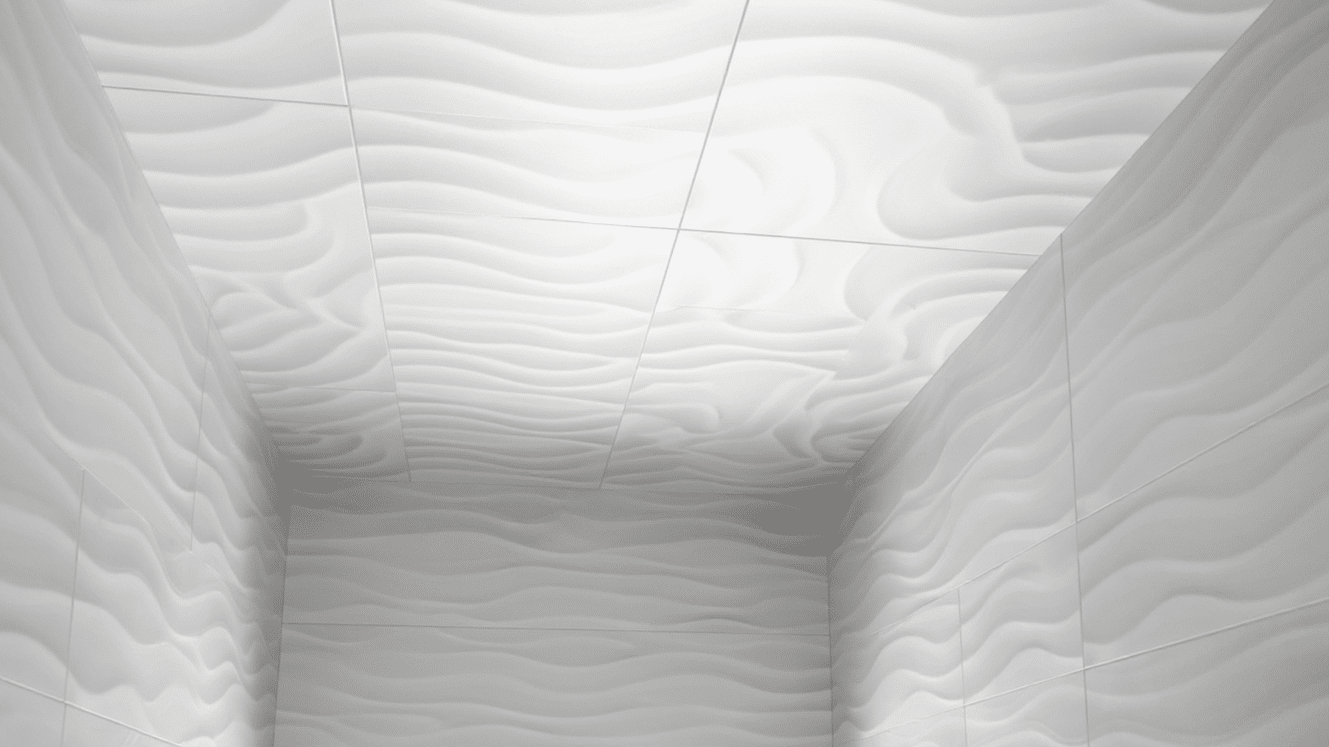
Constructed from the standard resin blend but pressed into a three-dimensional wave pattern during manufacturing. This style suits contemporary or artistic bathroom designs where texture adds visual drama.
The rippled surface naturally hides water spots and soap residue better than flat panels do.
5. Shiplap
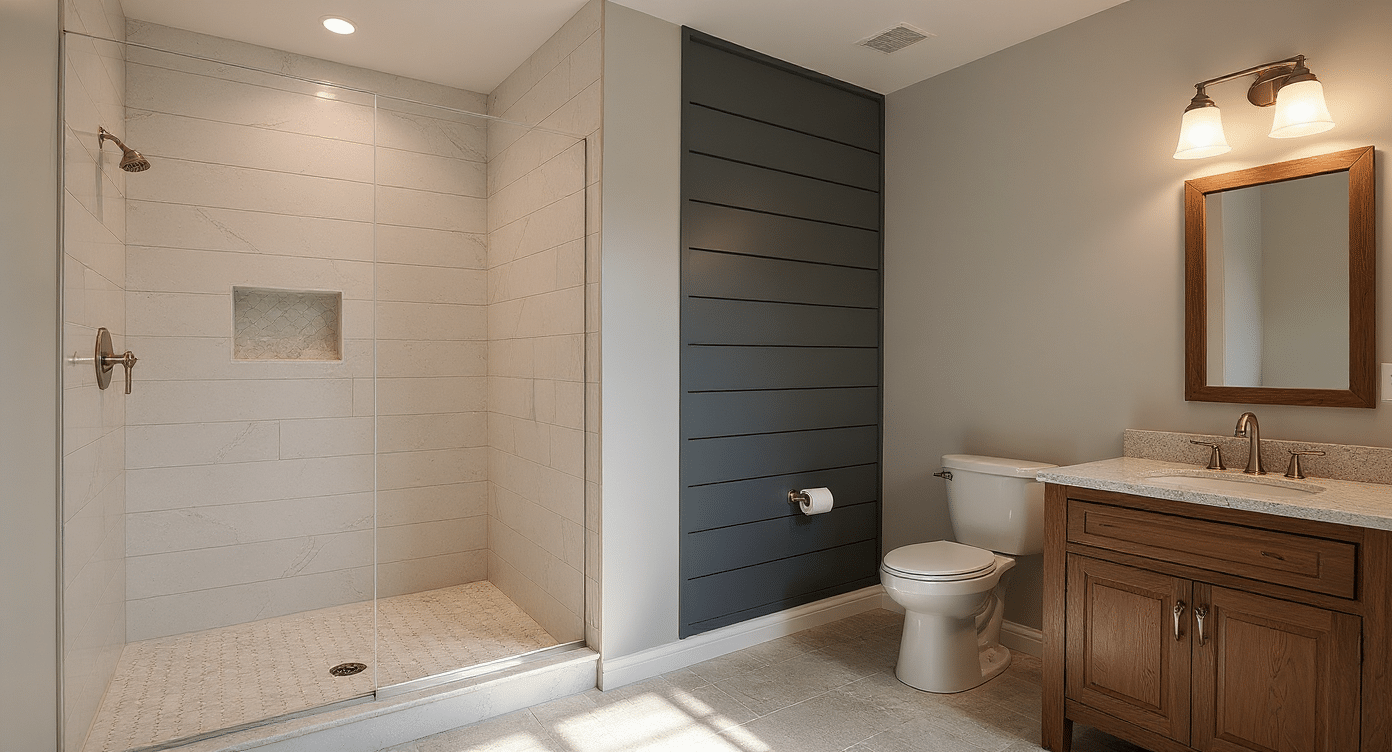
Made with the same durable resin material, molded with horizontal grooves that look like overlapping boards.
They are perfect for farmhouse, coastal, or rustic bathroom themes, without the moisture problems associated with wood.
The linear pattern makes bathrooms feel wider while adding that cozy, cottage charm people love.
How to Care for Your Onyx Shower Walls
You spent good money on the price for onyx shower walls, so let’s make sure they stay beautiful for years. The good news?
These panels need way less work than traditional tile, which helps justify the onyx shower walls price over time. I’ll show you the simple routine that keeps them looking new without eating up your weekends.
1. Daily Cleaning: Squeegee or wipe walls with a soft cloth after showering to prevent water spots.
2. Weekly Cleaning: Use a mild cleaner (e.g., dish soap and water) or glass cleaner for glossy finishes. Avoid bleach or abrasive powders.
3. Stubborn Spots: Remove soap scum with vinegar and water. Use a baking soda paste for hard water stains.
4. Long-Term Care: Check silicone seals annually and recaulk if needed. Polish your car’s panels with car wax twice a year for a shine. Buff minor scratches with fine-grit sandpaper.
Step-by-Step Installation Resource
Installing onyx panels isn’t as hard as you might think. Here’s how the process works, if you’re doing it yourself or hiring a pro.
Step 1. Prep the walls:
Remove old tiles and check that the walls are flat, dry, and solid. Any bumps or dips need to be fixed first.
Step 2. Measure and cut panels:
Measure your shower space carefully, then cut panels to fit using a circular saw with a fine-tooth blade.
Step 3. Apply adhesive:
Spread construction adhesive on the back of each panel using a notched trowel for even coverage.
Step 4. Mount the back wall first:
Press the panel firmly against the wall, checking its level before the adhesive sets.
Step 5. Install side panels:
Place the side panels next, making sure the edges line up perfectly with the back wall.
Step 6. Seal the seams:
Apply silicone sealant along all edges and corners to prevent water from entering.
Step 7. Add trim and fixtures:
Install corner trim pieces, then cut holes for your showerhead and handles.
Pros and Cons of Onyx Stone in Shower
Before you decide on onyx panels, you need to know both sides of the story. These alternatives to traditional tile offer real benefits, but they come with trade-offs too.
Let me break down what works and what doesn’t, so you can make a smart choice for your bathroom.
Here’s what you’re getting into:
| Pros | Cons |
|---|---|
| Easy cleaning with no grout lines to scrub | Higher upfront cost than ceramic tiles |
| Quick installation saves time and mess | Limited DIY repair options |
| Lightweight design needs no reinforcement | Visible seams in larger showers |
| Stain and chip-resistant surface | Heat sensitivity can cause expansion |
| Color goes through the entire panel thickness | Fewer design choices than tiles |
| Low maintenance with no resealing needed | Professional installation recommended |
| 10-year warranty from most manufacturers | Not authentic stone material |
Wrapping Up
So there you have it! Everything about onyx shower walls, including their price and the factors that affect it.
These panels offer a practical solution for homeowners tired of grout maintenance and constant cleaning.
While the initial onyx shower walls price runs higher than standard tiles, you get durability, easy upkeep, and a sleek look that lasts.
Ready to upgrade your bathroom? Get quotes from local installers to compare prices for your specific project. Or, if you’re the DIY type, measure your shower and calculate the cost of the panels yourself.