
My first project went over budget by 40% because I had no prior experience.
That’s when I created my step-by-step home renovation checklist.
This simple list changed everything. It keeps costs down, timelines on track, and stress levels low. No more surprise expenses or forgotten permits.
Just clear steps that guide you from start to finish. Let me show you exactly how to build your own foolproof renovation plan.
Why Planning Your Renovation Matters
Planning your renovation is the difference between a smooth project and a costly nightmare. Homeowners who skip this step often overspend by 30–50% and face months of frustrating delays.
A well-thought-out plan helps you:
- Stay on budget by anticipating expenses and avoiding unnecessary surprises.
- Keep the project on schedule by preventing the domino effect, where one delay triggers a chain reaction of setbacks.
- Ensure design cohesion so that your style, materials, and finishes all work together seamlessly.
- Handle permits and code compliance before construction begins, avoiding fines and expensive rework.
Contractors also value organized clients. When you know what you want and have clear plans, you’re more likely to secure better pricing and priority scheduling.
Essential Tools and Materials
Having the right tools makes any renovation run more smoothly. Here’s what you’ll need for each phase of your project.
| Phase | Key Tools | Main Materials |
|---|---|---|
| Planning | Notebook, tape measure | Project plans, permits |
| Demo | Pry bar, safety gear | Contractor bags, drop cloths |
| Structure | Drill, saw, level | Brackets, pipes, wiring |
| Insulation | Utility knife, staple gun | Insulation batts, vapor barrier |
| Drywall | Screw gun, taping knife | Drywall sheets, joint compound |
| Finishing | Roller, brushes, nail gun | Paint, flooring, trim, fixtures |
Start with basic tools and rent specialty equipment as needed. This saves money and storage space while keeping your project moving forward.
Step-by-Step Home Renovation Checklist
Now let’s break down the actual renovation process into manageable steps. I follow these six phases for every project to stay organized and avoid costly mistakes.
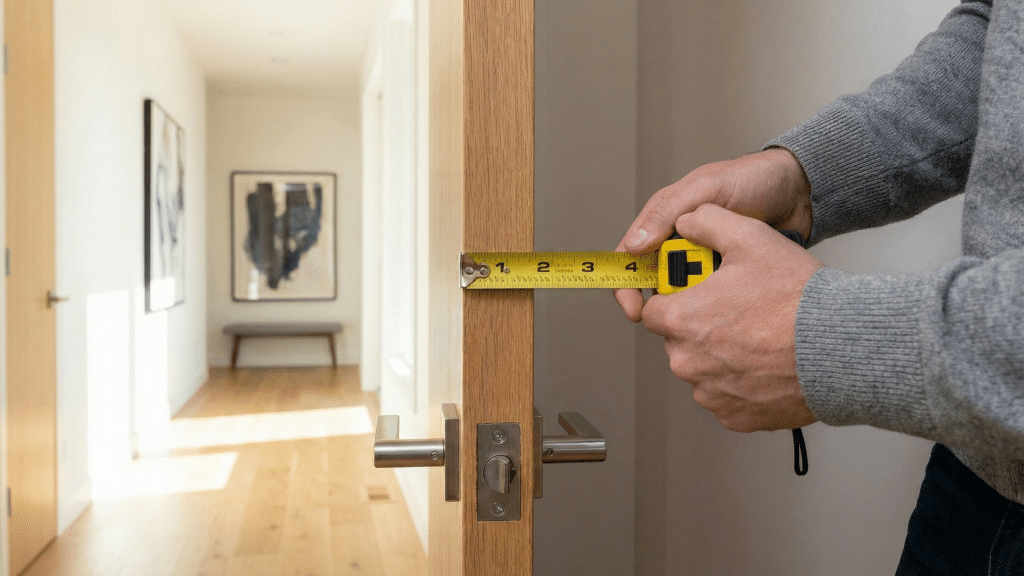
Step 1. Start with a Clear Plan

Before swinging a hammer, take time to map out the project. Think of your renovation as a roadmap you wouldn’t set off without a destination in mind.
Create drawings, outline your goals, and list the tasks in order.
If you’re unsure, consult a contractor or even a structural engineer to verify safety and practicality. A solid plan keeps surprises to a minimum.
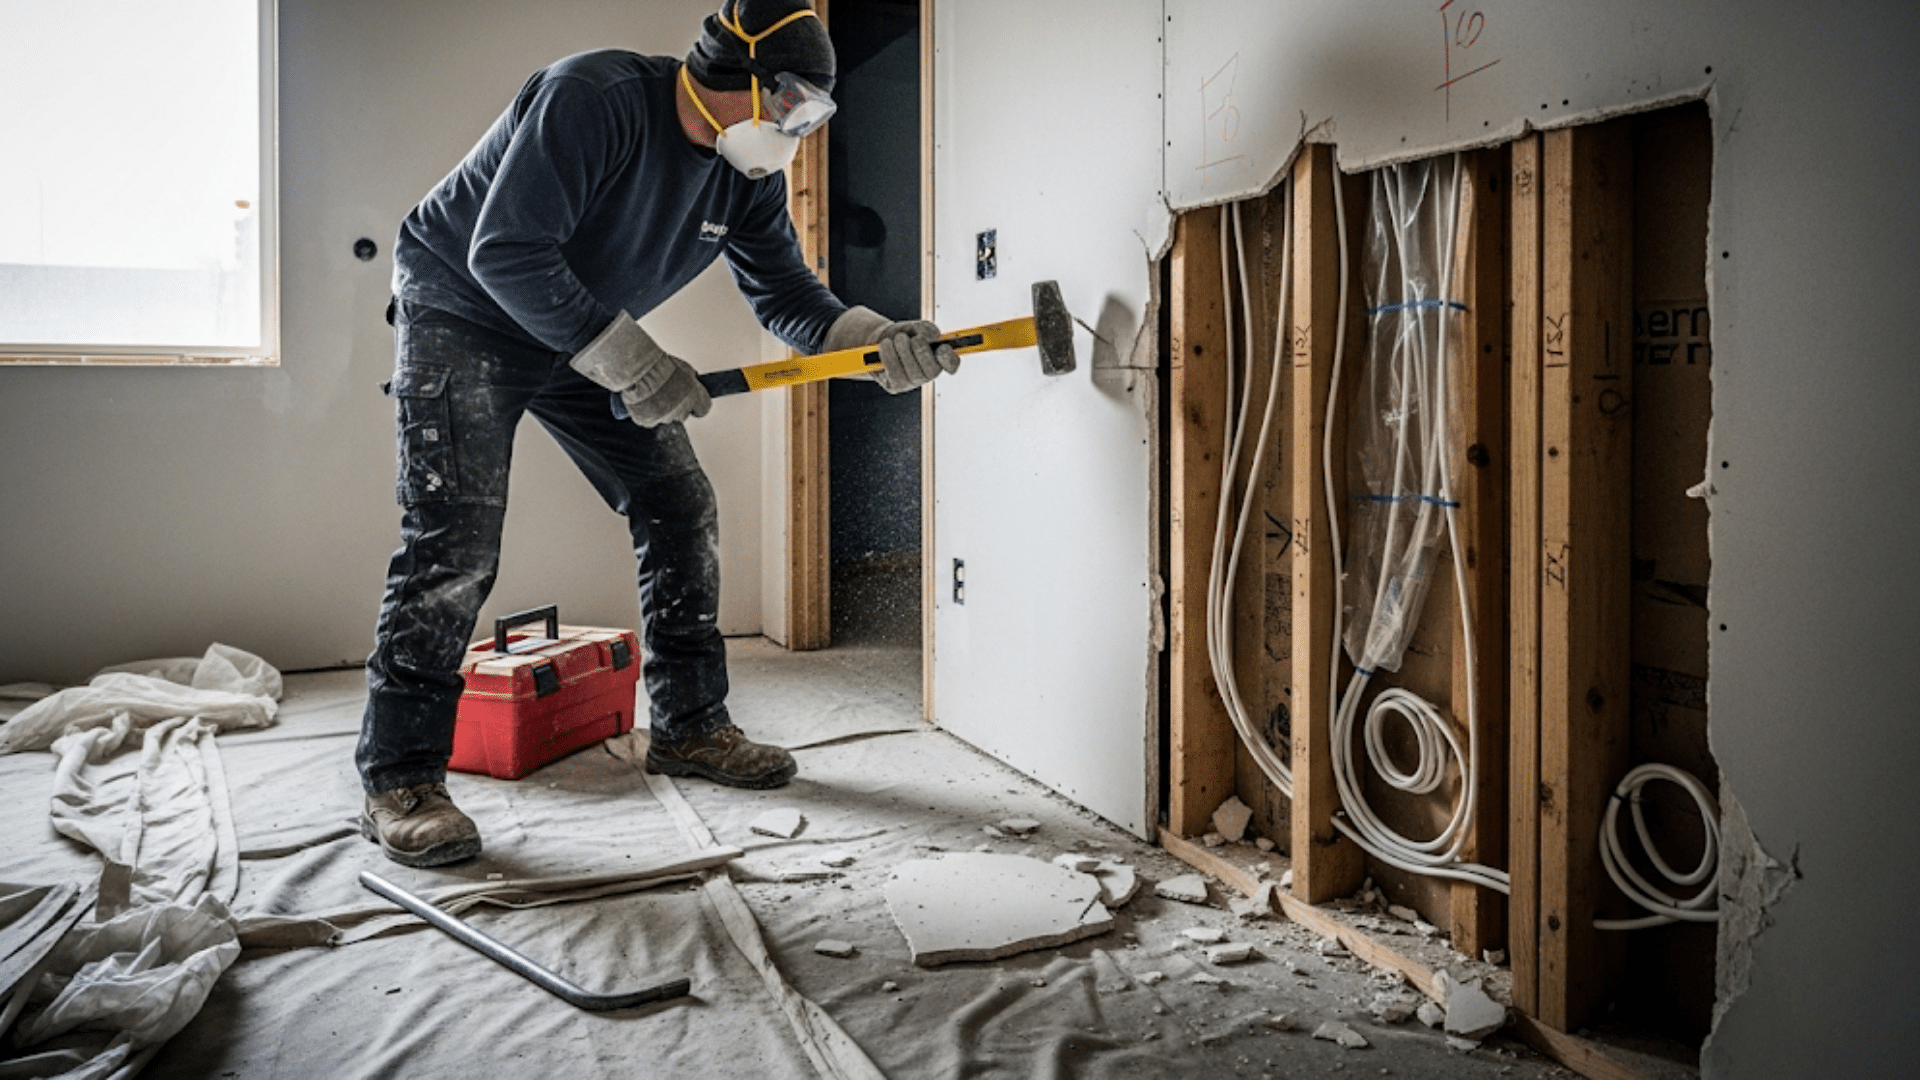
Step 2. Demolition and Evaluation
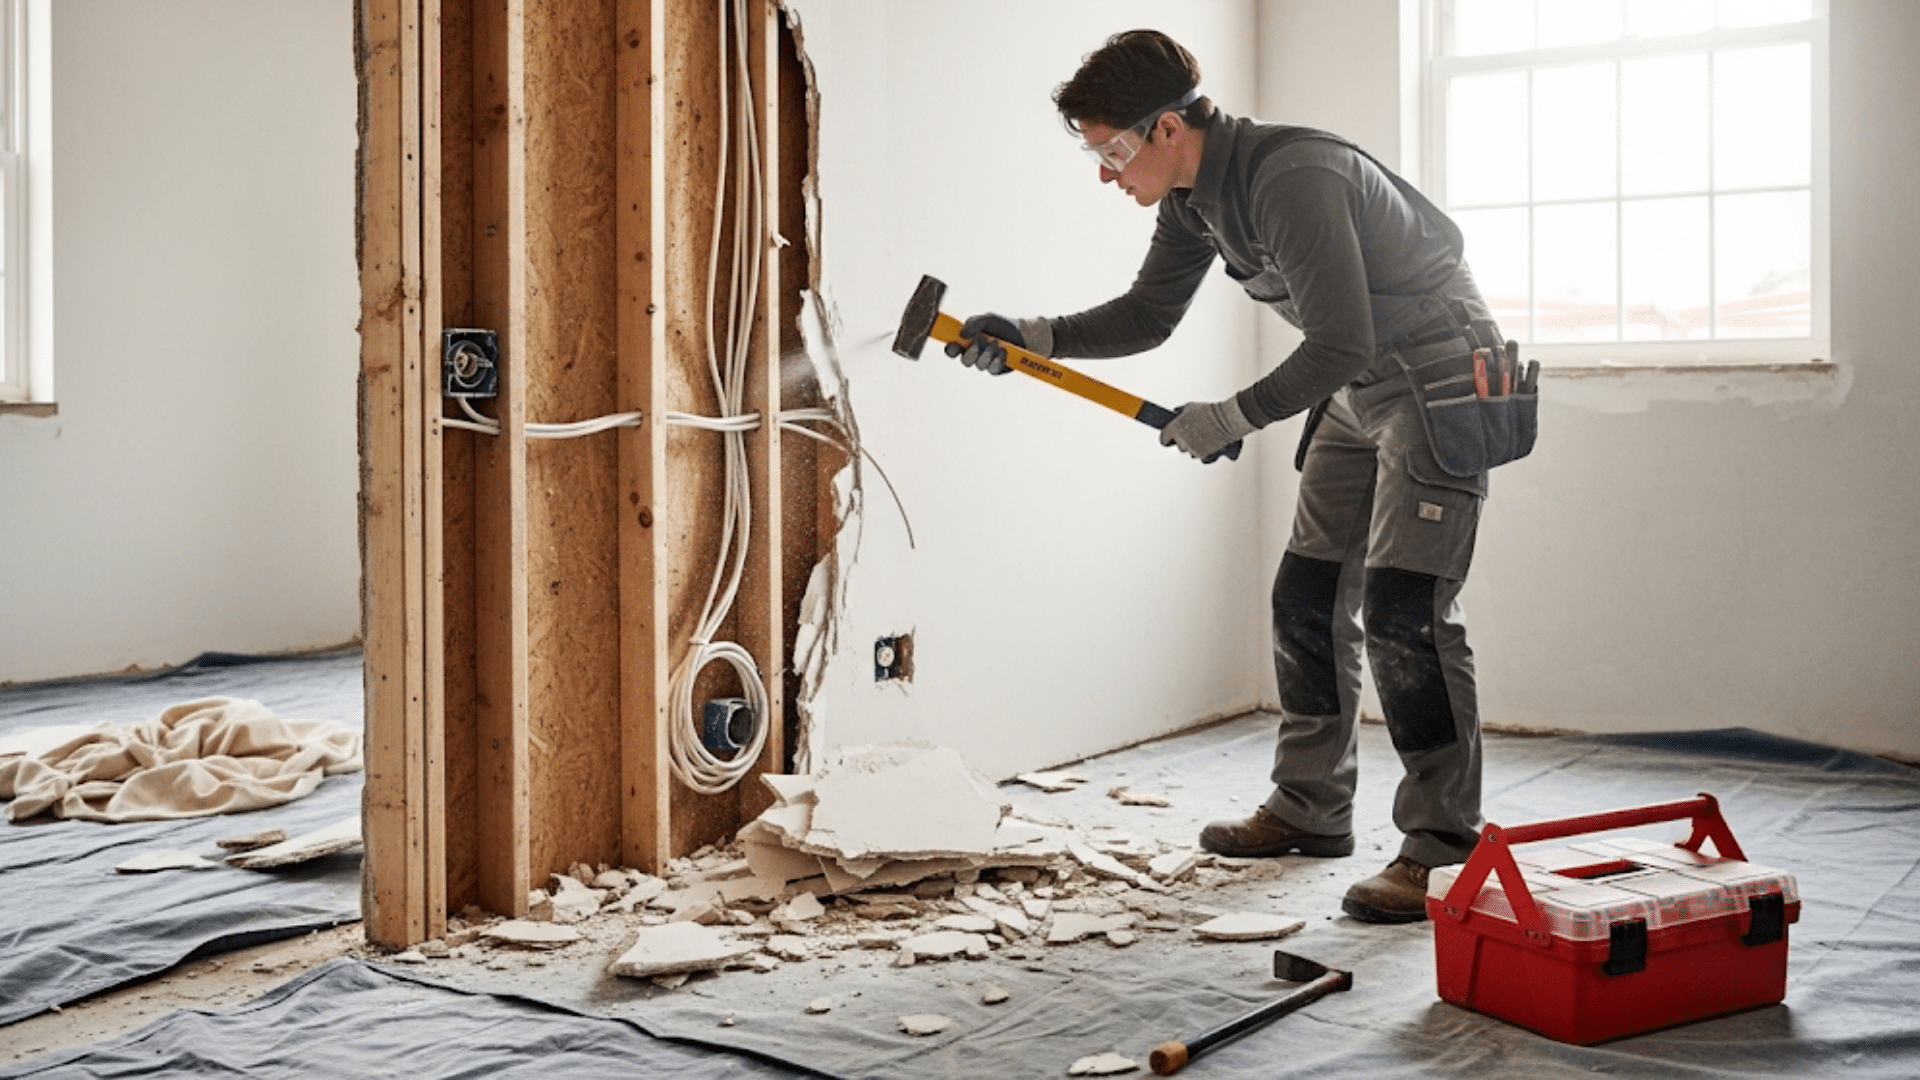
Remove old finishes, fixtures, and walls as necessary so you can fully assess the structure.
This step allows you to identify hidden issues like mold, termite damage, or failing support beams.
Once opened up, re-evaluate your plan. Sometimes, you’ll need to adjust before moving forward. Don’t rush; taking your time here saves headaches later.
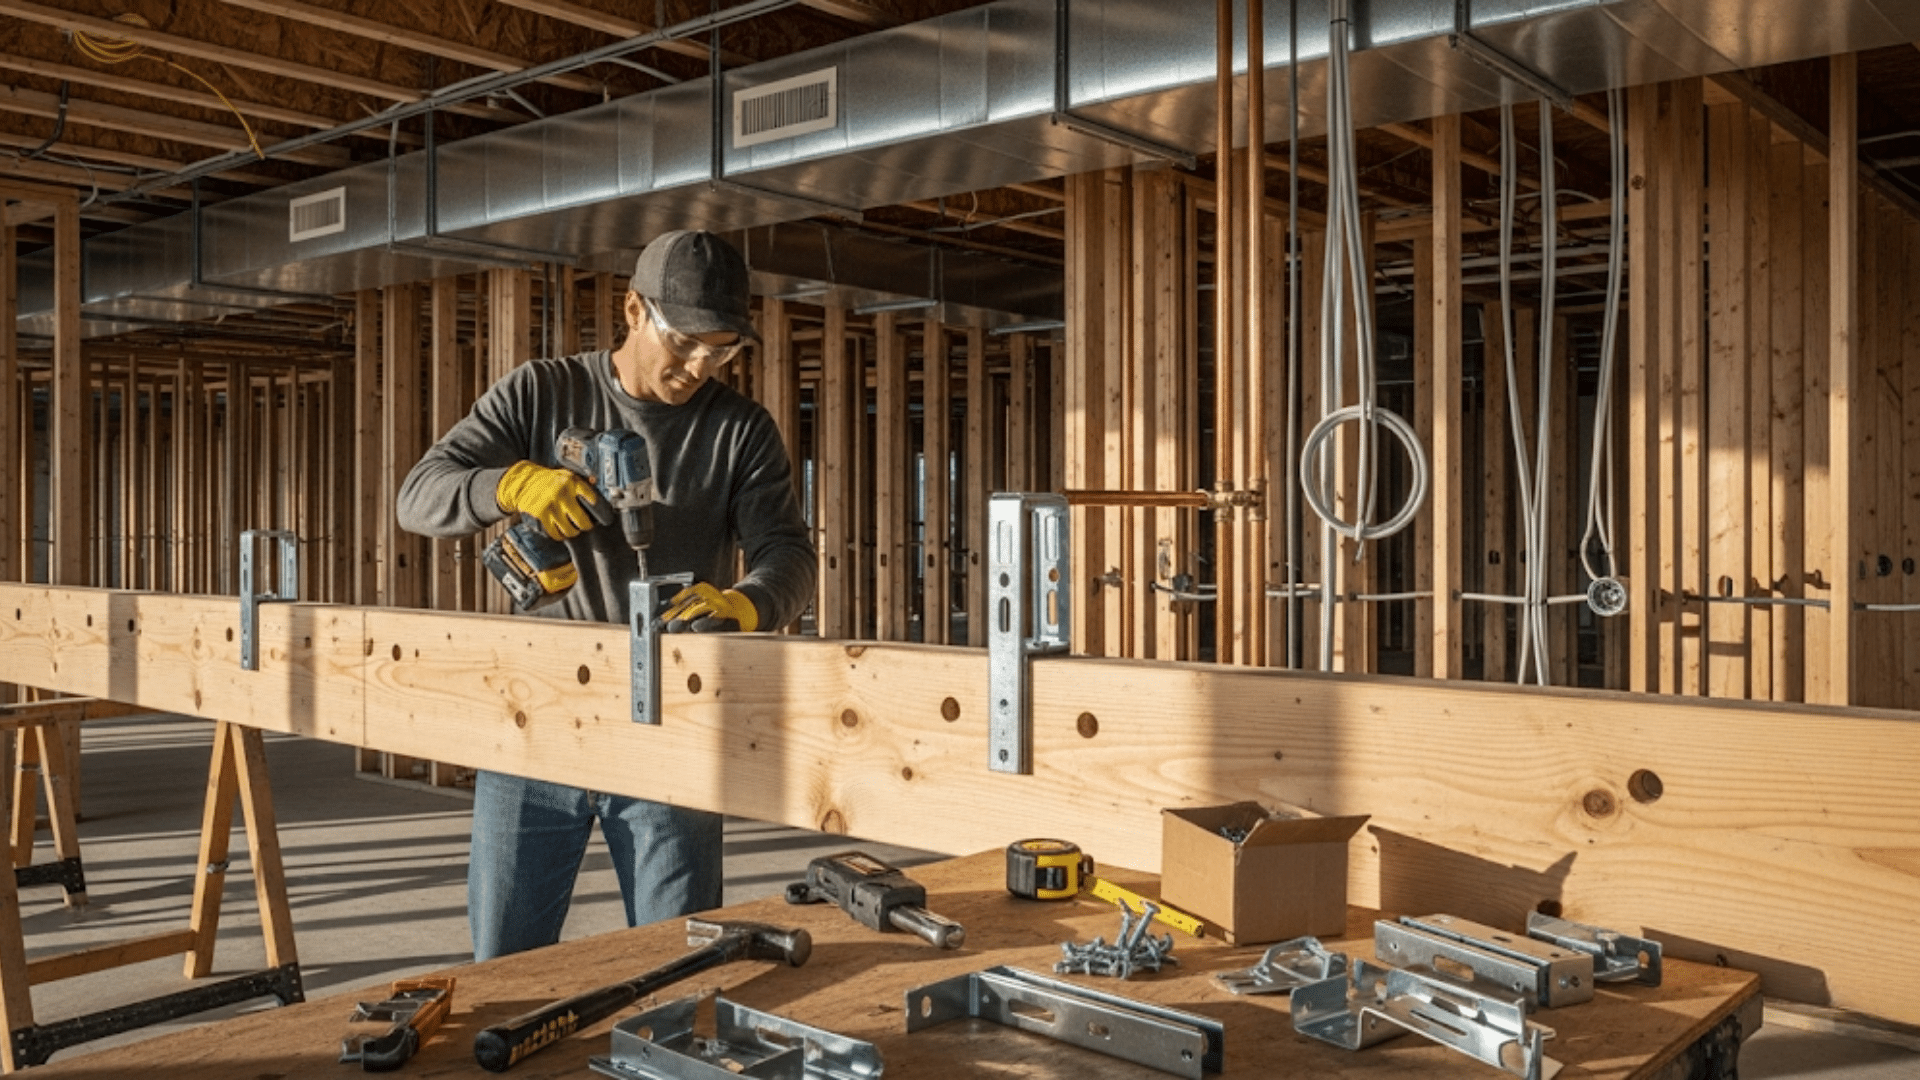
Step 3. Structural and Mechanical Work
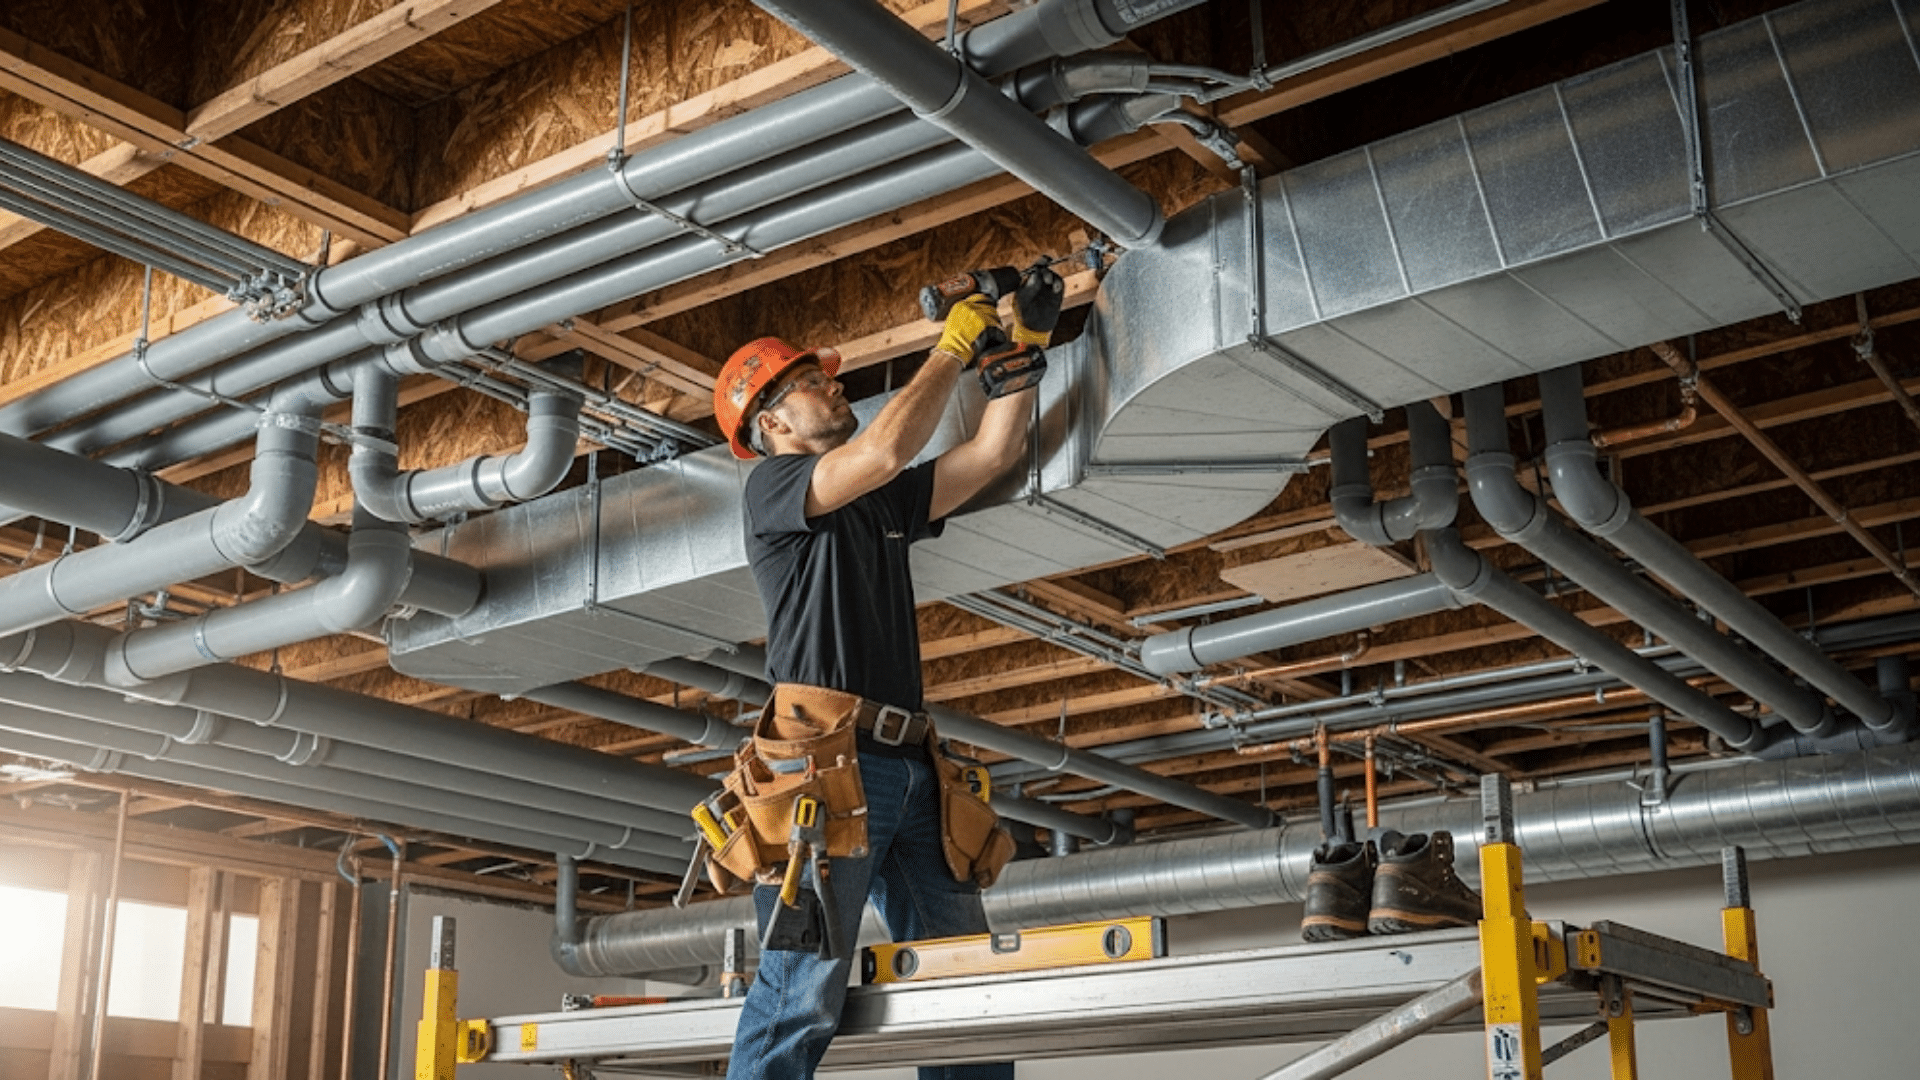
Address any structural repairs first. Reinforce beams, replace rotten wood, or add joist hangers.
If needed, hire a structural engineer for drawings and permits. Next, move to mechanical systems in the right order:
- HVAC (largest and least flexible)
- Plumbing (moderately flexible)
- Electrical (most flexible)
This sequence avoids trades cutting into each other’s work and prevents costly callbacks. Always schedule inspections before covering up walls.
Step 4. Insulation and Air Sealing
With framing and mechanicals approved, add insulation and ensure your building envelope is sealed.
Proper insulation not only saves energy but also makes your home comfortable year-round.
Pay attention to R-values and install vapor barriers where required. This step is your chance to build long-lasting efficiency into your home.
Step 5. Drywall and Soundproofing
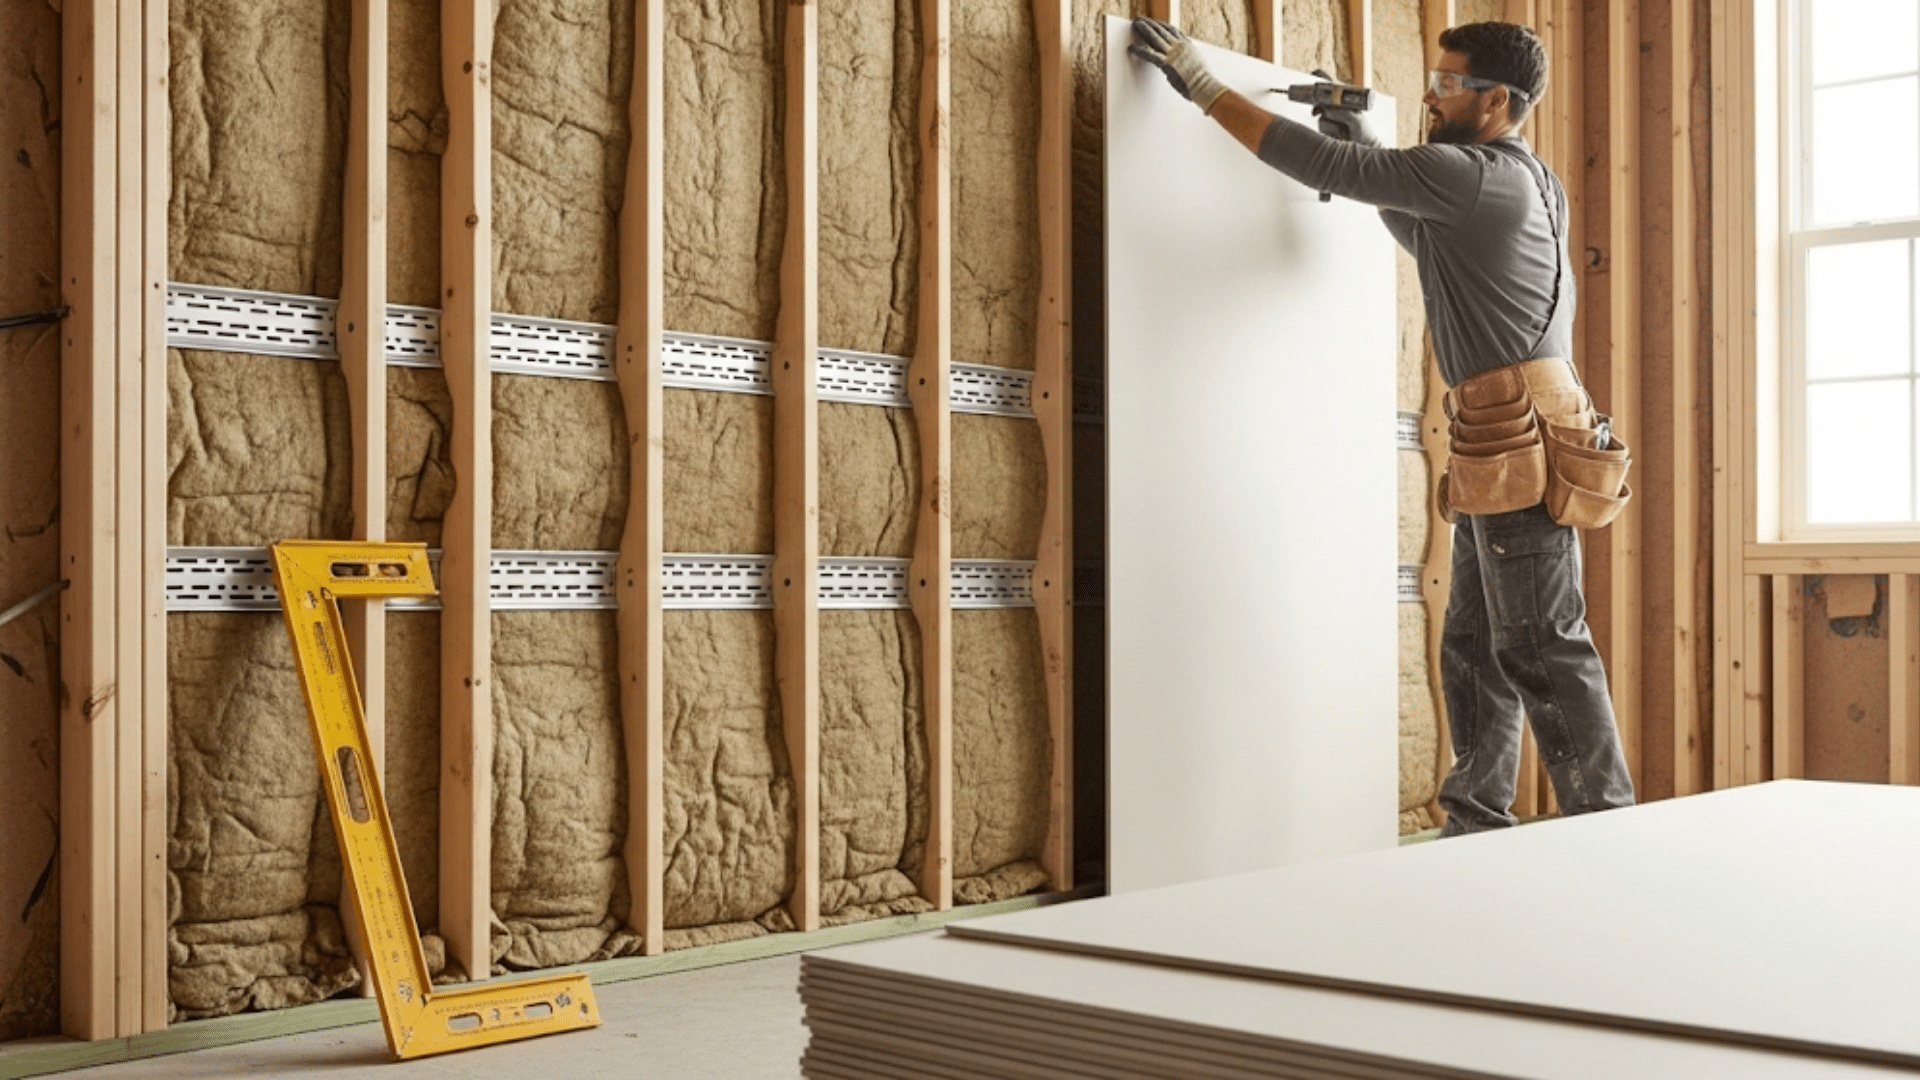
Once the insulation passes inspection, hang drywall. For added comfort, consider soundproofing upgrades like resilient channels, putty pads, or thicker boards, especially in bedrooms or home offices.
Learn the basics of drywall finishing to save money and gain confidence. A well-done drywall job sets the stage for everything else.
Step 6. Finishes: Paint, Flooring, and Cabinets
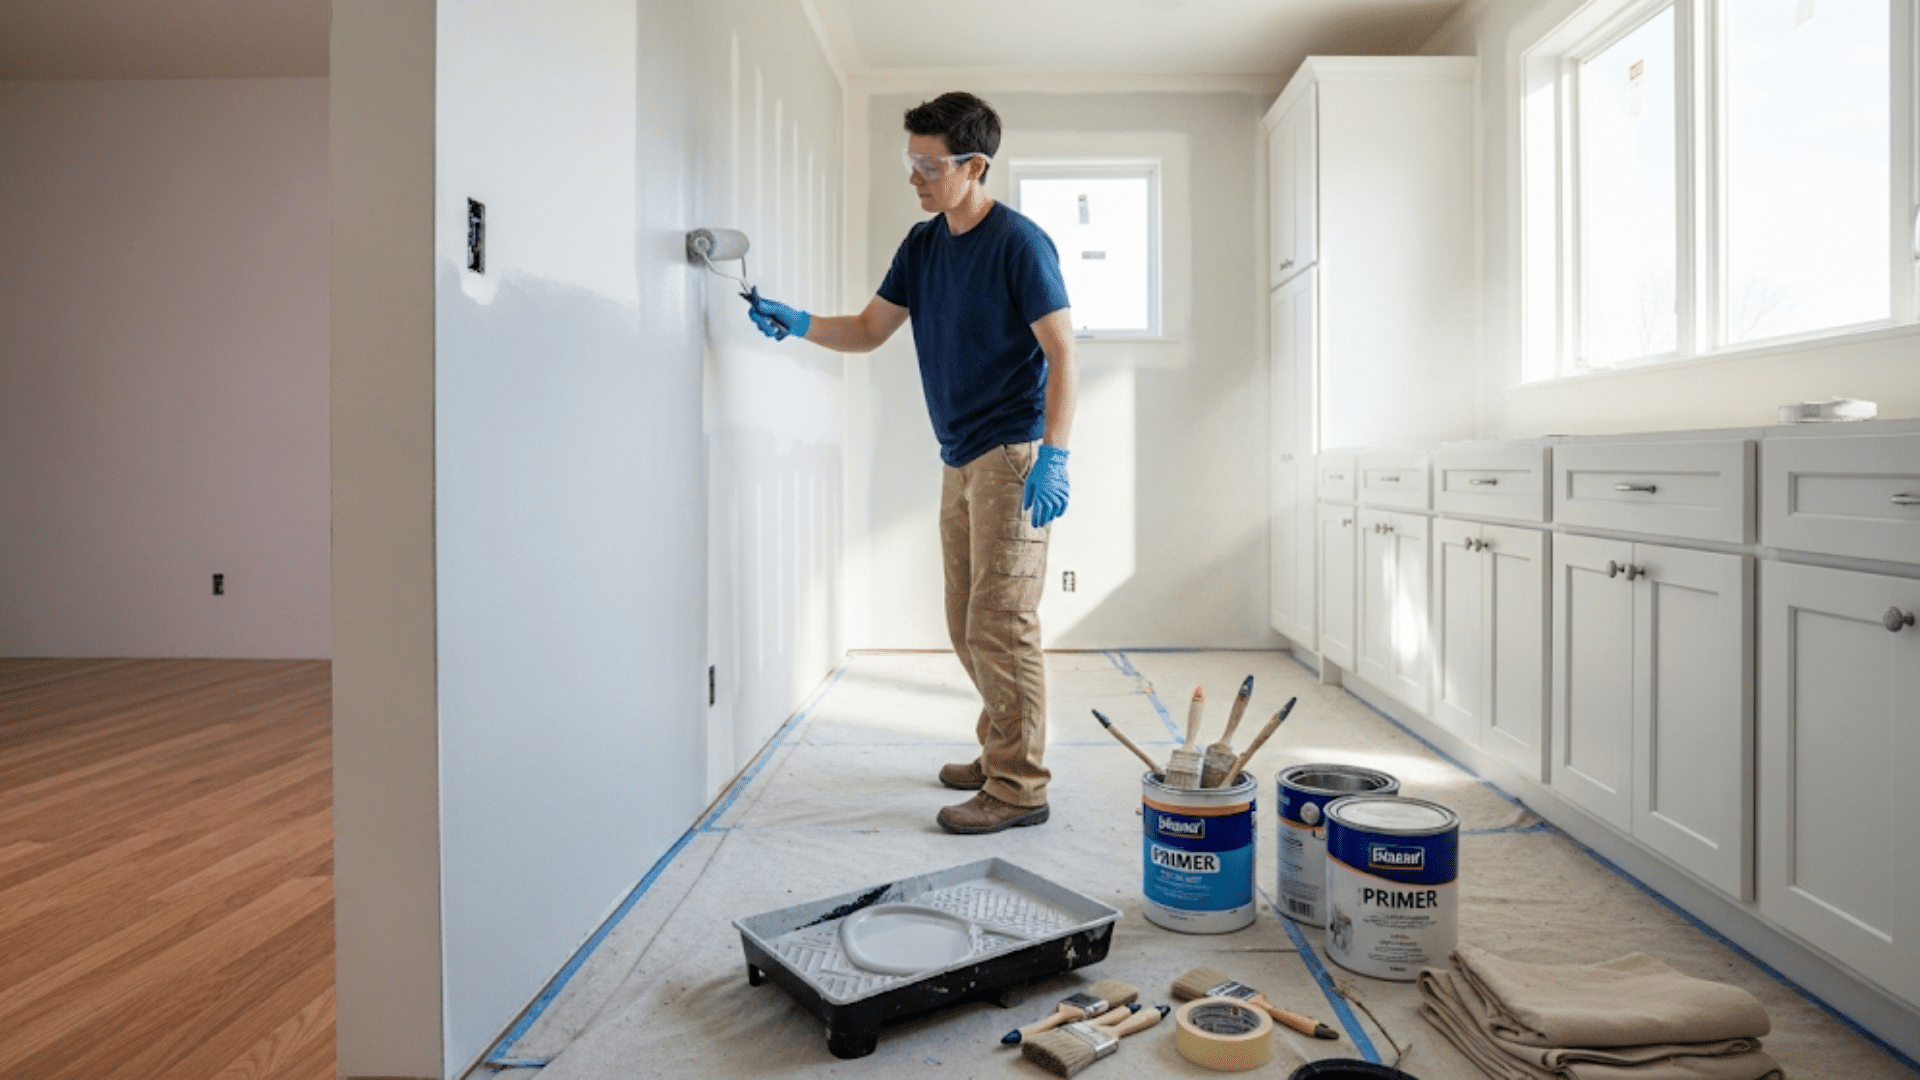
After sealing drywall with primer, apply your first coat of paint. Then, move on to flooring: hardwood, tile, or vinyl, depending on your design preferences.
Install cabinets and built-ins after flooring, unless you’re using laminate that can’t sit under cabinetry.
Think about the 50-year lifespan of your finishes. Choosing durable materials now means fewer replacements later.
Step 7. Trim, Fixtures, and Final Touches
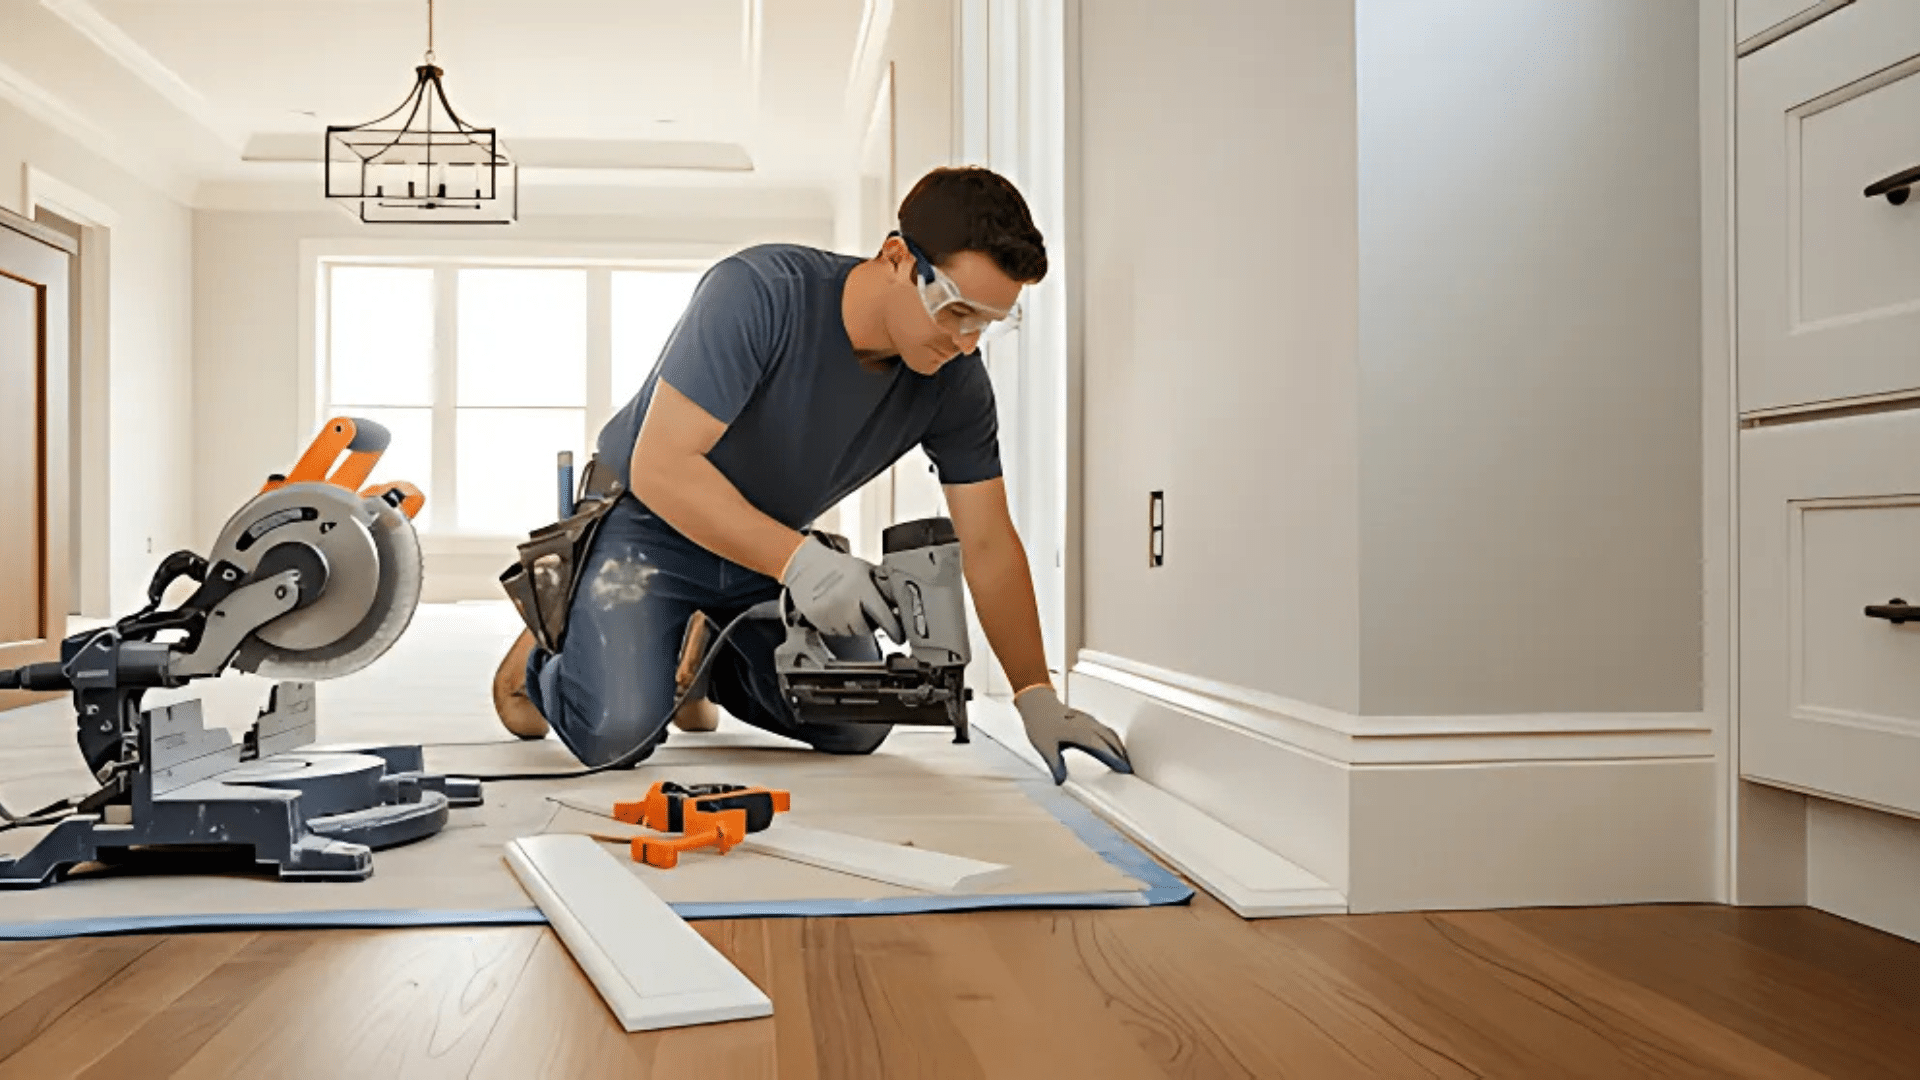
Add baseboards, casings, door jambs, and trim work for that polished look.
Protect your flooring as you work to avoid scratches. Install light fixtures, plumbing fixtures, and any hardware.
Finally, walk through your project as if you were a home inspector, checking details, confirming safety, and taking pride in the home you’ve built or renovated.
Renovation Cost Breakdown
Before starting any renovation, it is crucial to understand the associated costs. That’s why cost planning is the first step in my step-by-step home renovation checklist.
| Renovation Type | Typical Range (USD) | What’s Included |
|---|---|---|
| Cosmetic Update | $15,000–$25,000 | Paint, fixtures, minor upgrades |
| Mid-Range Remodel | $30,000–$60,000 | Semi-custom cabinets, flooring, and new appliances |
| High-End Overhaul | $70,000+ | Custom cabinetry, luxury finishes, structural changes |
While these figures give a general idea, actual costs can vary based on location, materials, and labor. Always get multiple quotes, plan a contingency fund, and prioritize your must-haves to keep the budget under control.
Common Mistakes to Avoid
I’ve made these mistakes, so you don’t have to. Learn from my failures and save yourself time, money, and headaches.
- Skipping permits, always check with the city first
- Underestimating costs adds 20% to your budget
- Taking on complex DIY without proper skills
- Ignoring project timelines delays cost extra money
- Not getting contractor agreements in writing
- Forgetting to protect furniture and belongings
- Starting work without final design plans ready
When Do You Need a Contractor?
Some jobs are ideal for DIY, while others require professional assistance. I always hire contractors for electrical work, plumbing changes, and structural modifications.
These areas involve safety codes and permits that most homeowners shouldn’t handle alone.
Also consider hiring pros for roofing, HVAC installation, and major flooring projects. Yes, it costs more upfront, but mistakes in these areas can be expensive to fix later.
I learned this when I tried to install my own hardwood floors had to pay twice to get them redone properly.
Wrapping it Up
Following a step-by-step renovation checklist turns chaos into success.
Each phase builds on the last, creating a smooth process that saves time and money.
Good renovations aren’t rushed, take time with planning, hire professionals when needed, and always prioritize safety.
The right checklist keeps you organized, while knowing when to call contractors protects your investment.
Every successful renovation starts with taking action, so grab your tools and start building the space you’ve always wanted.