
Tiles falling off the wall six months after installation? That’s what happens with the wrong adhesive.
Thinset prevents this nightmare scenario. Unlike regular adhesives, thinset creates a bond that can last for decades.
Learning about thinset means understanding how to do tile work correctly.
This blog explains about thinset, its advantages and disadvantages, and how it differs from other adhesives.
What is Thinset?
Thinset is a cement-based adhesive used to bond tiles to surfaces.
It comes as a dry powder that gets mixed with water or a liquid additive. The mixture creates a thick, spreadable paste that installers apply with a notched trowel.
This contains Portland cement, sand, and a water-retaining agent. These ingredients work together to form a strong bond.
Once it cures, thinset becomes incredibly durable. It resists moisture and handles temperature changes better than other adhesives. That’s why professionals use it for most tile installations
Advantages and Disadvantages
Now that we know what is thinset, let’s get into its advantages and disadvantages. Understanding both sides helps to make informed choices.
Advantages
Thinset offers several benefits that make it the preferred choice for tile installation. Professional contractors rely on it for good reasons.
Here’s why this adhesive stands out from other options.
1. Superior Bonding Strength
Thinset creates an incredibly strong connection between tiles and surfaces. The cement-based formula penetrates porous materials and forms a mechanical bond.
Once cured, tiles stay firmly in place for decades without loosening or shifting over time.
2. Excellent Moisture Resistance
This adhesive handles water exposure exceptionally well. Bathrooms, kitchens, and outdoor areas benefit from thinset’s waterproof properties.
It won’t break down or lose adhesion when wet, making it perfect for showers and pool surrounds.
3. Temperature Flexibility
Thinset withstands extreme temperature changes without cracking or failing. Hot summers and cold winters don’t affect its bonding capability.
This makes it suitable for both indoor and outdoor applications where temperatures fluctuate throughout the year.
4. Long-Lasting Durability
Installations using thinset can last 50 years or more with proper care. The mortar doesn’t deteriorate quickly like organic adhesives.
It maintains its strength and keeps tiles secure through decades of use, foot traffic, and cleaning.
5. Versatile Application
Thinset works on multiple surface types, including concrete, cement board, and plywood. It bonds well with ceramic, porcelain, stone, and glass tiles.
This flexibility allows contractors to use one adhesive for various projects instead of switching products.
6. Cost-Effective Solution
While thinset costs more upfront than mastic, it saves money long-term. Fewer repairs and replacements mean lower maintenance costs.
The extended lifespan makes it a smart investment for any tile project, big or small
Disadvantages
Despite its many strengths, thinset comes with some drawbacks. Understanding these limitations helps in making informed decisions.
The following are the main challenges that come with using this adhesive.
1. Requires Mixing Skills
Thinset needs proper mixing to achieve the right consistency. Too much water makes it weak, while too little creates application problems.
Beginners often struggle with getting the mixture just right, which can affect the final installation quality.
2. Limited Working Time
Once mixed, thinset starts curing and becomes unusable within 30 to 45 minutes. This short window puts pressure on installers to work quickly.
Rushing can lead to mistakes, especially for those without experience in tile work.
3. Messy Application Process
Working with thinset creates dust during mixing and cleanup challenges afterward. The powder gets everywhere before adding water.
Dried thinset on tools and surfaces requires significant scrubbing effort, making the whole process time-consuming and labor-intensive.
4. Longer Curing Period
Thinset takes 24 to 72 hours to fully cure before grouting can begin. This extended wait time delays project completion.
People need patience, and contractors must schedule work carefully to accommodate the curing timeline for each installation phase.
5. Difficult to Remove
Removing old thinset from surfaces requires serious effort and special tools. It bonds so strongly that scraping it off damages the underlying materials.
Mistakes during installation become permanent problems that require extensive work to fix or replace entirely.
6. Not Suitable for All Materials
Some surfaces, like drywall or certain plastics, won’t work with thinset. It needs a stable, rigid substrate to bond properly.
Using thinset on flexible or inappropriate surfaces leads to cracking and failure, requiring proper surface preparation beforehand.
Different Types of Thinset
Thinset comes in several varieties, each designed for specific applications. The type chosen depends on the project requirements and tile material. Let’s look at the main types available.
1. Modified Thinset
Modified thinset contains polymer additives that improve flexibility and bonding strength. These additives make it stick better to difficult surfaces.
It works well for wall installations and areas with some movement. The polymers also increase water resistance.
2. Unmodified Thinset
Unmodified thinset is pure cement-based mortar without any polymer additives mixed in. It’s required when installing tile over cement board or waterproofing membranes.
The lack of polymers allows moisture to escape during curing. This type is often specified by tile manufacturers for warranty purposes.
3. Rapid-Setting Thinset
Rapid-setting thinset cures much faster than standard types, usually within two to four hours. This quick cure time speeds up project completion significantly.
It’s ideal for high-traffic areas that can’t stay closed long. The fast setting also means less time for adjustments. Experienced installers use this when time matters most and precision comes naturally.
4. Large Tile and Slab Thinset
Large tile thinset is specially formulated for tiles bigger than fifteen inches square. It has extra bonding agents to prevent sagging and slipping.
The thicker consistency supports heavy materials better. This type reduces lippage and ensures even coverage.
Any project involving oversized tiles or stone slabs needs this specific formulation for proper support.
Modified vs Unmodified Thinset
The choice between modified and unmodified thinset confuses many DIYers. Both types serve different purposes and work best in specific situations.
| Feature | Modified Thinset | Unmodified Thinset |
|---|---|---|
| Composition | Contains polymer additives | Pure cement-based mortar |
| Flexibility | More flexible | Less flexible |
| Bond Strength | Higher bonding power | Standard bonding power |
| Water Resistance | Enhanced moisture protection | Basic moisture resistance |
| Best For | Walls, plywood, drywall | Cement board, waterproof membranes |
| Cure Time | Slower drying | Faster drying |
| Cost | Slightly more expensive | More affordable |
| Adjustability | Longer working time | Shorter working time |
| Warranty Requirements | Not always accepted | Often manufacturer-required |
How to Mix Thinset?
Mixing thinset correctly ensures proper bonding and prevents installation problems down the road.
Start by adding the recommended amount of clean water to a mixing bucket. Then slowly pour the dry powder into the water while stirring. Use a drill with a paddle mixer attachment set at low speed to blend thoroughly.
Mix until the consistency resembles thick peanut butter with no lumps remaining.
Let it sit for five to ten minutes, a process called slaking. This allows the chemicals to activate properly. After slaking, mix again briefly before applying.
The final mixture should hold its shape when spread, but remain workable and smooth
How to Use Thinset?
Applying thinset correctly ensures tiles stay in place for years. The process involves several steps that need careful attention. Following these steps makes the installation successful and long-lasting.
Prepare the Surface
- Clean the surface thoroughly to remove dust, dirt, and any loose debris.
- The area must be completely dry before starting.
- Check for levelness using a straightedge or level.
- Fill any low spots with floor leveling compound.
- Sand down high spots if needed.
A smooth, clean surface helps the thinset bond properly and prevents future problems.
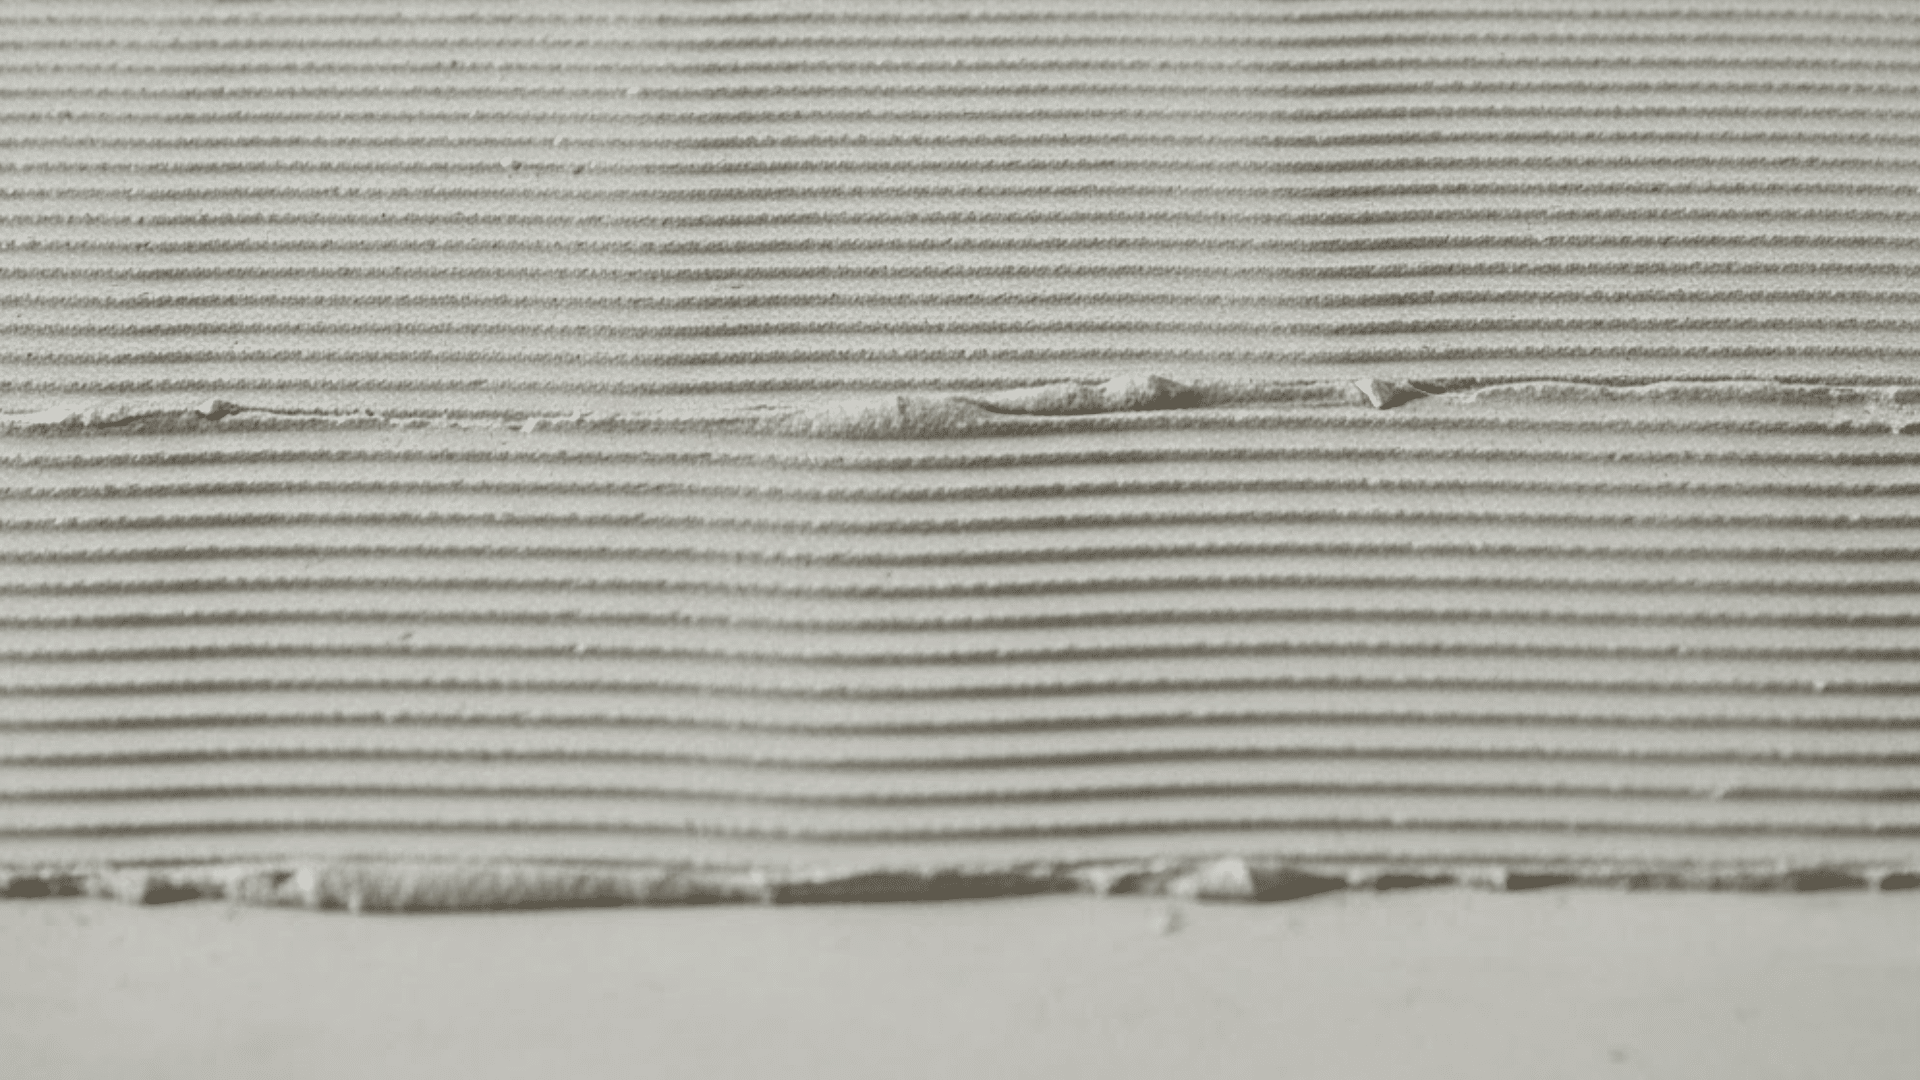
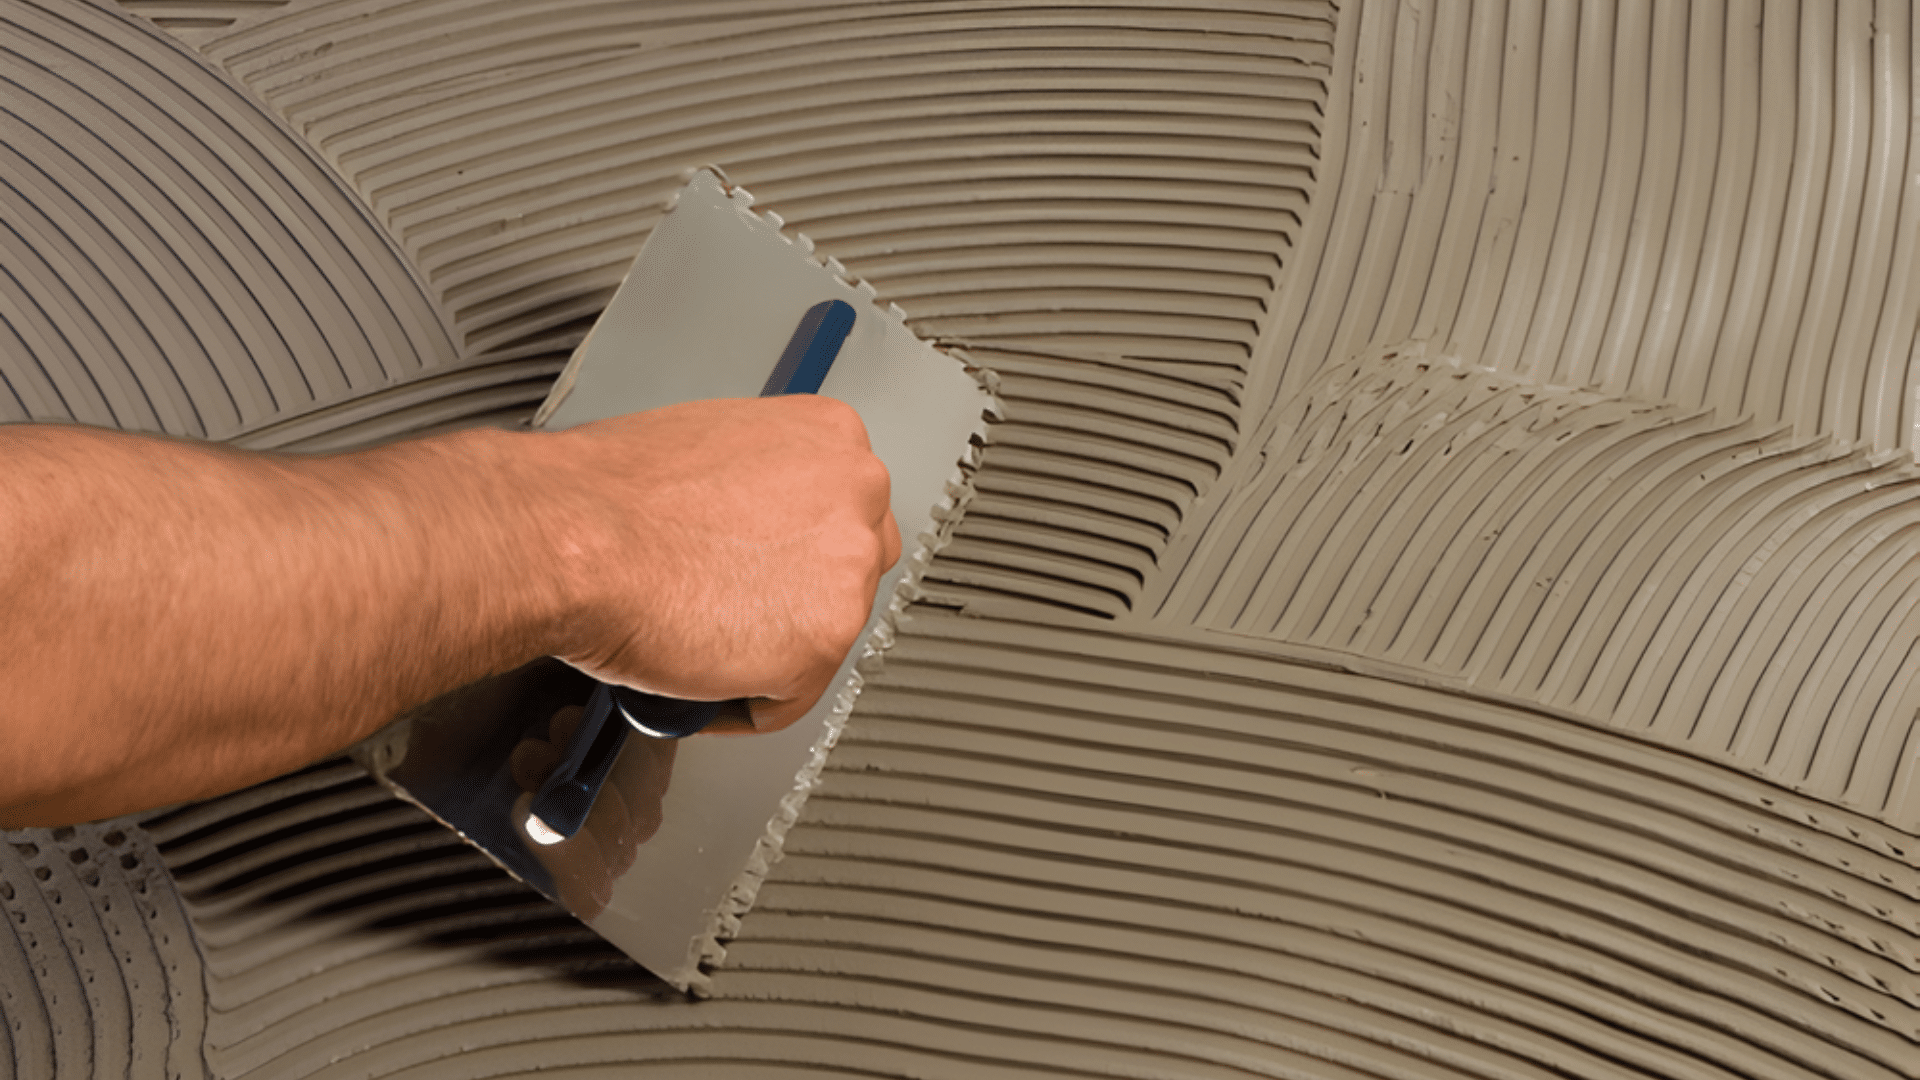
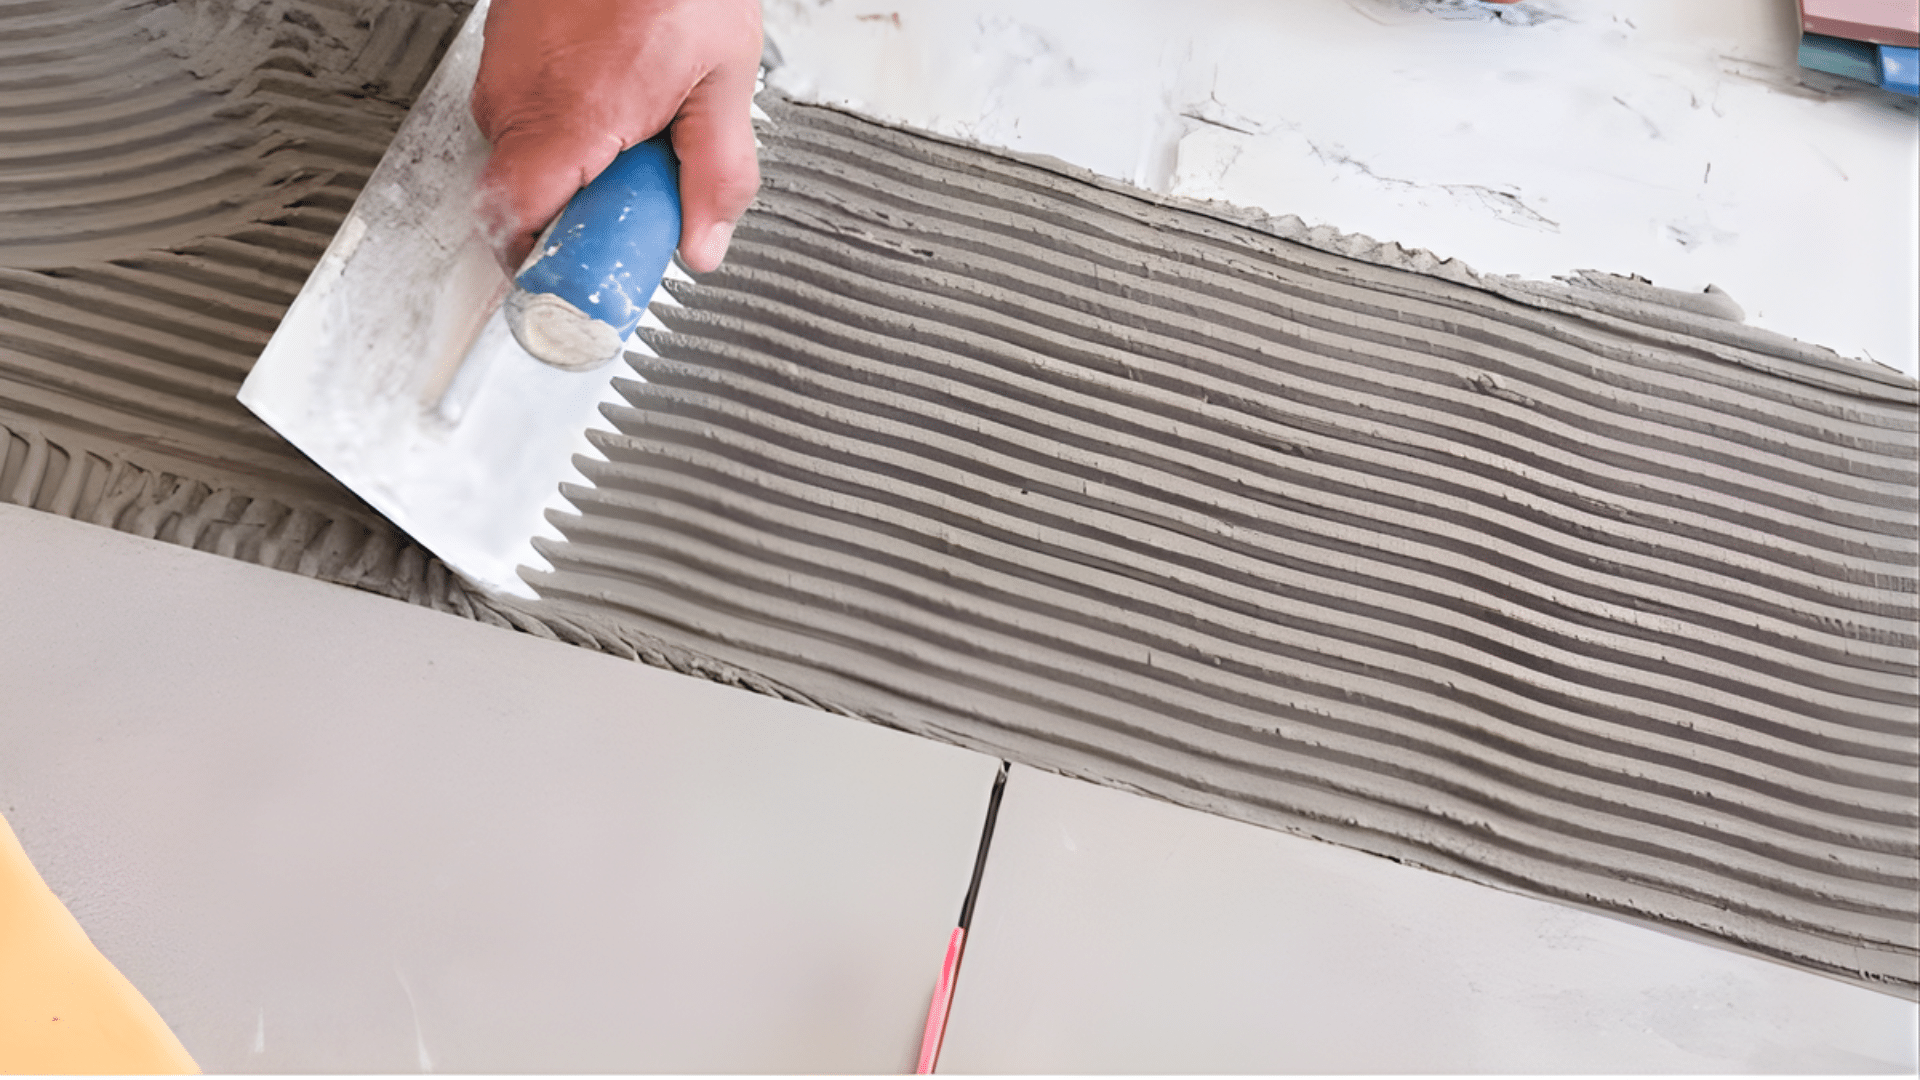
Apply Thinset to the Surface
- Scoop thinset onto the surface using the flat side of a notched trowel.
- Spread it evenly across a small section, about three feet square.
- Then flip the trowel to the notched side.
- Drag it through the thinset at a consistent angle.
This creates ridges that help with bonding. Work in small sections to prevent the thinset from drying out.
Set the Tiles
- Press each tile firmly into the thinset with a slight twisting motion.
- Use tile spacers to maintain consistent gaps between tiles.
- Check the level frequently to ensure tiles sit flat.
- Adjust tiles immediately if they’re uneven.
Once the thinset starts setting, adjustments become very difficult or impossible to make.
Check for Coverage
- Periodically lift a tile to check the thinset coverage on the back.
- At least seventy-five percent of the tile back should have thinset contact.
- For floors and wet areas, aim for ninety-five percent coverage.
- Poor coverage leads to hollow spots and cracked tiles later.
Add more thinset if coverage is insufficient. Proper coverage ensures a strong, lasting bond.
Clean Excess Thinset
- Remove any thinset that squeezes up between tiles immediately with a damp sponge.
- Don’t let it dry in the grout joints.
- Wipe the tile surface clean as you work.
- Dried thinset is extremely hard to remove later.
- Keep a bucket of clean water nearby for rinsing sponges.
Clean tools right after finishing, before the thinset hardens on them.
Grout, Mortar, and Thinset: What’s the Difference?
These three materials often confuse people because they look similar.
Each serves a distinct purpose in tile work. Understanding the differences helps choose the right product for each job.
| Feature | Grout | Mortar | Thinset |
|---|---|---|---|
| Primary Use | Fills joints between tiles | General construction bonding | Bonds tiles to surfaces |
| Consistency | Thinner, flows easily | Thick and chunky | Smooth and spreadable |
| Bond Strength | Low, not an adhesive | Medium to high | Very high |
| Water Resistance | Varies by type | Low to medium | High |
| Application | Squeegee or float | Trowel | Notched trowel |
| Drying Time | 24-72 hours | 24-48 hours | 24-72 hours |
| Flexibility | Some types of flex | Rigid when cured | Some types of flex |
| Best For | Filling tile gaps | Brick and block work | Tile installation |
Wrapping It Up
So, what is thinset? It is a go-to adhesive for professional tile installations. Its strength and durability make it worth the extra effort.
Mixing and applying thinset takes practice. But the results speak for themselves. Tiles stay firmly in place for decades when installed correctly.
The cost remains reasonable compared to redoing failed installations. So take time to prepare surfaces properly.
Ready to start that tile project? Thinset makes it possible to achieve professional results at home.