

Your garage floor doesn’t have to look like a disaster zone. Epoxy coatings are tough, easy to clean, and look really sharp.
You don’t need to hire anyone, since you can do it yourself. Once you see how good it looks, you’ll feel like doing it again!
Read on to know everything step by step, from prep work to the final coat. Let’s get into it!
Why is an Epoxy Garage Floor so Popular?
An epoxy garage floor is a protective coating applied directly onto concrete.
It’s made by combining two parts: a resin and a hardener.
Once mixed, they bond tightly to the concrete and harden into a tough, durable surface.
It resists oil, chemicals, and daily wear far better than bare concrete ever could. The easiest way to get started is with a garage floor epoxy kit.
They’re designed for home use, so no professional experience is needed. Floor design is important because it sets the tone for an entire space.
Materials and Supplies Required
Supplies make the whole process smoother. Let’s gather these supplies before starting the project.
- Epoxy coating kit (resin + hardener)
- Concrete etching solution
- Concrete patch filler
- Paint roller + extension pole
- Paintbrush
- Non-slip additive
- Safety goggles + gloves
- Respirator or protective mask
- Stiff-bristle scrub brush
- Pressure washer or garden hose
- Painter’s tape
- Shop vacuum or broom
How to Apply a DIY Epoxy Garage Floor: Step-by-Step
Getting the steps right makes all the difference. Follow this process in order, and the finished floor will look great and hold up for years.
Step 1: Clear and Clean the Garage
Start by removing everything from the garage. The floor needs to be completely empty.
Once cleared, sweep away all dust and debris, then scrub the floor with a stiff-bristle brush and a degreaser. Any grease left behind will stop the epoxy from bonding properly.
I always mark stubborn oil stains with chalk before cleaning it’s easy to miss them once the floor is wet.
Step 2: Repair Cracks and Chips
Look for any cracks, holes, and chips in the floor that need to be filled before the epoxy. Use a concrete patch filler and press it firmly into each gap.
Smooth it out with a putty knife and let it dry completely.
Step 3: Etch the Concrete Surface
Etching makes the epoxy stick properly. Apply a concrete etching solution to the entire floor, then scrub it in with a stiff brush.
It reacts with the concrete, opening tiny pores on the surface.
Once done, rinse the floor thoroughly with a hose or pressure washer. Let it dry fully.
I pour a few drops of water on the floor after it dries. If the water soaks in, it’s ready. If it beads up, the floor needs another round of etching.
Step 4: Mix the Epoxy Coating
Open the epoxy kit and combine the resin and hardener in the ratio specified on the packaging.
Stir slowly and consistently for at least three to five minutes. Make sure to scrape the sides and bottom of the container while mixing.
Read the instructions carefully and plan the application before mixing. Do not rush!
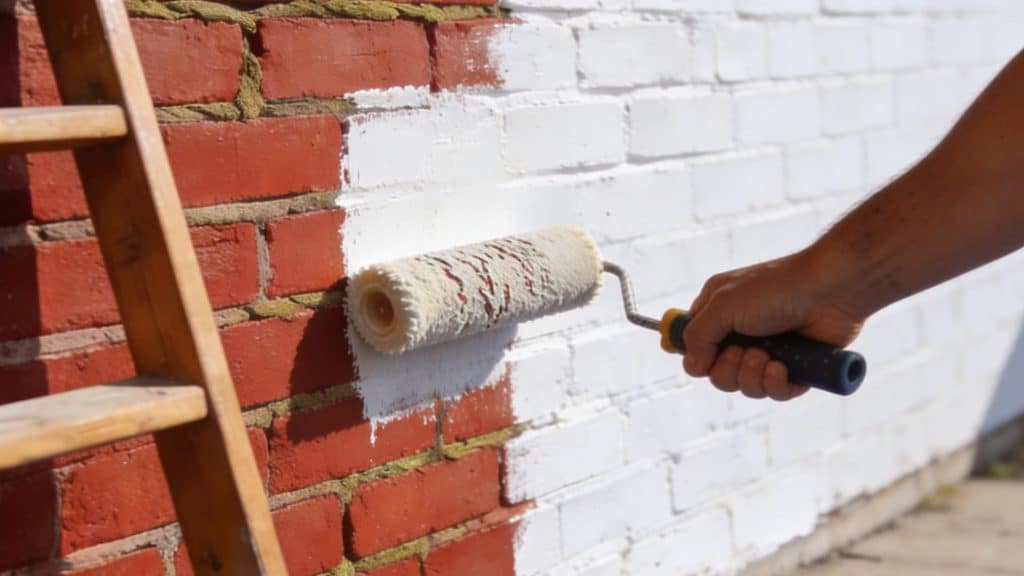
Step 5: Apply the First Coat
Start at the far end of the garage towards the exit.
Use a paintbrush to cut in along the edges and corners first. Then switch to a roller with an extension pole to cover the main floor area.
Apply the epoxy in thin, even strokes. Avoid going back over areas that have already started to set.
One coat takes under an hour for a standard two-car garage.
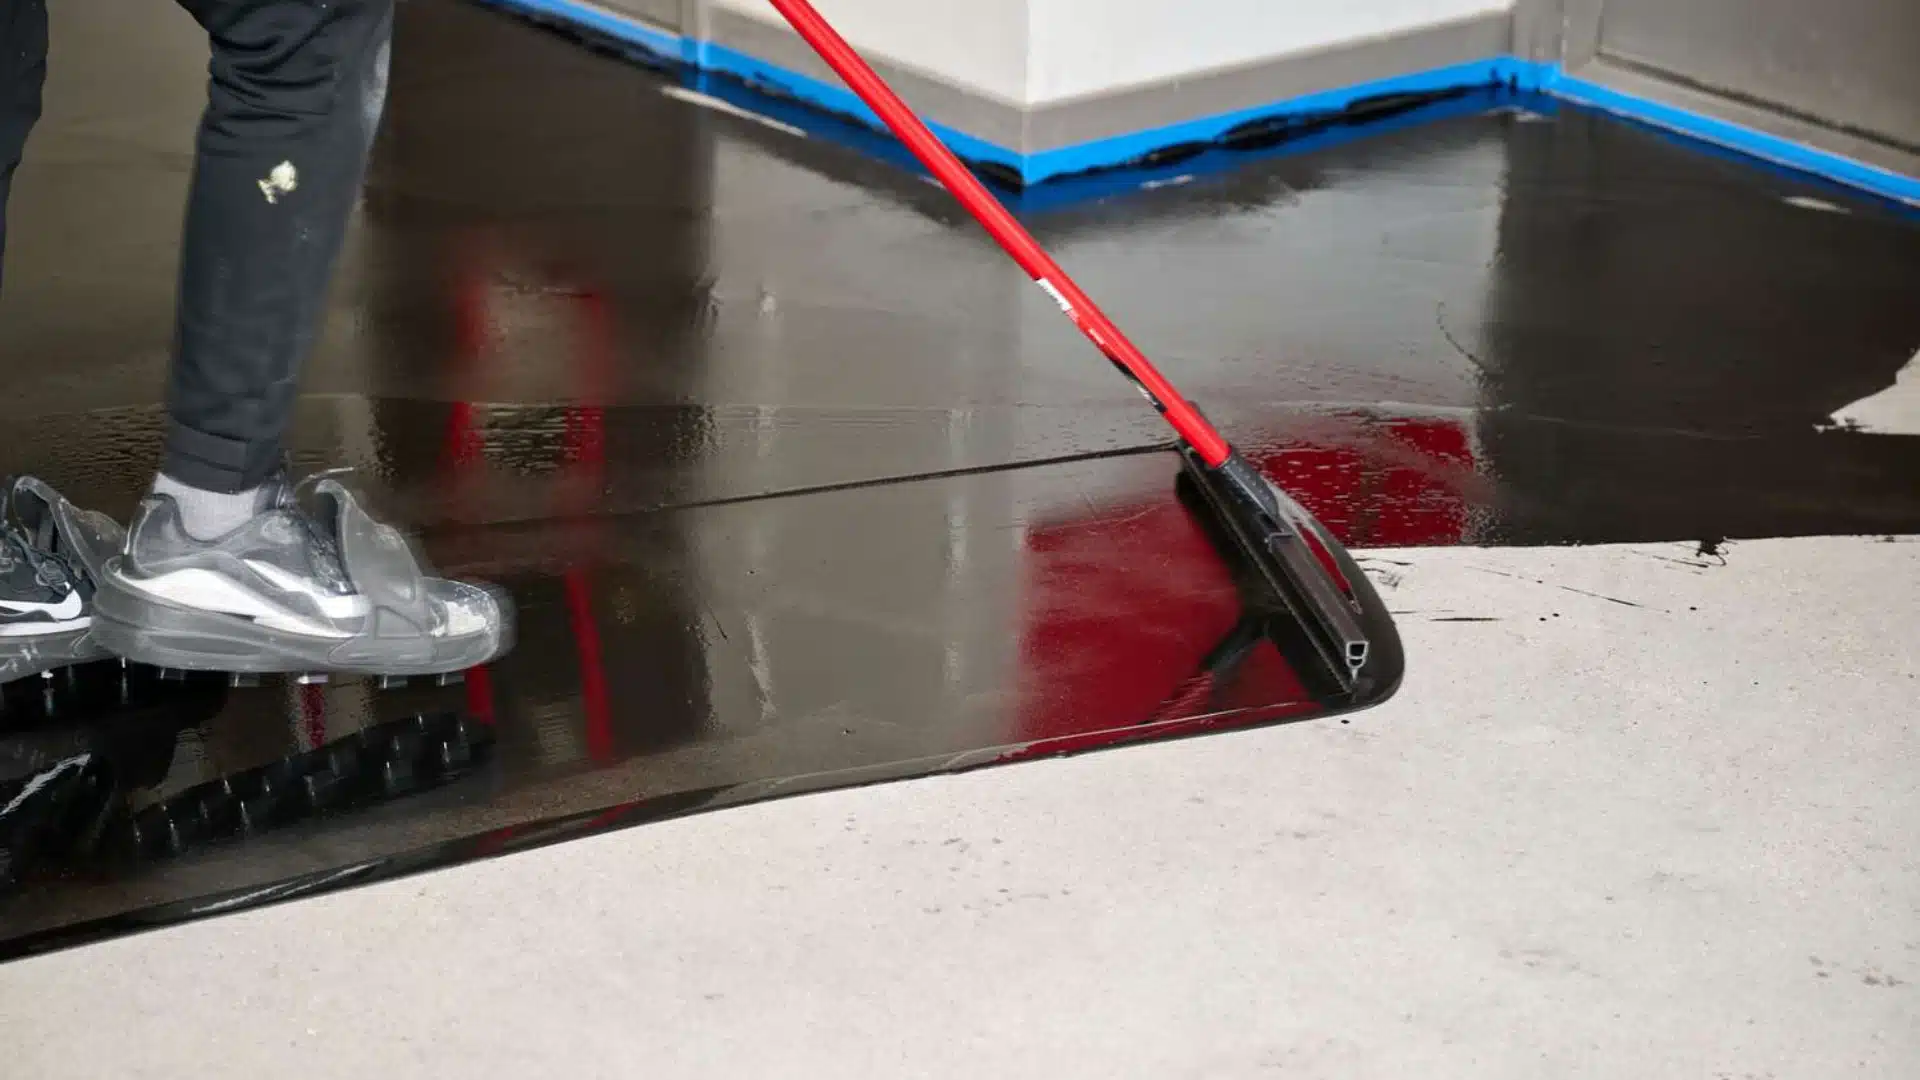
I always wear spiked shoe covers during application, they let me step onto freshly coated areas without leaving marks.
Step 6: Add Decorative Flakes (Optional)
This is one of the most satisfying parts of a DIY epoxy garage floor project. While the first coat is still wet, scatter decorative color flakes across the surface.
Toss them lightly from a standing position so they land randomly and naturally.
These flakes add texture, grip, and a finished look. They also help hide minor imperfections underneath.
Step 7: Apply the Second Coat
Once the first coat has cured, usually after 12 to 24 hours, it’s time for the second coat. Follow the same process as before.
The second coat seals everything in.
It also adds an extra layer of protection against chemicals, scuffs, and daily wear.
I lightly sand the first coat with fine-grit sandpaper before applying the second, it helps the layers bond better and gives a smoother finish overall.
Step 8: Let it Cure Fully
After the final coat, the floor needs at least 24 hours before foot traffic and 72 hours before driving on it.
Full cure can take up to seven days, depending on temperature and humidity.
Keep the garage well-ventilated during this time and avoid placing anything heavy on the floor until it’s fully set.
DIY Epoxy Garage Floor Cost vs Professional Installation
| Category | DIY Estimate | Professional Estimate |
|---|---|---|
| Epoxy coating kit | $200-$500 | Included in labor |
| Surface preparation | $50-$150 | Included in labor |
| Tools and supplies | $100-$200 | N/A |
| Decorative flakes | $50-$100 | Included ($100+) |
| Topcoat sealer | $50-$100 | Included |
| Total estimate | $450-$1,050 | $2,500-$5,000 |
Garage Floor Epoxy Kit: What to Look For?
Some kits come with just the basics, resin, and hardener. Others include color flakes, a topcoat sealer, and even application tools.
When picking a kit, check the coverage area first.
A standard two-car garage requires a kit covering at least 400 to 500 square feet.
Also, look at the cure time, chemical resistance, and whether the kit works on previously sealed concrete.
After trying a few options, I went with the ArmorClad Epoxy Kit for my garage’s coverage, easy application, and the finish that has held up really well.
Wrapping Up
What used to be a dull, stained slab of concrete is now a floor you actually want to show off, and you did it yourself, without paying someone thousands of dollars to do it for you.
That feels pretty good, right? So go ahead.
Got questions or tips from your own install? Drop them in the comments. I’d love to hear how yours turned out.
Frequently Asked Questions (FAQs)
1. What is the Best Time of Year to Apply Epoxy?
Spring and early autumn. Mild temperatures between 60°F and 90°F help the epoxy cure evenly without drying too fast or too slow.
2. Is Gorilla Glue Considered an Epoxy?
No, Gorilla Glue is a polyurethane-based adhesive.
3. Can Mold Grow Under Epoxy?
Yes, it can, but only if moisture gets trapped beneath the coating during application.