

Just empty corners and wasted indoor or outdoor space.
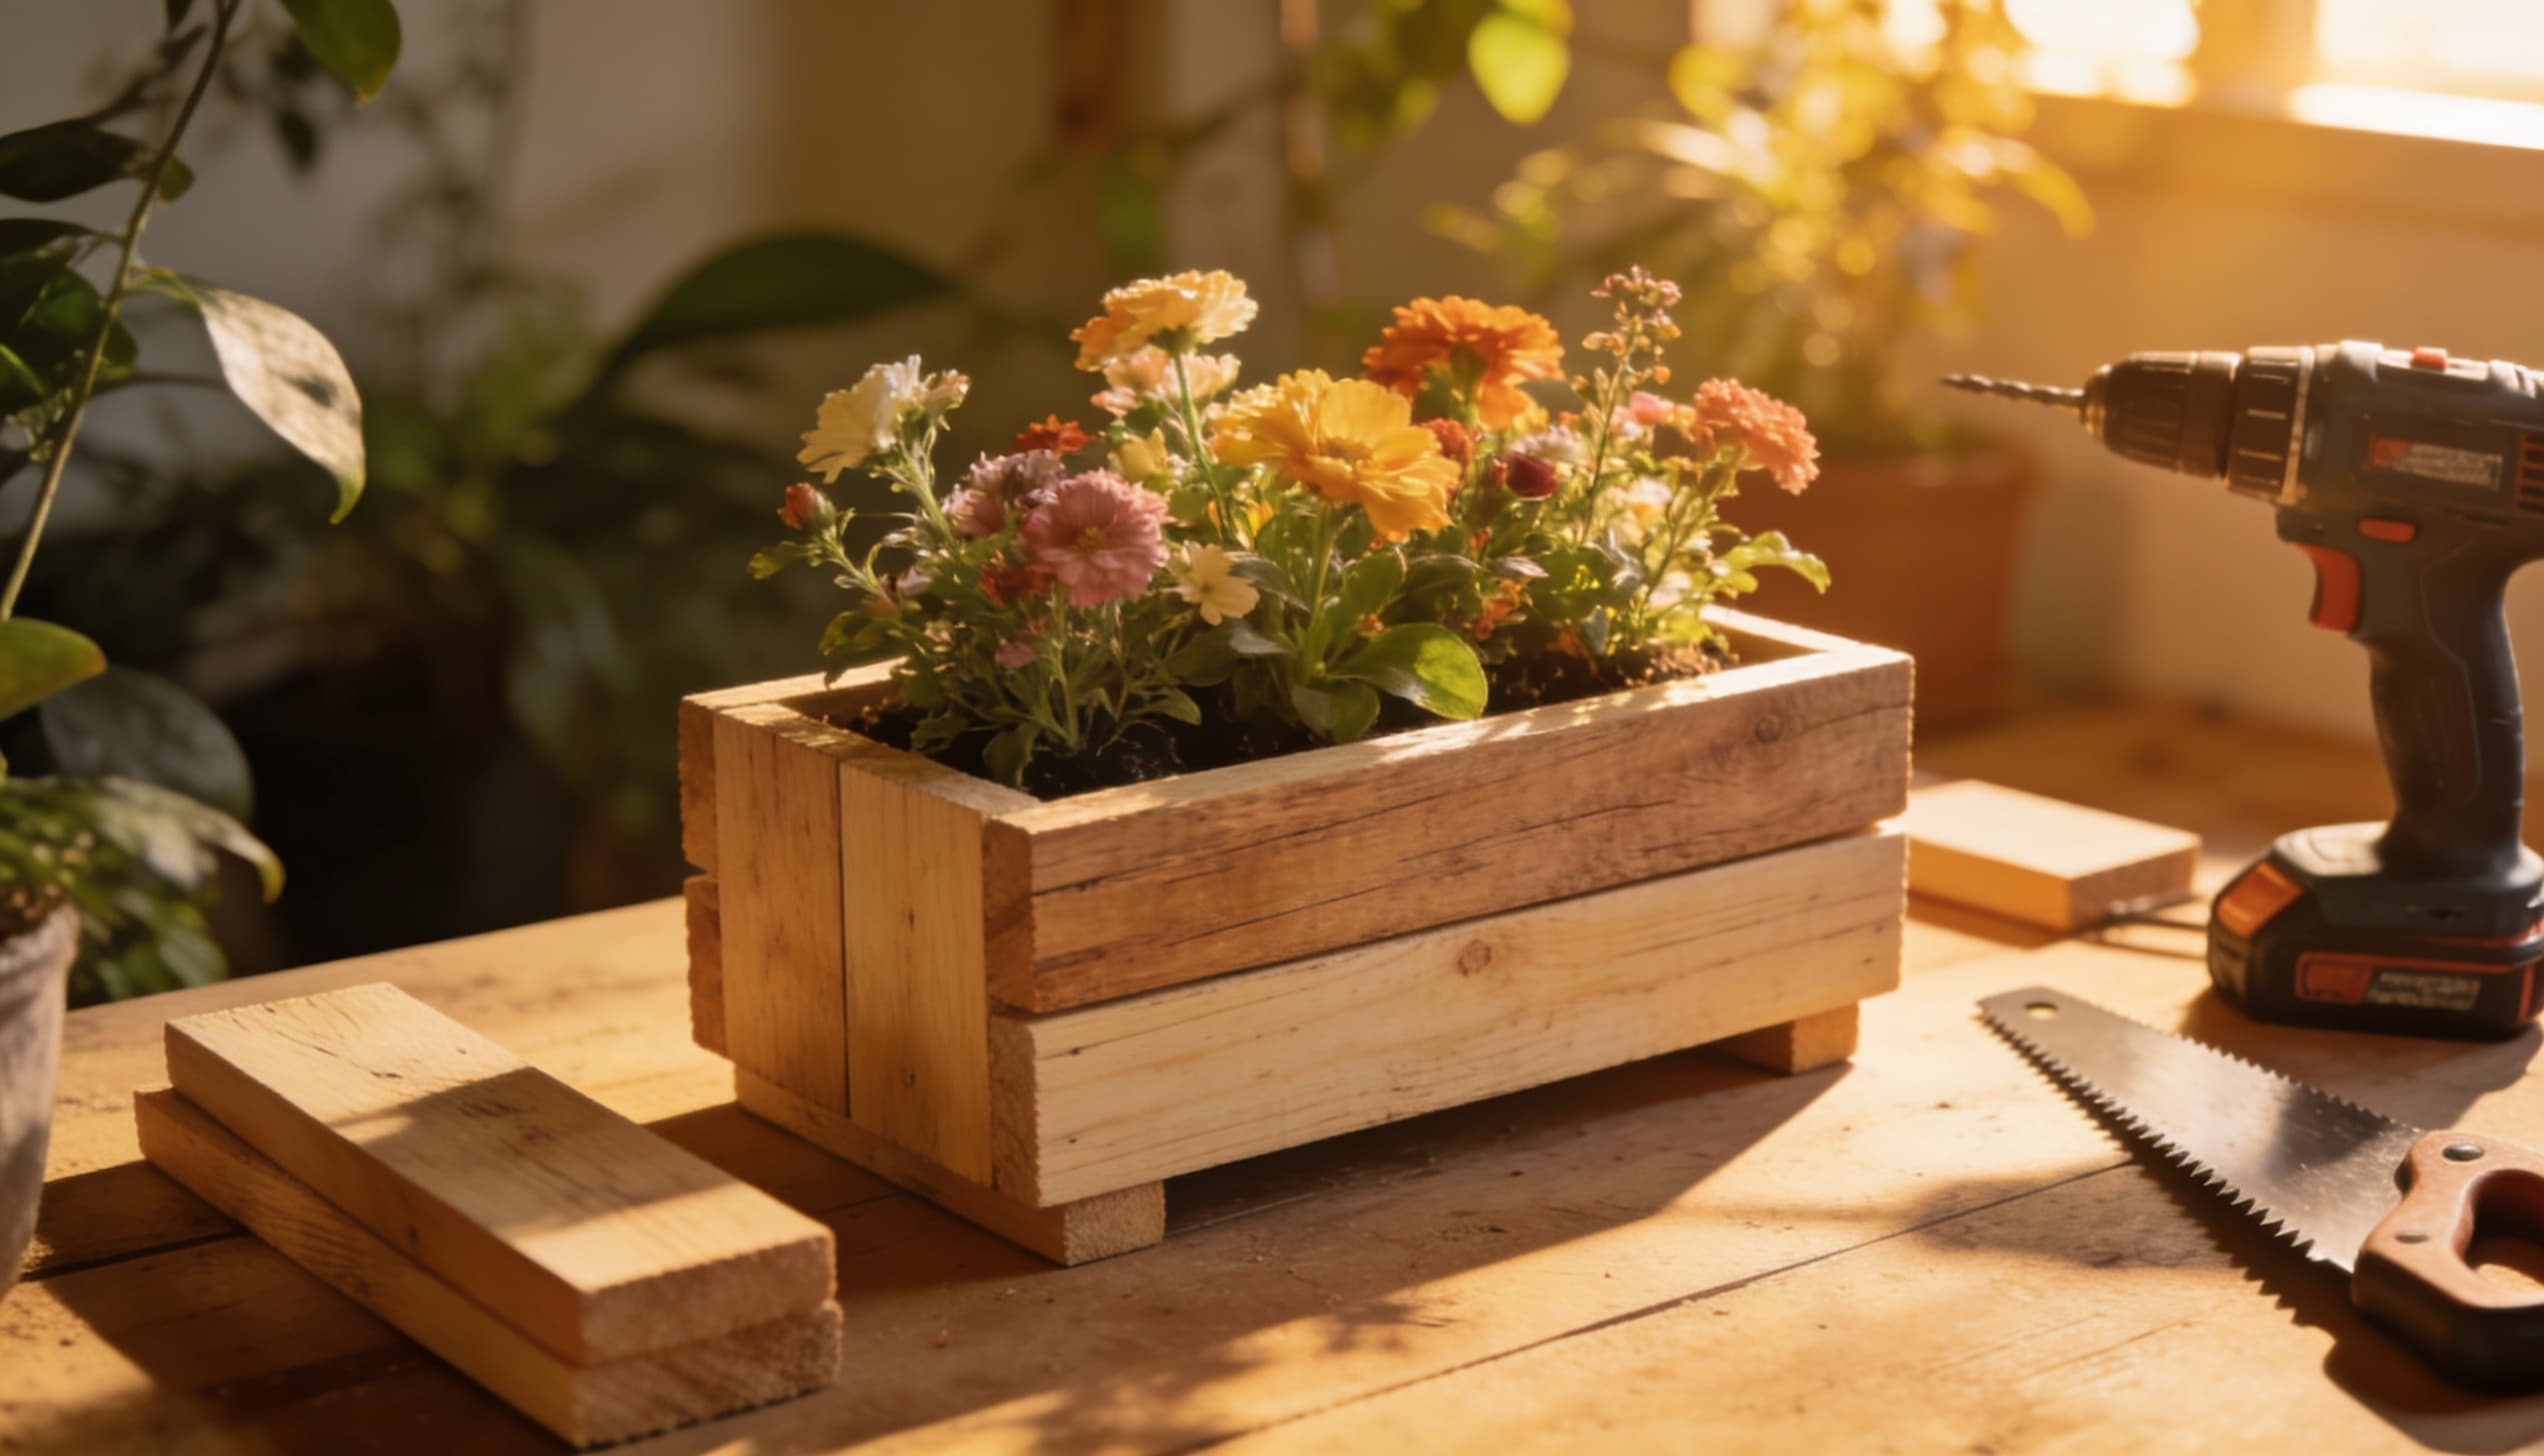
Then one weekend, almost out of boredom, I decided to build a DIY planter box. A bit of wood, some soil, and whatever you feel like growing.
Herbs, flowers, tomatoes, you name it.
If you can follow steps and use a few basic tools, you’re already good to go.
Tools and Materials You’ll Need
Lay everything out before you start. A little prep at the beginning saves a whole lot of frustration later.
| Item | What it’s For |
|---|---|
| Wood boards | Pine for indoors, cedar or redwood for outside |
| Wood screws | 2 to 3-inch ones do the job |
| Landscape fabric | Keeps soil from leaking out |
| Wood sealant or paint | Protects against moisture and weather |
| Sandpaper | Smooths out rough edges |
| Drainage gravel | Goes at the bottom, helps the roots breathe |
| Potting soil | Avoid regular garden soil, as it gets too compact |
| Saw | Hand saw or circular, either works |
| Drill | Makes driving screws much easier |
| Measuring tape | Measure twice, cut once |
| Clamps | Holds pieces steady while you work |
| Safety glasses | Sawdust stings, don’t skip these |
| Speed square | Keeps your angles straight |
Use coated or stainless screws if the box is going outside. Standard screws rust through in one season and split the wood as they expand.
For landscape fabric: Avoid the really cheap weed fabric, as it clogs up within a year and blocks drainage. A mid-weight, non-woven fabric works far better and lasts 3–4 seasons.
Step-by-Step Manual to Build a DIY Planter Box
Just follow these steps you’ll have a solid planter box by the end of the day.
Step 1: Measure and Plan Your Box
First, figure out where this box is actually going. Balcony? Patio corner? Windowsill? That spot tells you everything about your size. Write down your length, width, and height before touching anything.
A good starter size is 24 inches long, 12 wide, and 10 deep, but build it to fit your space, not someone else’s.
One thing I always check: if you’re putting this on a balcony, confirm the weight limit first. A large planter box filled with wet soil can easily weigh 80–100 lbs.
Step 2: Cut the Wood Panels
Take your measurements to the wood and mark every cut with a pencil first.
Cut two long sides, two short ends, and one bottom panel. Don’t rush it. Lay everything flat once done, and make sure it all lines up before moving on.
A hand saw works, but a circular saw with a rip fence makes cleaner, straighter cuts if you have access to one.
Uneven cuts mean gaps in your joints, and gaps let moisture in.
Step 3: Assemble the Frame
Stand your sides up, attach the end panels, and pre-drill your holes the prevent splitting.
A little glue along the joints never hurts.
Attach the bottom last, clamp everything steady, and check your corners are square.
If you skip pre-drilling, pine will split at the ends almost every time. Drill at least ¾ inch from the edge.
Step 4: Add Drainage Holes
Flip the box upside down and drill 4 to 6 holes across the bottom.
Space them out evenly. Plants sitting in water rot fast. Don’t skip this one.
After your first watering, flip the box slightly and check that water runs freely from all holes. A blocked hole is not obvious until your plants start wilting despite regular watering.
Step 5: Sand and Finish
Sand every surface, edge, and corner, including.
Wipe the dust off, then apply your sealant, paint, or stain. Two coats, especially if it’s going outside. Let it dry fully before moving on seriously, don’t rush it.
For outdoor builds, a teak oil or exterior-grade wood stain lasts longer than standard paint.
Paint peels within a season once moisture gets underneath it.
Step 6: Line and Fill
Cut your landscape fabric, fold it into the corners, and staple it to the inside of the box.
Add a layer of drainage gravel at the bottom, then fill with potting soil, leaving about an inch of space at the top.
That’s it, your DIY planter box is ready to go.
Don’t skip the gravel layer, even if the landscape fabric looks secure. Fabric compresses over time. The gravel keeps a small air gap at the bottom, which is what actually protects the roots from sitting in water.
Best Wood Types for DIY Planter Boxes
Not all wood is created equal. Some hold up for years, some rot before the season is even over.
Here’s a straight breakdown so you can pick the right one without overthinking it.
| Wood Type | Best For | Price | Quick Verdict |
|---|---|---|---|
| Cedar | Outdoor planters | Mid range | Resists rot and moisture naturally. Best all-around choice for outdoors. |
| Redwood | Long-lasting builds | Higher end | Outlasts cedar. Worth the extra cost if you want it to last years. |
| Pine | Indoor or sealed outdoor | Very affordable | Beginner-friendly and cheap. Just seal it before taking it outside. |
| Douglas Fir | Raised beds and larger builds | Affordable | Strong and budget-friendly. Seal it well, and it holds up outdoors. |
| Teak | High-end outdoor planters | Expensive | Stunning and durable, but pricey. Cedar does the same job for less. |
| Plywood | Indoors or temporary builds | Cheapest option | Fine for indoors. It won’t survive long outside, even with sealing. |
If you’re using pine outside and it rains before you seal it, let it fully dry for at least 48 hours before applying your sealant.
Diy Planter Box Design Ideas
Pick a design that fits your space and just run with it. All ideas use the same basic build; the only differences are size, shape, and where they end up sitting.
1. Raised Planter Box with Legs
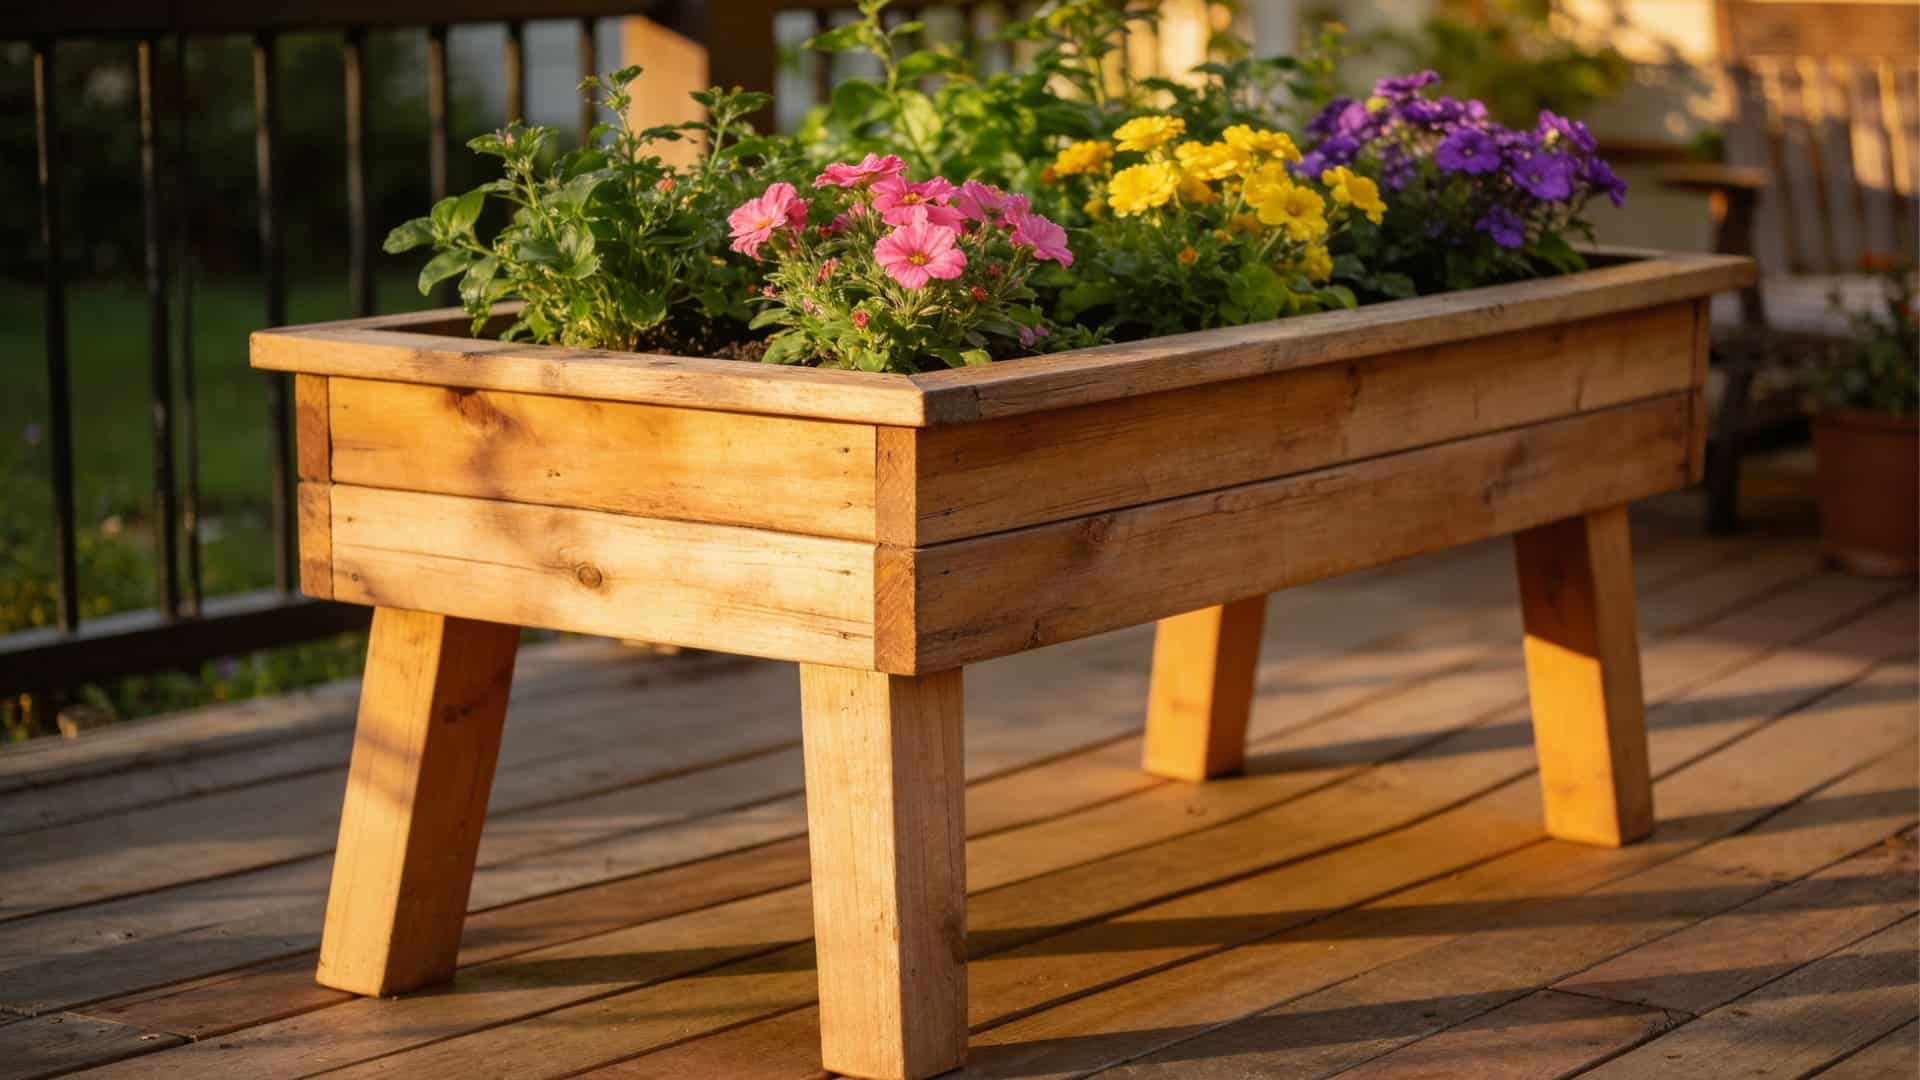
Sits above ground, so no more bending over to tend your plants. Great for patios, balconies, or small backyards.
Make the legs at least 2 inches thick if you’re going over 24 inches long. Thinner legs flex under a full load of wet soil, and the box will sit unevenly within a few months.
Tools & Materials
Wood boards, screws, drill, saw, measuring tape, sandpaper, wood sealant, and landscape fabric.
How to Build
- Step 1: Cut four side panels, one bottom panel, and four sturdy legs to size.
- Step 2: Assemble the box by screwing the side panels together, then secure the bottom.
- Step 3: Fix the legs tightly at each corner and check for level balance.
- Step 4: Drill drainage holes, sand all edges, and seal the wood before use
2. Vertical Planter Box
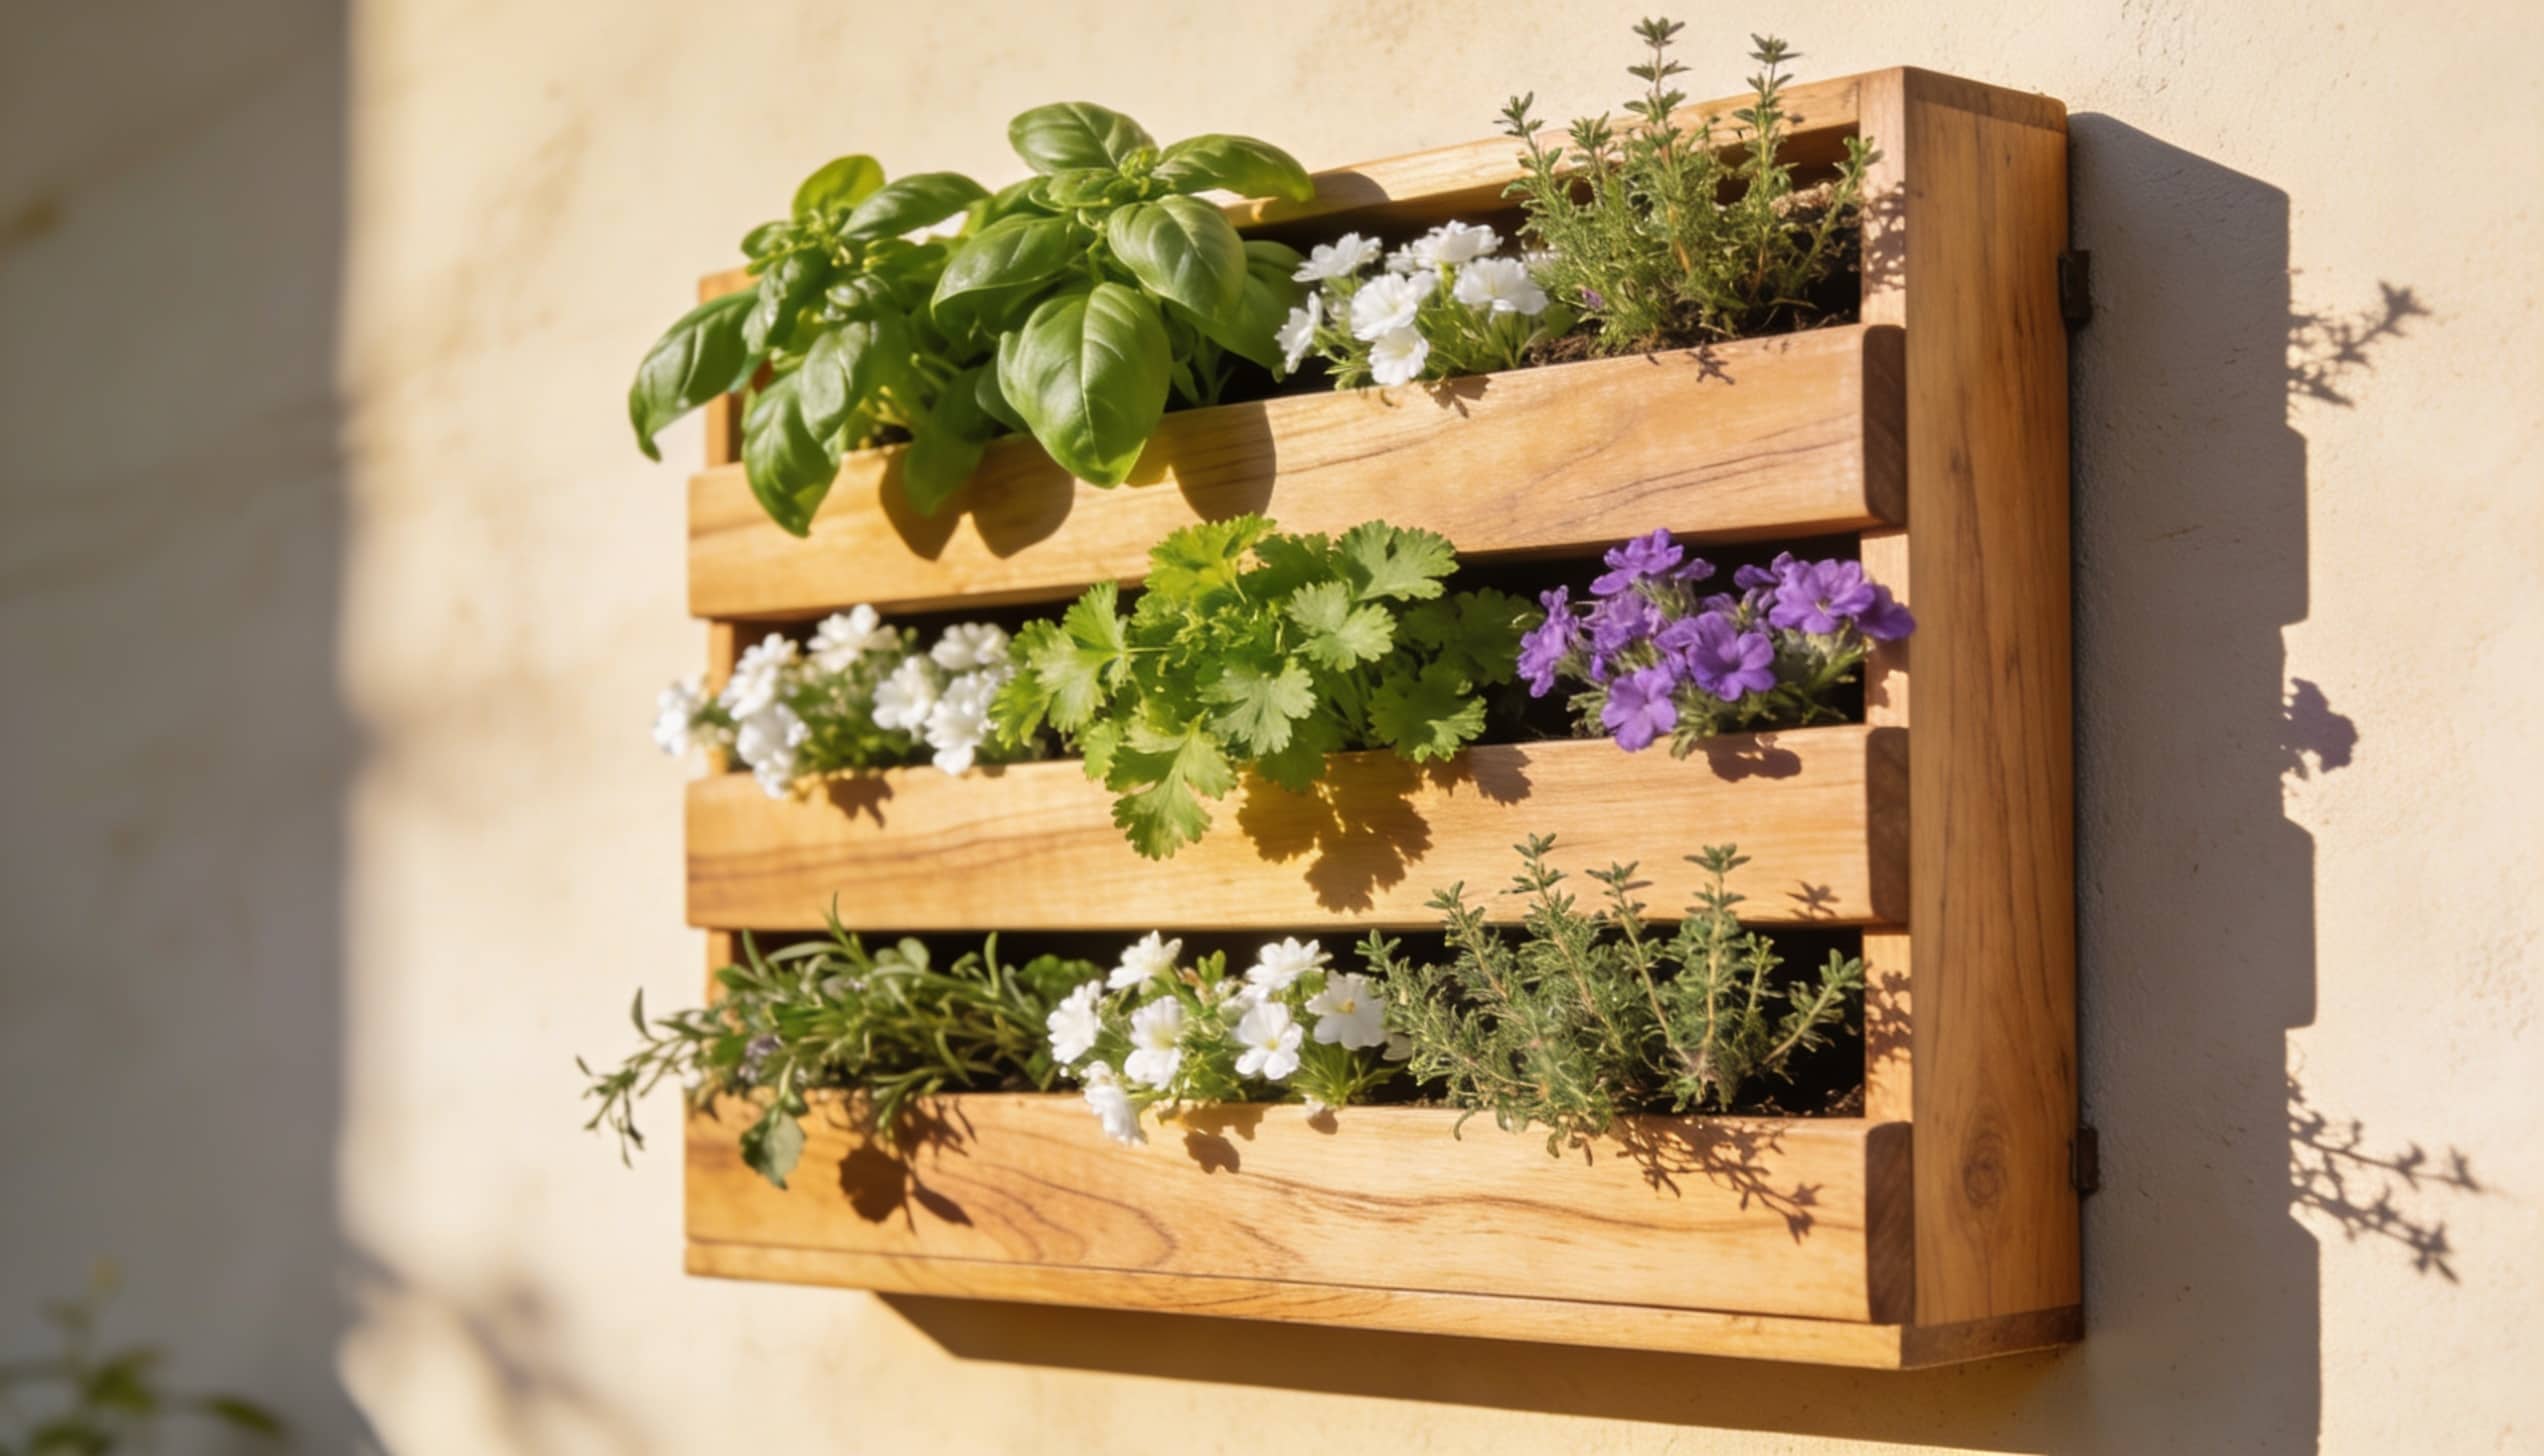
Perfect when floor space is tight. Stacks are planted vertically rather than spreading out.
Herbs, strawberries, and small flowers are all growing up a wall without taking up much room.
This design dries out fast. The upper tiers retain less water than the lower ones, so you’ll need to water more often, or stagger drought-tolerant plants at the top.
Tools & Materials
Wood boards, screws, drill, saw, wall brackets, landscape fabric, and potting soil.
How to Build
- Step 1: Cut one long back panel and several smaller panels for each tier.
- Step 2: Attach each tier to the back panel, evenly spaced.
- Step 3: Close the sides of each tier using small panels for support.
- Step 4: Mount the unit firmly to a wall or fence using brackets.
- Step 5: Line with fabric, add soil, and plant.
- Step 6: Water lightly and check that each level drains properly.
3. Tiered Planter Box
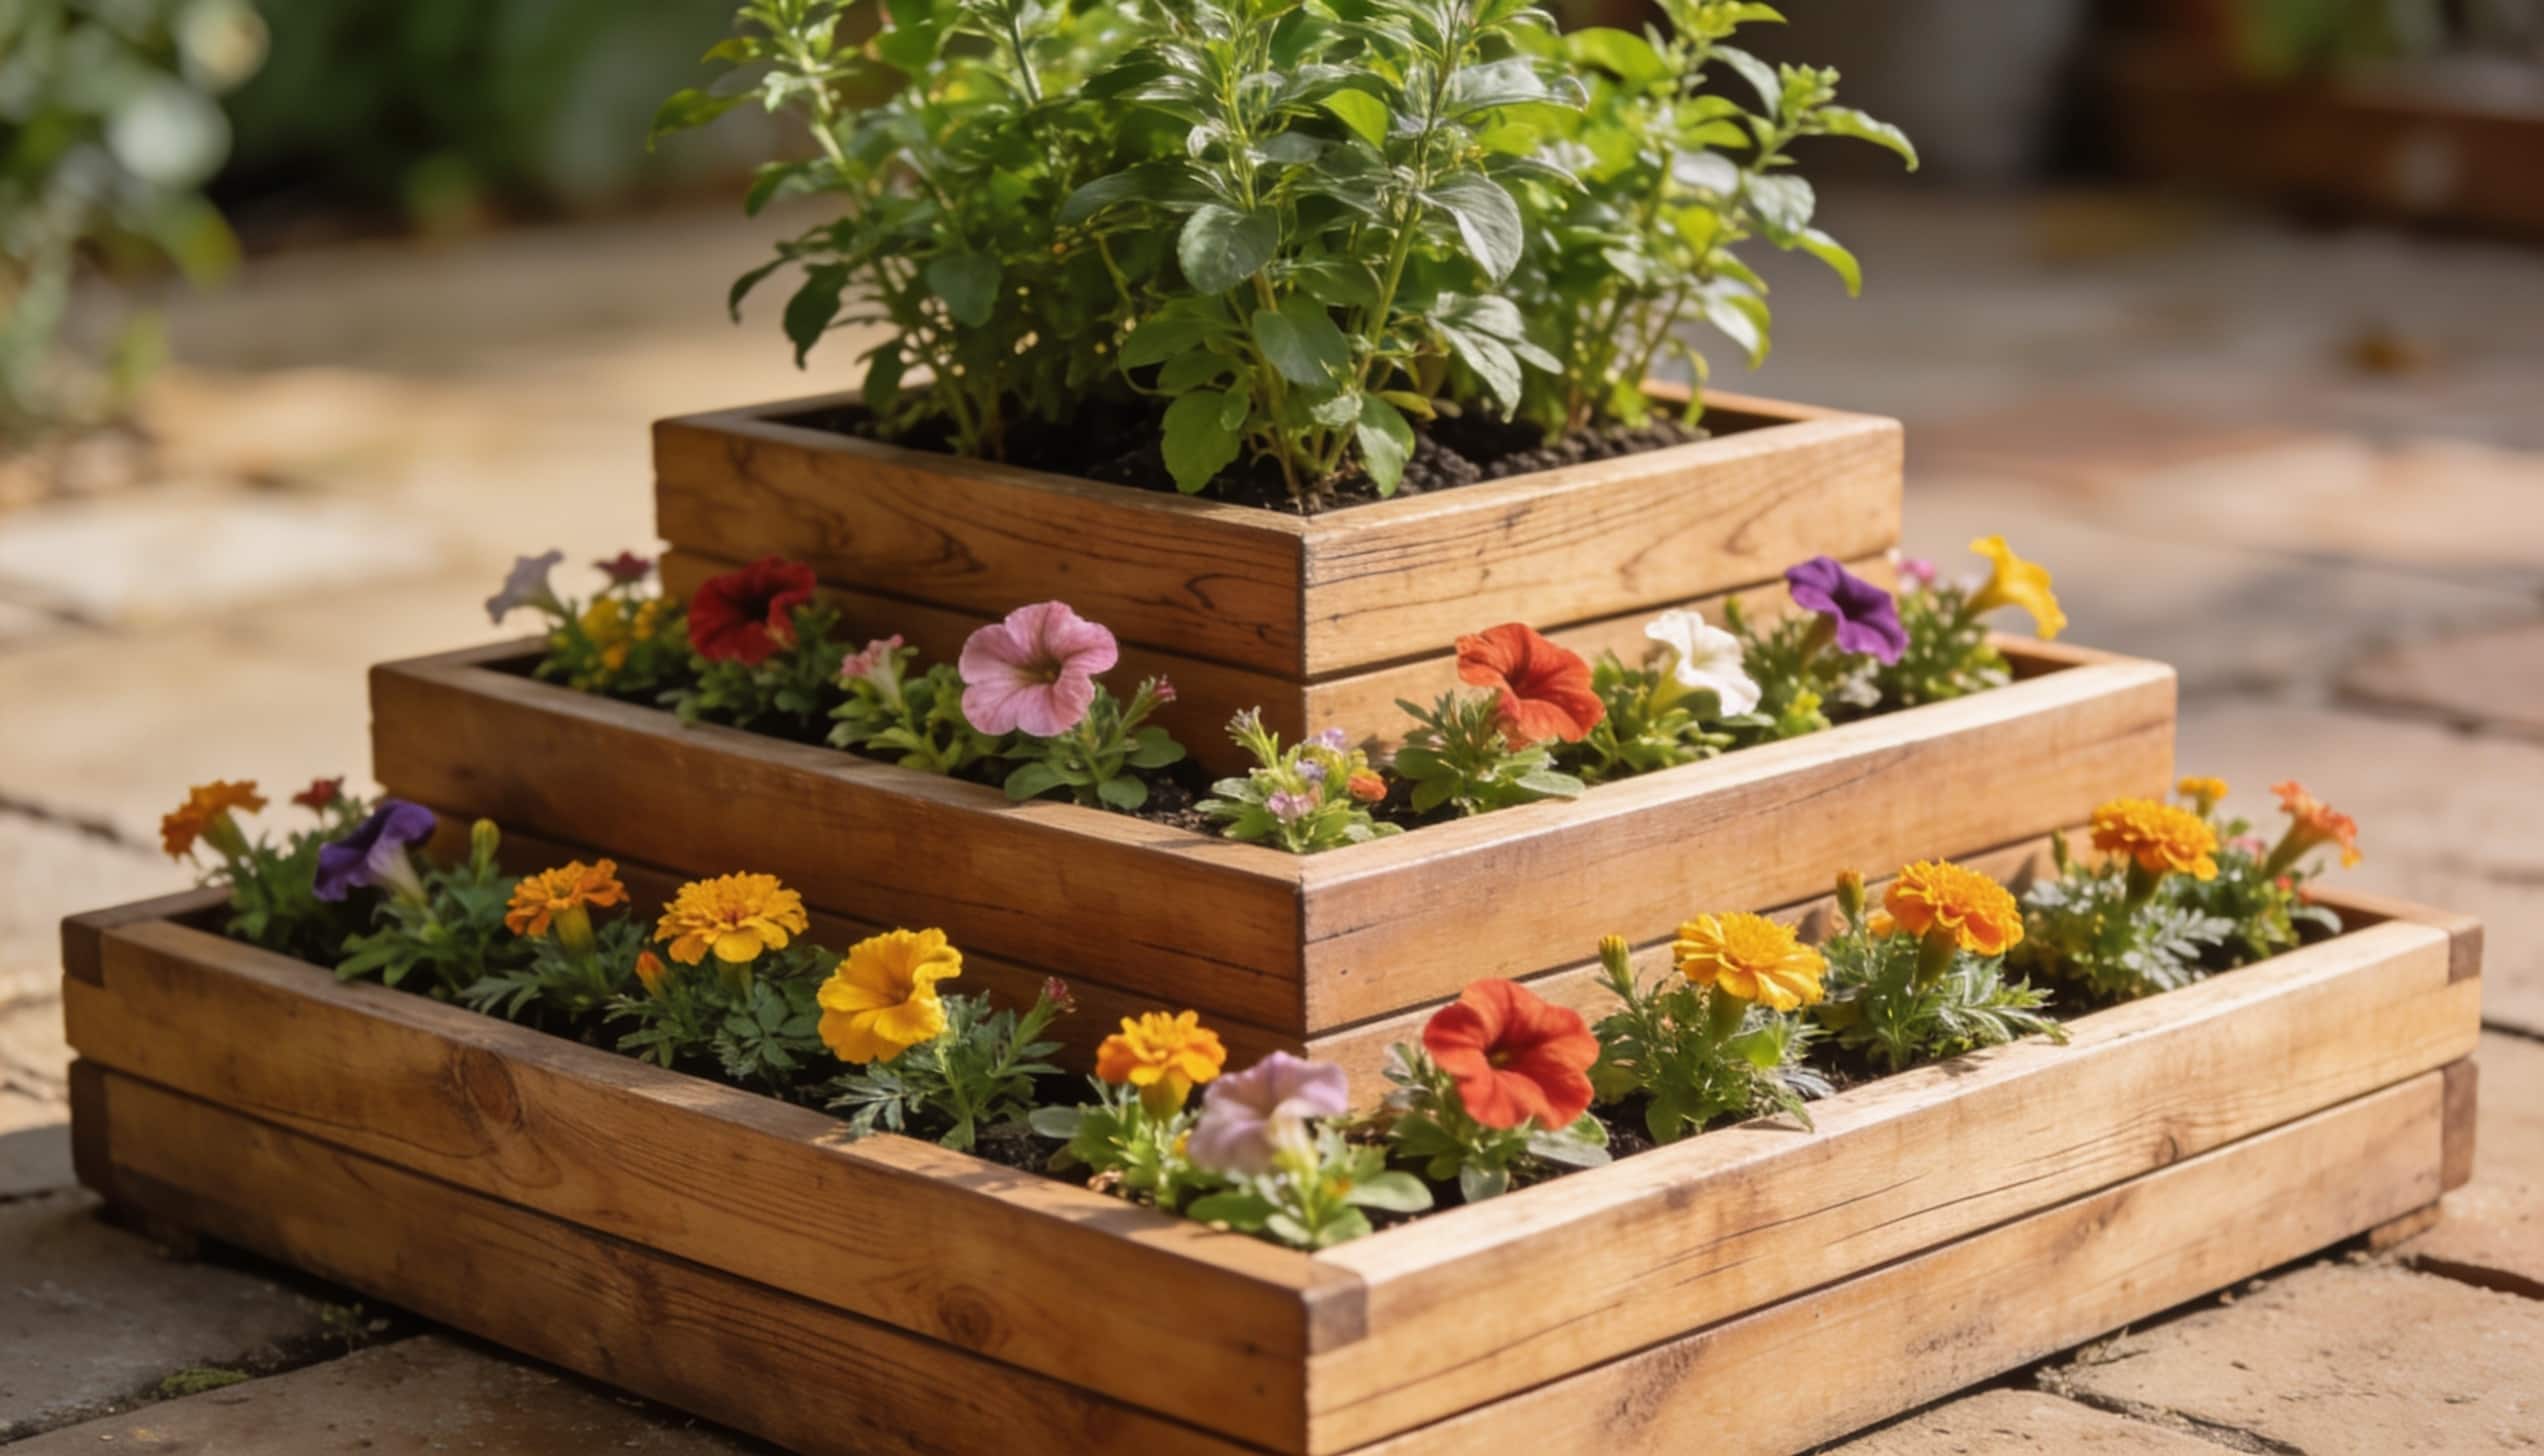
Two or three levels are arranged like steps. Taller plants at the back, shorter ones up front.
Looks neat and lets you grow a variety of plants without it looking cluttered.
Tools & Materials
Wood boards, screws, drill, saw, sandpaper, wood sealant, and potting soil.
How to Build
- Step 1: Build three boxes in different sizes.
- Step 2: Place the largest box as the base.
- Step 3: Stack the medium box slightly toward the back and secure it.
- Step 4: Fix the smallest box to the rear at the top.
- Step 5: Sand and seal all surfaces.
- Step 6: Fill each level with soil and arrange plants by height.
- Step 7: Water evenly and check stability.
4. Window Planter Box
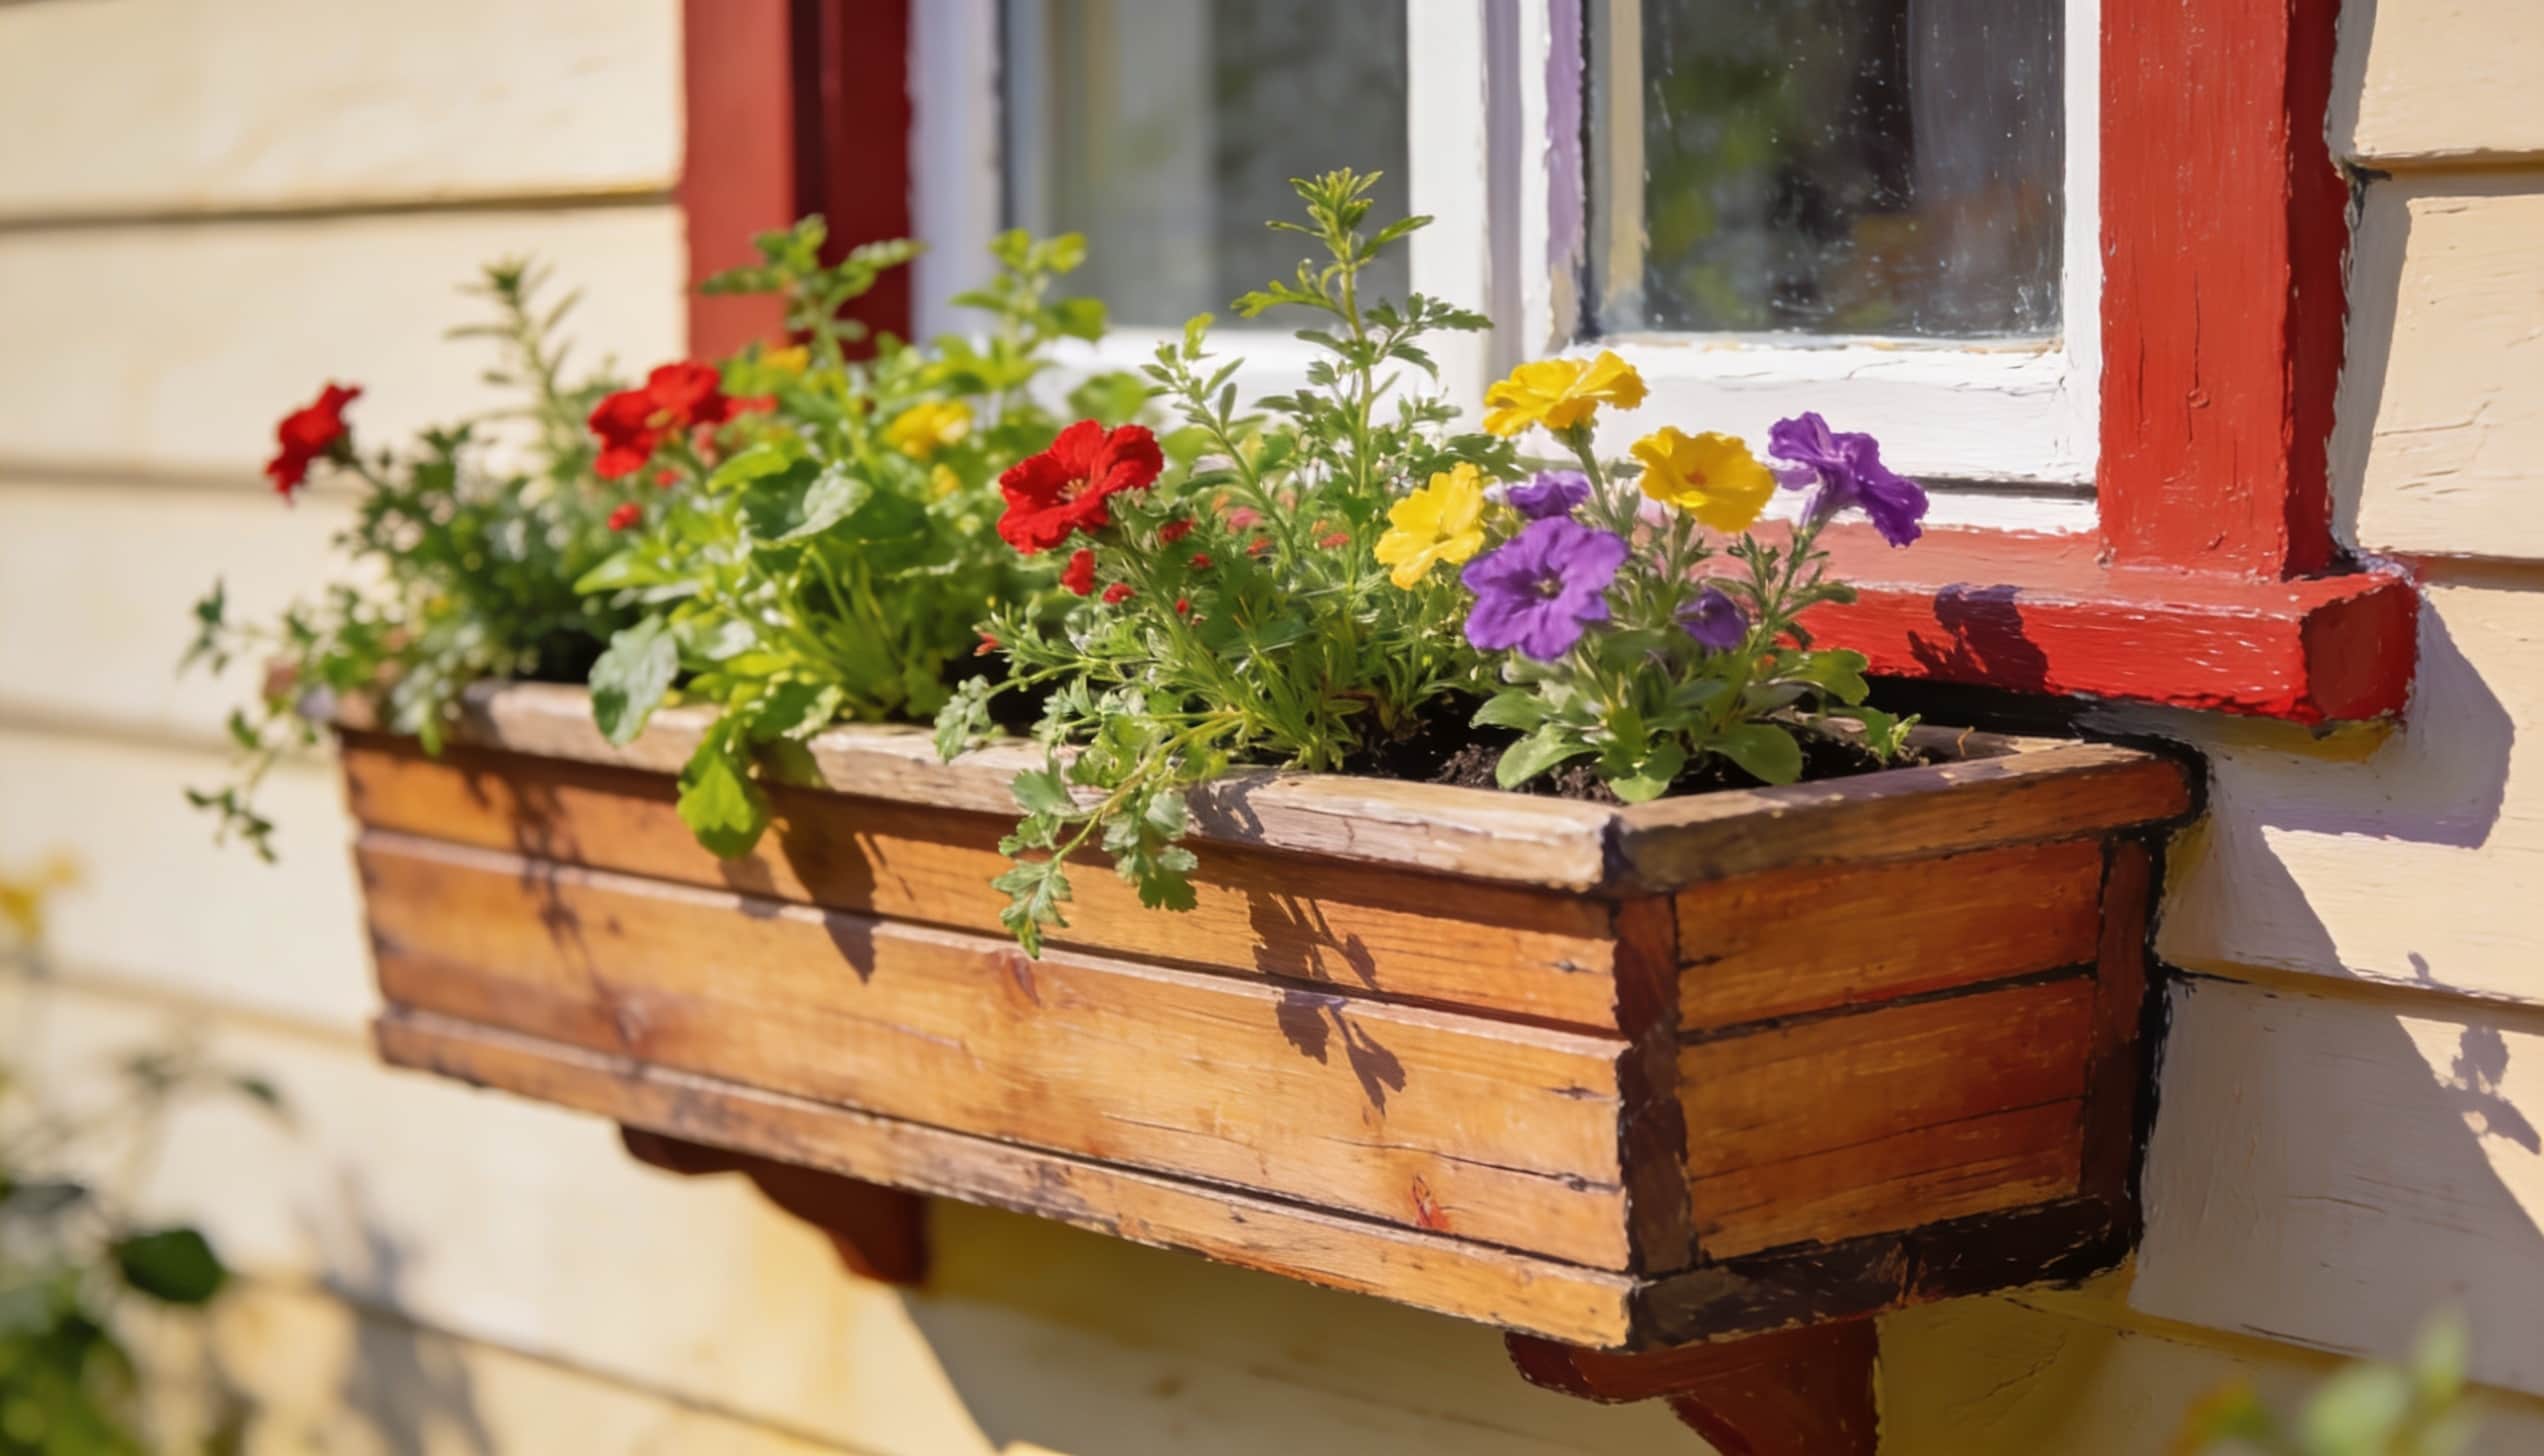
Sits right on your windowsill or railing. Herbs, succulents, or flowers framed neatly below your window.
Customize the size and paint it to match your home.
Tools & Materials
Wood boards, screws, drill, saw, mounting brackets, paint or sealant, and landscape fabric.
How to Build
- Step 1: Measure your windowsill and cut all panels to match that width.
- Step 2: Screw together two long sides, two short ends, and one bottom panel.
- Step 3: Drill drainage holes across the bottom before mounting,
- Step 4: Securely mount the brackets below your window and hang the box.
- Step 5: Paint or seal, line with fabric, fill with soil, and done.
5. Self-Watering Planter Box
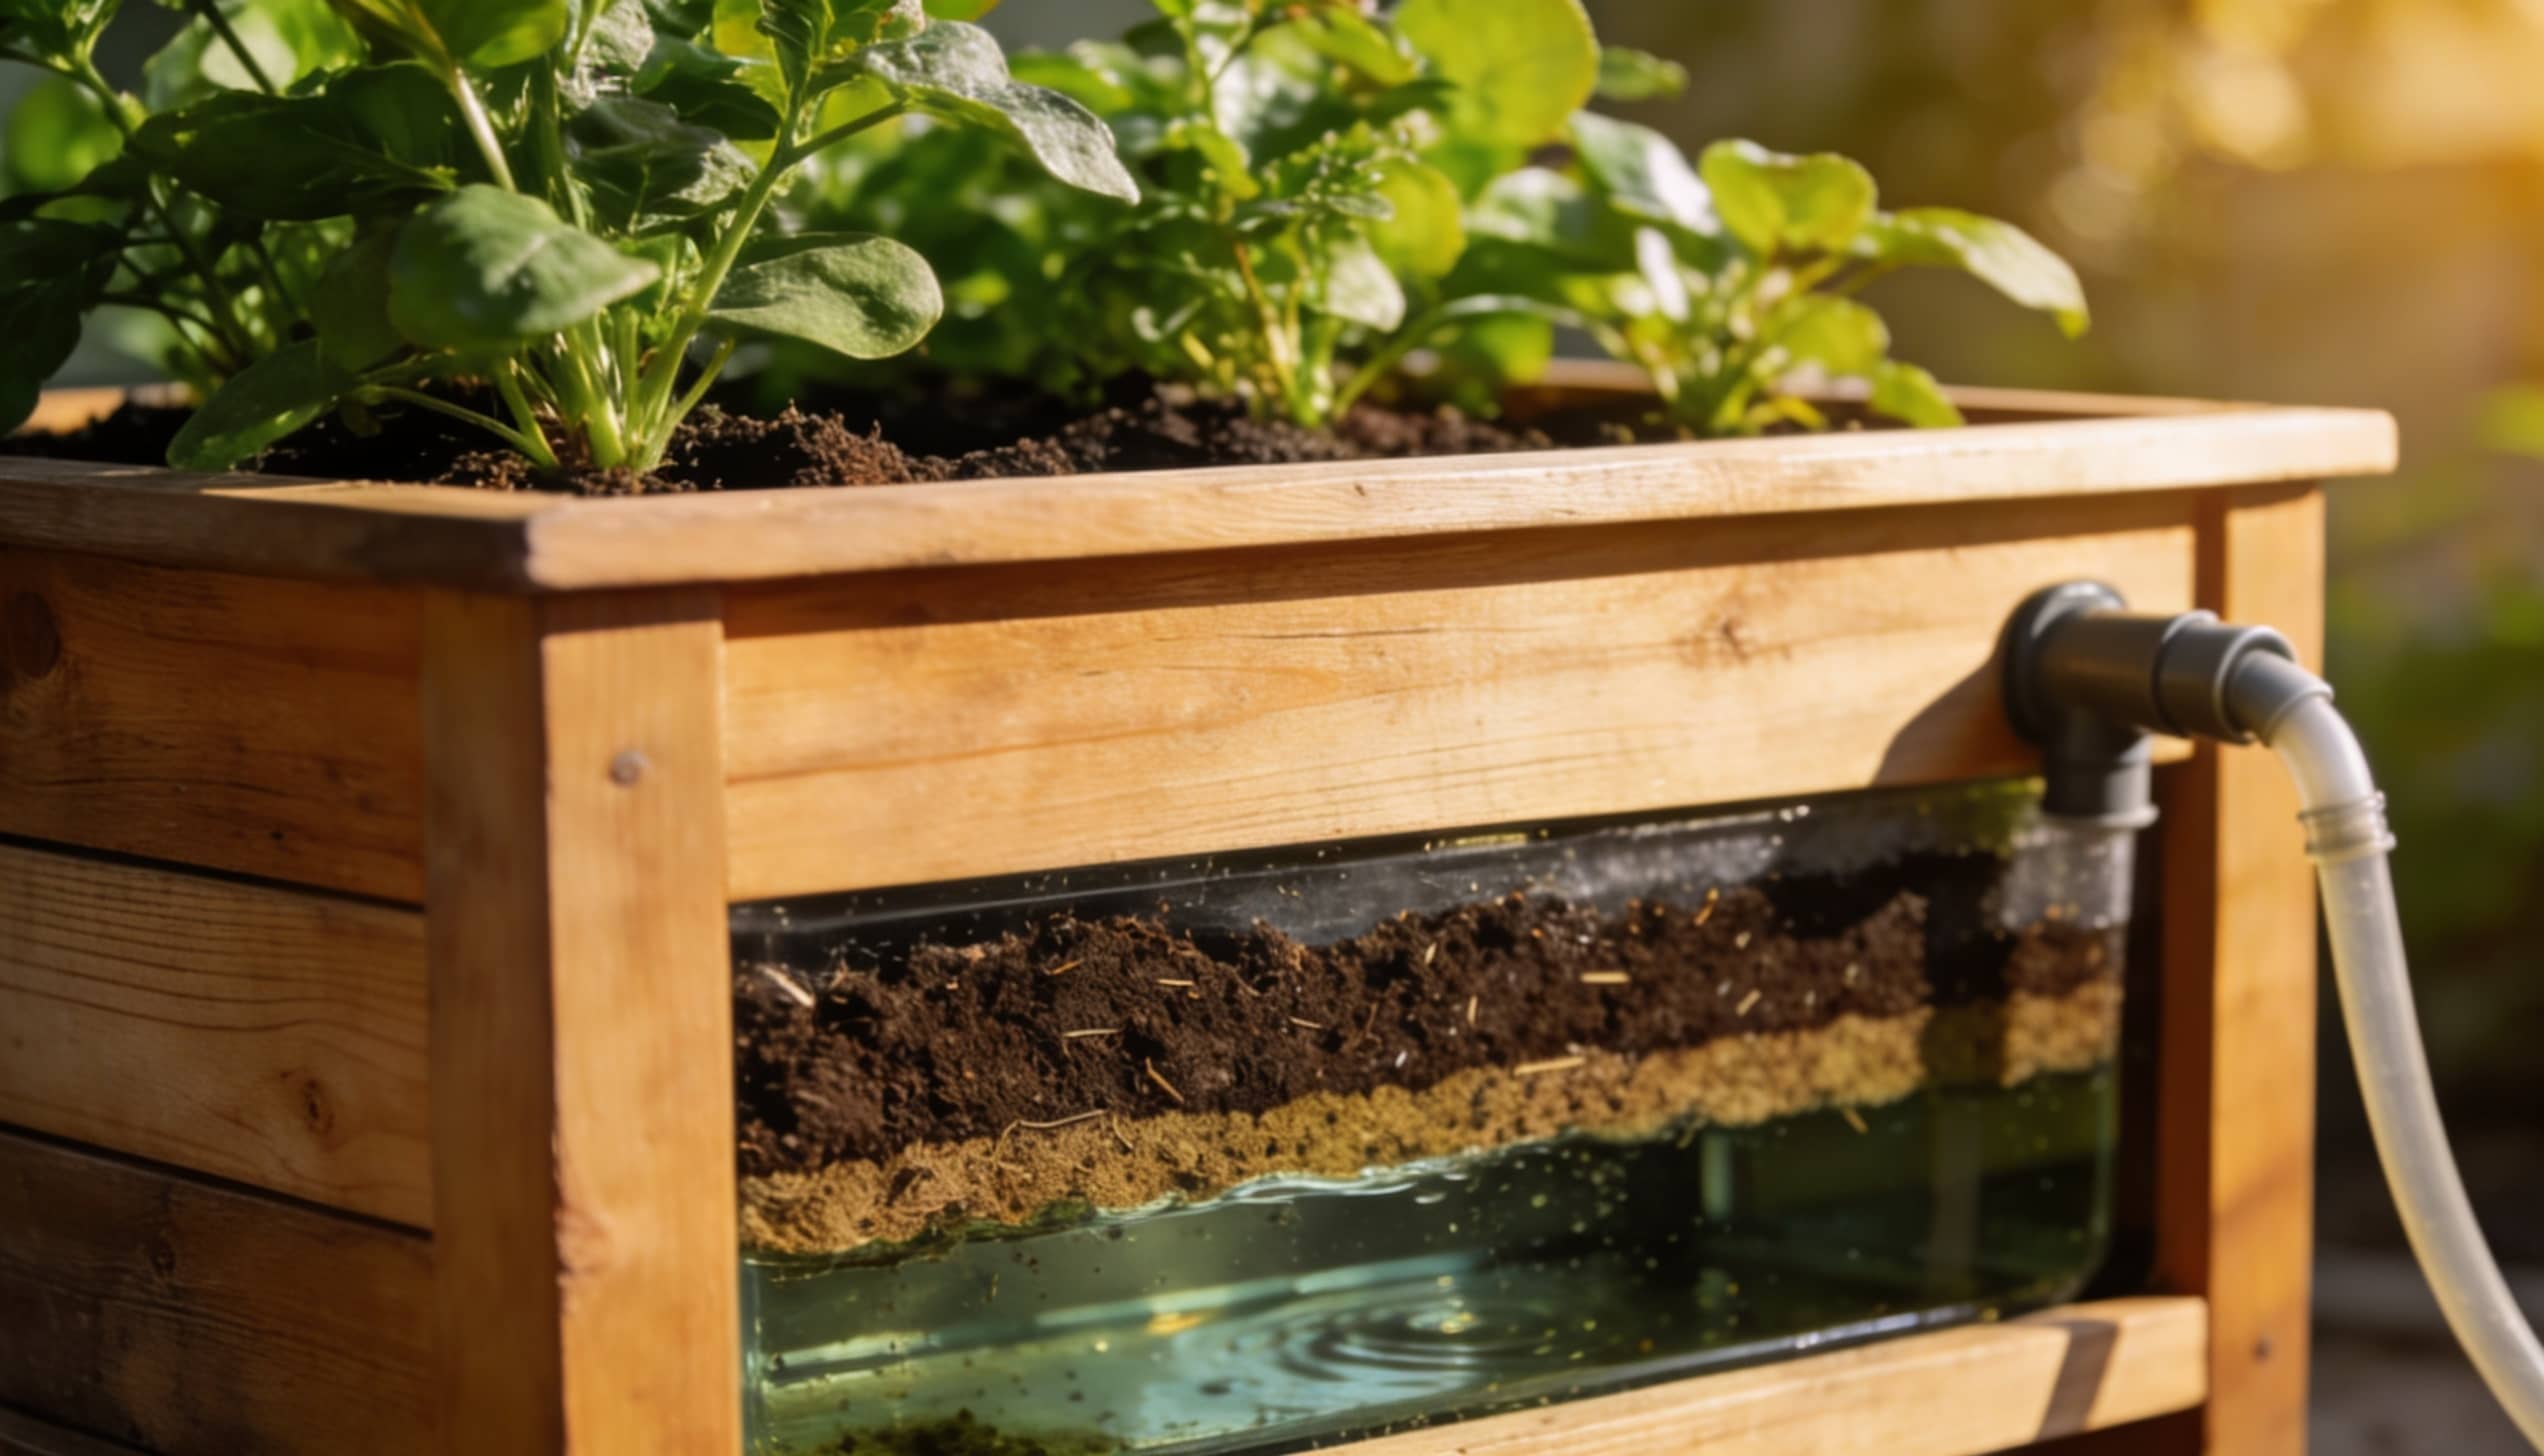
Built-in water reservoir at the bottom so plants drink what they need.
Less daily watering, healthier roots, and a lifesaver in hot weather.
The fill pipe is easy to forget about. Mark it with a painted stick or a small flag so you always know where to top it up, especially once plants grow over the edge.
Tools & Materials
Wood boards, screws, drill, saw, plastic sheet or tray, fill pipe, landscape fabric, potting soil.
How to Build
- Step 1: Build a taller outer box to accommodate a water reservoir.
- Step 2: Install a raised false bottom panel with small holes.
- Step 3: Place a plastic tray below it to hold water.
- Step 4: Insert a fill pipe through the side for easy watering.
- Step 5: Add landscape fabric above the panel.
- Step 6: Fill with soil and plants.
- Step 7: Test the water system before regular use.
- Step 8: Mark the fill pipe so it stays visible as plants grow.
Safety Tips While Building
Building this should be fun, not painful. Just run through these before you pick up any tools.
Wear safety glasses
Sawdust flies, and it doesn’t care where it lands. A circular saw throws wood chips at roughly 120 mph. One splinter in the eye and you’re done for the day, possibly longer.
Put them on before the blade spins, not after.
Keep fingers away from the blade
Use a clamp to hold wood, not your hand.
Most cutting injuries happen on short pieces where there’s no room to grip safely. Clamp the wood to the bench and use a push stick for anything under 6 inches. Your hand is not a clamp.
Use earplugs
Power tools are louder than you think. Over time, a circular saw runs at around 100 decibels.
That’s loud enough to cause permanent hearing damage in under 15 minutes.
Foam earplugs bring that down to a safe level and cost about $1 a pair.
Wear a dust mask
Pine and cedar dust aren’t just annoying; both are classified as respiratory irritants.
Cedar dust in particular can trigger allergic reactions in people who’ve never had allergies before. An N95 mask blocks the particles that matter.
Closed shoes only
A falling screw hurts more than you’d expect.
Steel-capped boots are ideal, but any closed shoe is better than sandals or bare feet on a build day.
Unplug tools when stepping away
A running drill left on a bench can roll. A live saw blade can catch a loose sleeve. Two seconds to unplug is a habit worth building from the very first project.
Even for a minute, unplug the tools when stepping away.
Clamp before you drill
When drilling drainage holes into the bottom, clamp the box to your workbench first.
The drill catches on the wood grain, and the box can spin suddenly; that’s how you end up drilling through your palm instead.
How to Make Your DIY Planter Box Last Longer
Press your thumb firmly into the corners and along the bottom edges. Softwood feels slightly spongy rather than solid. If you find a soft spot early, sand it back to firm wood and reseal it.
It won’t spread if you catch it in year one. Leave it, and the whole base can rot through by year two.
Seal the wood properly before it ever goes outside.
Water and wood really don’t get along, and skipping this step is the number one reason boxes fall apart fast.
Every few months, just walk over and check for soft spots or cracks.
Clear your drainage holes if they get blocked.
Line the inside with landscape fabric so wet soil never comes into direct contact with the wood. And once a year, give it a fresh coat of sealant. Takes twenty minutes and easily buys you another whole year.
DIY Planter Box for Different Uses
The best thing about a DIY planter box is that it doesn’t have just one job.
Once you build one, you realize how flexible the basic design really is. Same wood, same screws, same steps, just different sizes and placements.
| Use | Recommended Size | Depth Needed | Best Placement |
|---|---|---|---|
| Kitchen herbs | 12”–18” long, 6” wide | 6” | Windowsill or countertop near natural light |
| Patio vegetables | 24 “–36” long, 12” wide | 10”–12” | Patio floor, full sun spot |
| Fence or railing liner | 36 “–48” long, 6”–8” wide | 6”–8” | Mounted along the fence top or the porch railing |
| Indoor plants | 12 “–16” long, 8” wide | 8” | Near a south or west-facing window |
| Strawberries or flowers | 18 “–24” long, 10” wide | 6”–8” | Balcony edge or porch step |
Final Thought
Building a DIY planter box isn’t really about woodworking.
It’s about taking a free weekend and a few pieces of wood to make something that actually adds to your space.
Learning how to build a planter box is honestly one of those things that sounds harder than it is.
No experience needed, no expensive tools, no stress. Just measure, cut, and screw, and you’re done.
Once it’s sitting there with plants growing in it, built by your own hands, that feeling is honestly hard to beat.
Frequently Asked Questions (FAQ’s)
1. What Can I Use as Cheap Plants?
Herbs like mint and basil are cheap, easy to grow, and actually useful. Seeds are even cheaper than seedlings.
2. Is it Cheaper to Buy or Build Raised Beds?
Building is almost always cheaper. You control the size, the wood, and the cost, with no retail markup involved.
3. What Should You Put in the Bottom of a Box Planter?
A layer of drainage gravel and landscape fabric. Keeps roots healthy and prevents soil from blocking your drainage holes.