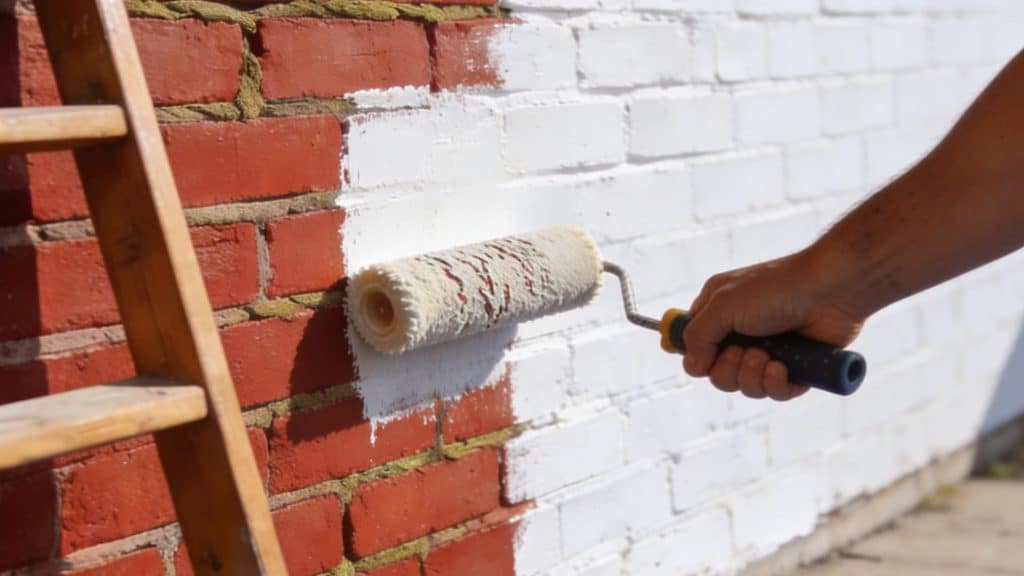
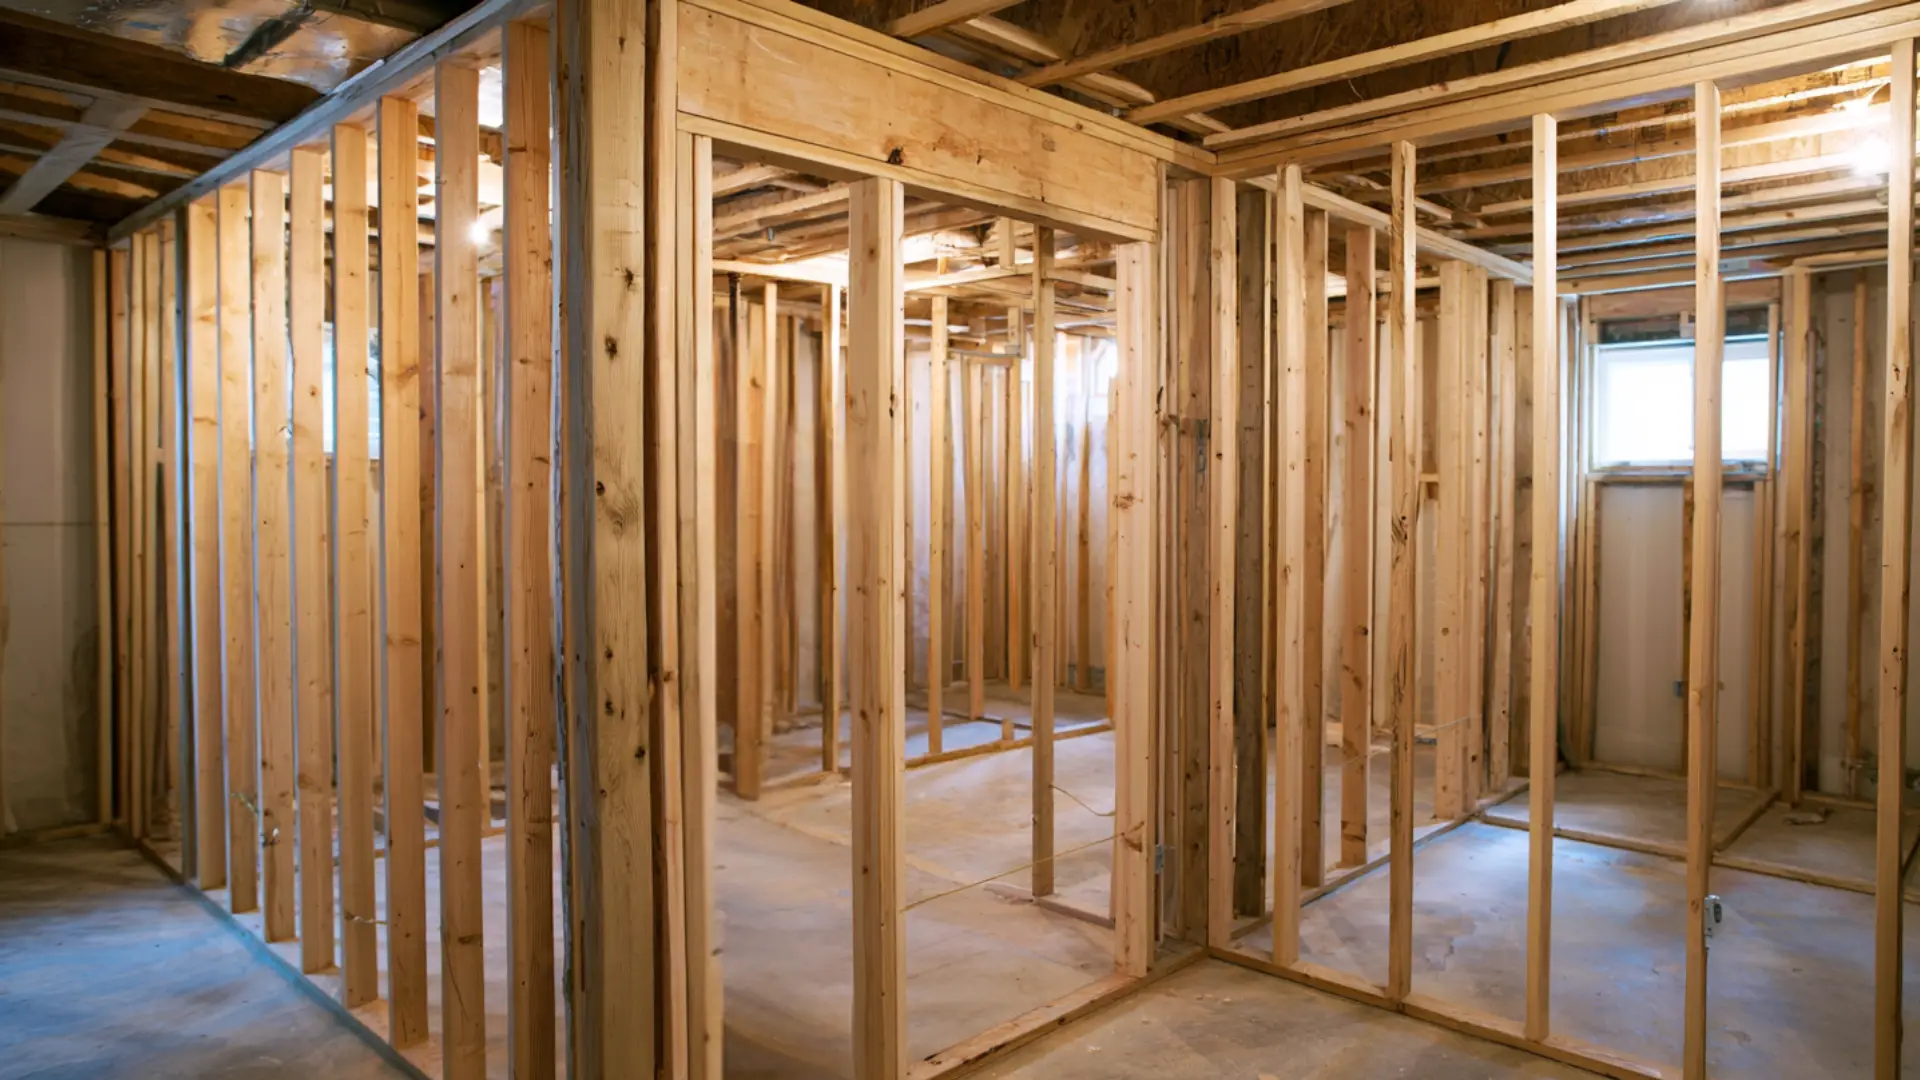

You’re finishing a basement, splitting a room, or adding a closet, but framing a wall isn’t something most people think about until they actually need to do it.
It basically comes down to building a skeleton out of wood studs, plates, and headers.
That skeleton holds everything else up, your drywall, insulation, and wiring all attach to it. No contractor experience needed.
Stick with this, and you’ll know exactly what to buy, how to lay it all out, and how to build it the right way.
What is Wall Framing?
Wall framing is the process of building the structural skeleton of a wall using horizontal plates and vertical studs.
Think of it as the bones that hold everything else up.
Before you learn to frame a wall, it helps to know the difference between a load-bearing wall and a non-load-bearing wall.
Load-bearing walls support the weight of the structure above them. Non-load-bearing walls simply divide space.
Every framed wall is built from the same basic parts:
- Top plate: Anchors the wall to the ceiling
- Bottom plate: Sits flat on the floor
- Vertical studs: Connect the two plates, typically spaced 16 inches apart
- Blocking: Horizontal supports between studs, usually placed 48 inches from the floor
Tools and Materials You’ll Need
Get everything ready before you start. It saves time and keeps the work moving.
Essential Tools
- Tape measure: marks stud spacing and plate lengths
- Framing hammer or nail gun: both work, a nail gun just moves faster
- Level: keeps everything straight and plumb
- Circular saw: cuts studs and plates to size
- Framing square: checks and marks 90-degree angles
Materials
| Material | Details |
|---|---|
| 2×4 studs | Cut to wall height minus 3¾ inches |
| 2×4 plates | Top and bottom, cut to wall length |
| 16d framing nails | Nails over screws, they hold better under pressure |
| Marking pencil or chalk line | For layout marks on plates and the floor |
| Shims | Level the bottom plate on uneven floors |
| Stud finder | Find the ceiling joists before you nail |
| Plumb bob | Transfers ceiling marks down to the floor |
if you got pipes wider than 3 inches running through the wall then use 2×6 boards instead of 2x4s.
Step-by-Step Manual to Wall Framing
Framing a wall becomes much easier when you follow a structured process.
These steps work whether you’re learning how to frame a wall for the first time, working inside an existing room, or framing a wall with a door opening.
Step 1: Plan and Measure the Wall
Don’t skip this part. Bad measurements at the start mean problems at every step after.
Measure the full length and height of your wall, then mark its position on the floor, ceiling, and adjacent walls using a chalk line.
If you’re working inside an existing room, check for hidden wiring or plumbing, locate your ceiling joists, and look for any uneven floors that might need shimming.
Ten extra minutes of planning here saves hours of fixing.
Step 2: Cut the Plates and Studs
Cut your top and bottom plates to match the full length of your wall.
For the studs, measure the floor-to-ceiling height at several spots and use the shortest number.
Subtract 3¾ inches from that to account for both plates and provide clearance when tilting the wall upright.
A few things to keep in mind before you start cutting:
- Keep stud spacing at 16 inches on center
- Always use the shortest ceiling measurement if heights vary across the room
- Make sure every cut is clean and square
Step 3: Mark Stud Layout on the Plate
Lay your top and bottom plates side by side on the floor.
Starting from one end, mark every 16 inches across both plates at the same time.
Use a combination square to draw straight lines across, then mark an “X” on the right side of each line to show exactly where each stud sits.
This step matters more than most people realize. If your marks are even slightly off, your drywall seams won’t line up, and the finishing work becomes a real headache.
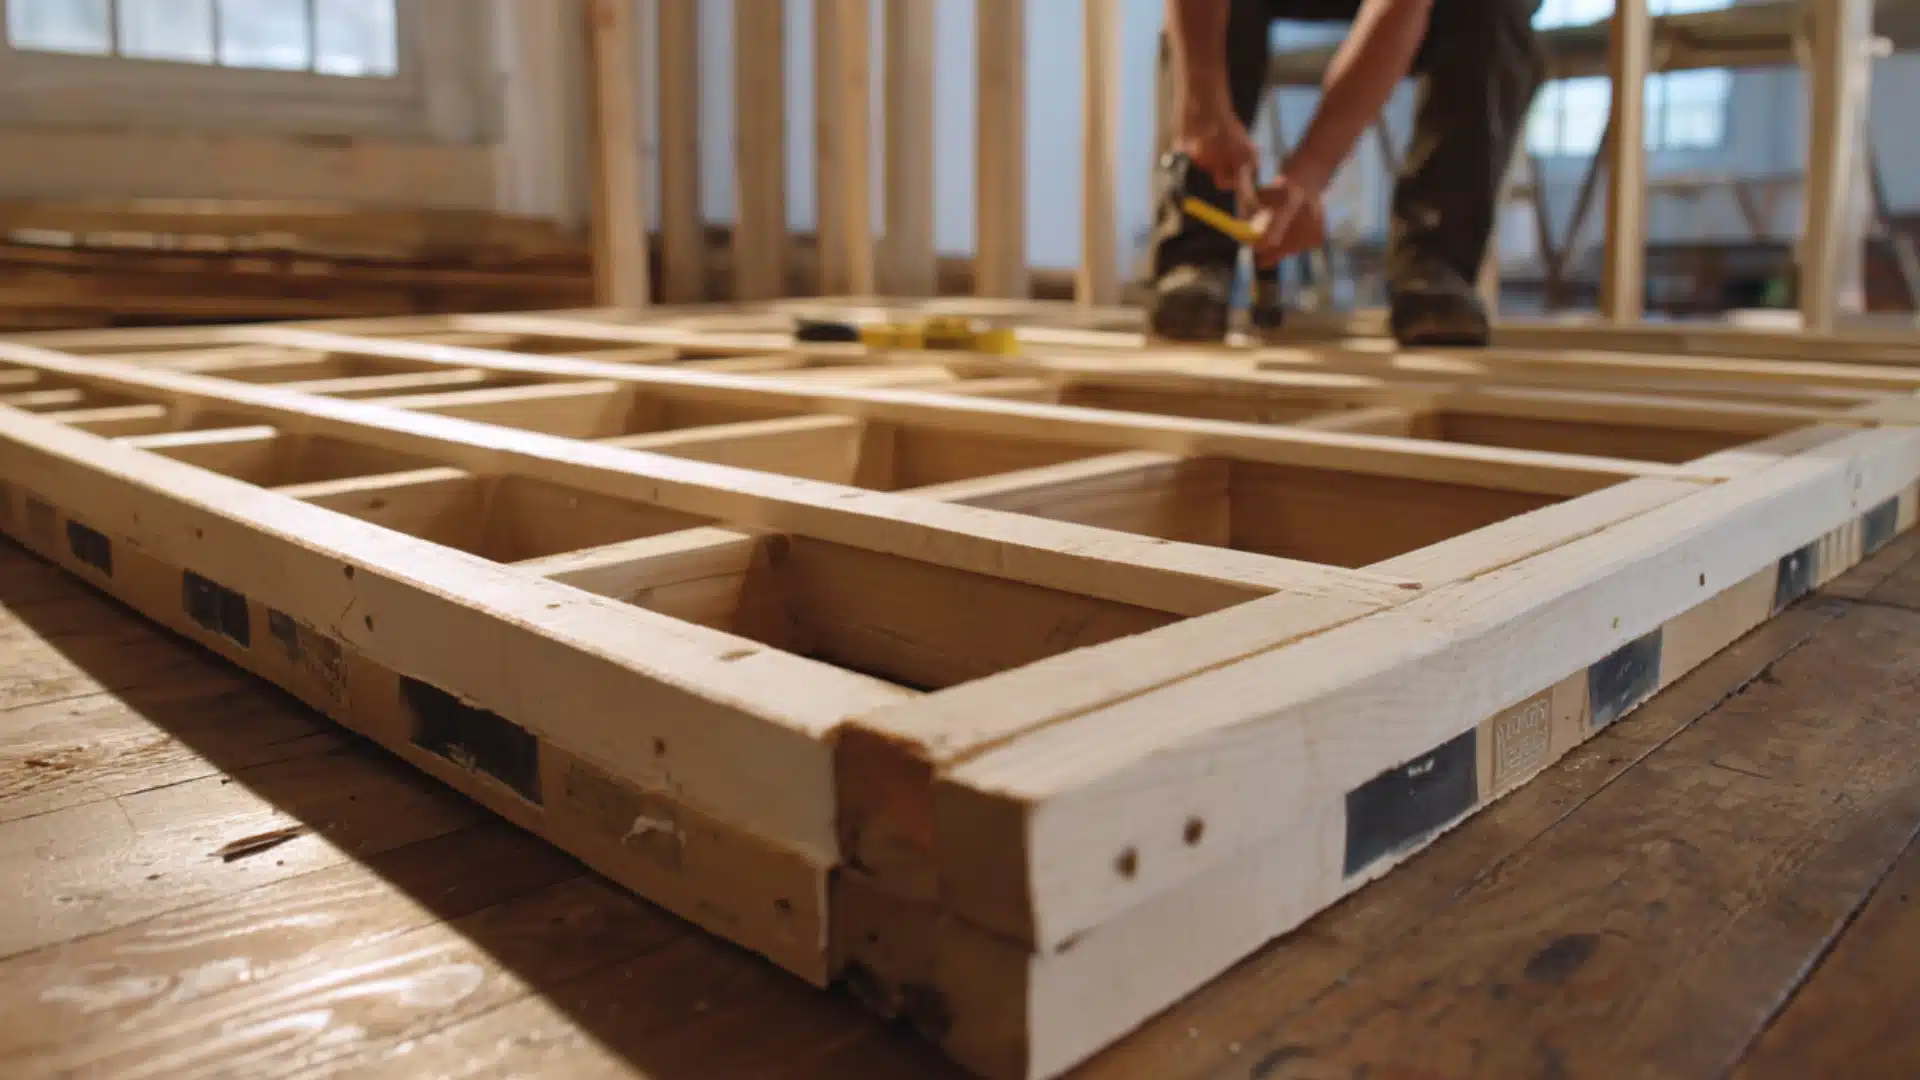
Step 4: Assemble the Wall Frame
Now you’re actually building it. Lay everything flat on the floor, line up each stud with its marked position, and start nailing.
Drive two 16d nails through the plate and into the end of each stud.
Keep the edges flush as you go, and check the corners with a framing square as you work through each stud.
Use nails, not screws since screws can snap under load. Keep stud spacing exact or your drywall won’t align. Never skip or undersize a door header.
Step 5: Frame the Door Opening (If Needed)
If your wall includes a door, you need to build a rough opening that’s about 2 inches wider and 2 inches taller than the actual door size.
That extra space gives you the wiggle room you need when fitting and hanging the door later.
This is what goes into a proper door opening:
- King studs: full-height studs on each side of the opening
- Jack studs: sit inside the king studs and carry the header load
- Header: a doubled-up beam spanning the top of the opening to handle the weight above it
- Cripple studs: short studs that fill the gap between the header and the top plate
Get the header perfectly level. Even a slight tilt and the door will swing open or closed on its own.
Step 6: Raise and Secure the Wall
Tilt the assembled frame up into position and have someone help you hold it steady.
Walls are heavier than they look, especially once you’ve added a door opening. Nail the bottom plate into the floor first, then secure the top plate into the ceiling joists, not just the ceiling material.
Anchor the end studs into any adjacent walls.
Before you nail everything off for good, hold a long level against both faces of the wall and confirm it’s perfectly plumb.
A wall that’s out of plumb even slightly makes drywall and trim installation far more frustrating than it needs to be.
Proper alignment also affects insulation performance and long-term efficiency, which is why framing quality matters according to this energy-efficient wall framing resource.
Step 7: Final Checks and Reinforcement
You’re almost done. Walk the full length of the wall one more time and recheck the level and plumb at multiple points.
Add blocking between studs at 48 inches from the floor, particularly if you’re planning to hang cabinets or heavy shelving down the line.
- Make sure every nail is fully driven, and no studs have twisted
- If you framed a door opening, measure corner to corner both ways to confirm it’s square
- Mark stud locations on the floor with tape before the drywall goes up
Those last few checks take ten minutes and save you from a lot of trouble later.
Cost of Framing a Wall
For a basic 8×10 interior wall, materials typically run between $100 and $200, covering lumber, nails, and basic hardware.
If you’re hiring out, expect to pay $7 to $16 per square foot in labor, with most projects landing between $800 and $2,500, depending on wall size and complexity.
DIYing the work is the biggest money-saver since labor is usually the largest part of the total cost.
A few other ways to cut spending:
- Rent a nail gun instead of buying one
- Buy lumber in bulk if framing more than one wall
- Handle demo and cleanup yourself to reduce billable labor hours
Cost estimates may vary based on location, wall size, and current material and labor rates. Always check with local suppliers before budgeting.
Final Thoughts
Framing a wall is one of those projects that looks harder than it actually is.
Once you understand the parts, measure carefully, and follow each step, it comes together faster than you’d expect.
You’ve now got a solid grasp of how to frame a wall from planning and cutting all the way to raising and securing it. From here, the next steps are insulation, rough-in electrical if needed, and drywall.
Take it one step at a time, and the rest falls into place.
Frequently Asked Questions (FAQs)
1. Do I Need a Permit to Frame an Interior Wall?
In most areas, yes: adding a new interior wall requires a building permit. Check with your local municipality before starting.
2. Can I Frame a Wall Directly on Concrete Floors?
Yes, use construction adhesive along with concrete nails or powder-actuated fasteners to secure the bottom plate.
3. What Type of Wood is Best for Wall Framing?
Most builders use Douglas fir or Southern yellow pine for studs since both are strong, widely available, and affordable.
4. How Long Does it Take to Frame a Single Wall?
A straightforward 8×10 wall typically takes a beginner 4 to 6 hours from layout to final fastening.
5. Can One Person Frame a Wall Alone?
You can handle most steps solo, but raising and securing the wall is much safer and easier with a second person.