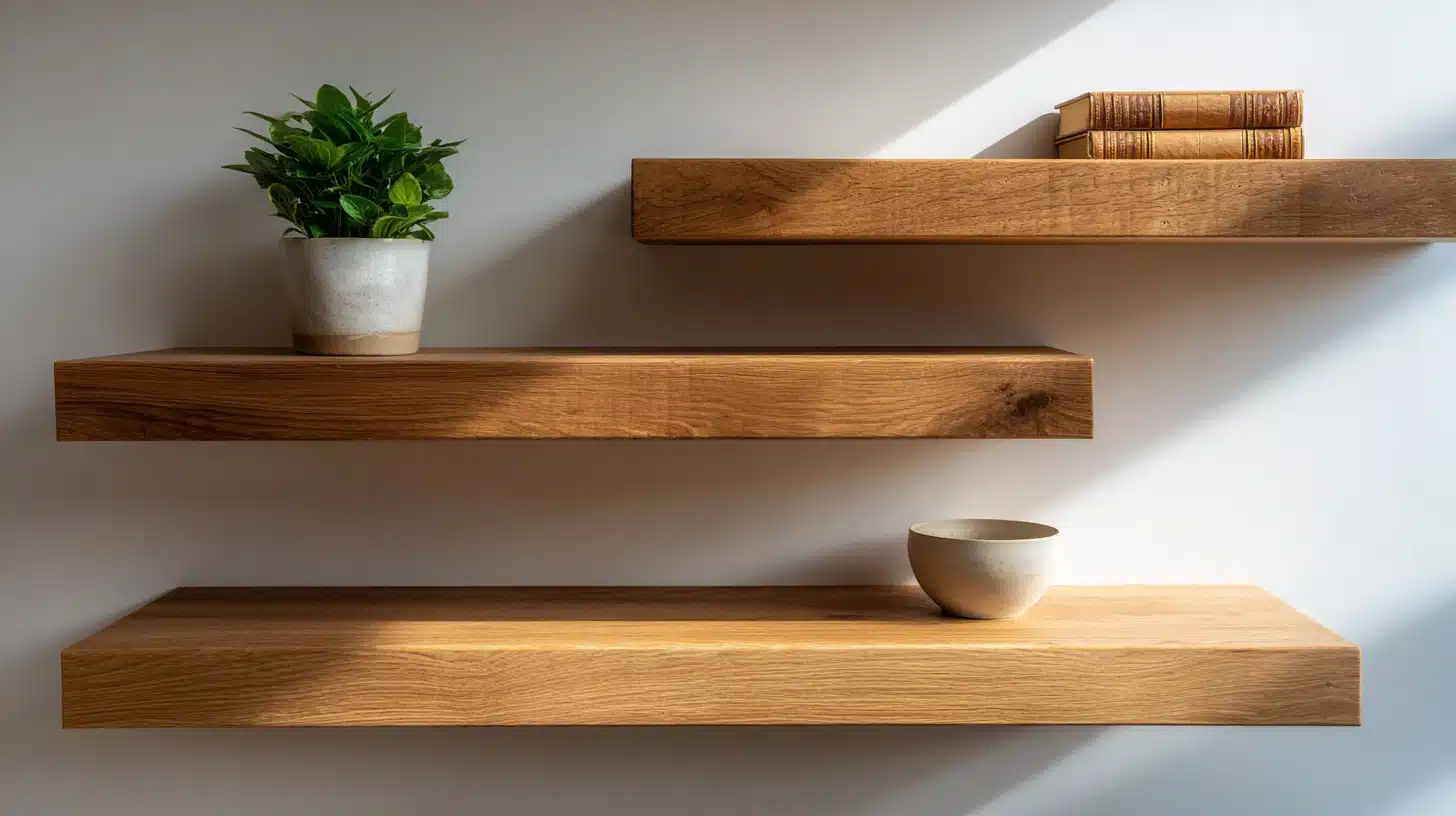

Floating shelves look great and are very useful.
They save space, and they cost a lot less when you make them yourself. But you might think it’s too hard to try; it isnt.
Let’s learn how to make floating shelves.
Why Should You Make a Floating Shelf?
Floating shelves make a room feel bigger, look cleaner, and give you storage without taking up any floor space.
And you can build them exactly the way you want.
Space Saving Solution
Floor space is precious, especially in smaller rooms.
Floating shelves go up on the wall so they don’t eat into the space you walk around in, and stacking them at different heights lets you store more.
A few well-placed shelves can replace a whole cabinet.
Clean and Modern Look
No legs. No brackets. No bulk.
Floating shelves sit flat against the wall and keep things looking neat. They work well in any room because they don’t overpower the space.
Your home can have a simple, modern style or a warm, cozy feel.
Floating shelves blend right in. They make a wall look intentional and put together with very little effort.
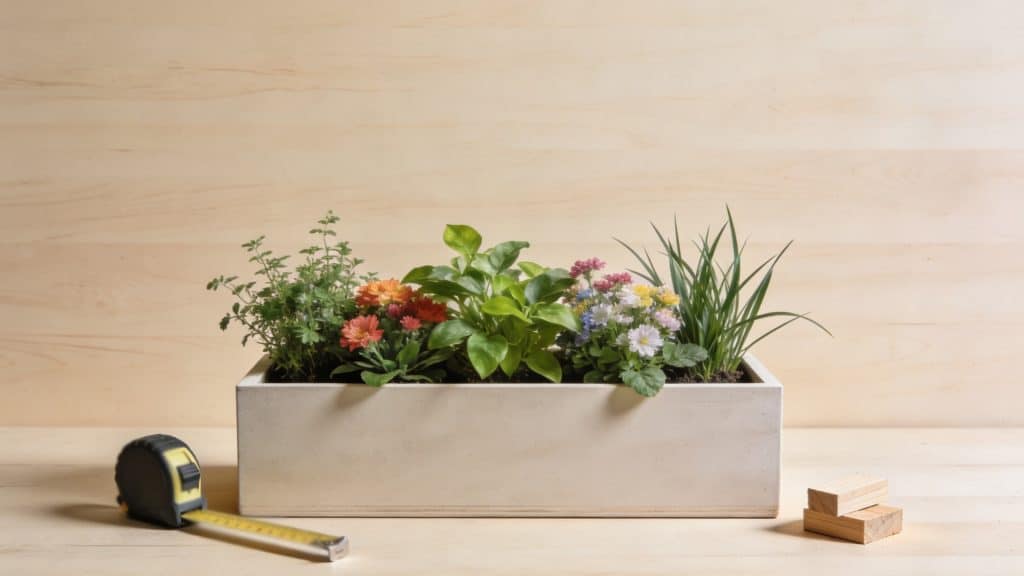
Customizable Sizes and Finishes
One of the best things about floating shelves is that you can make them any size you need.
Too short, you can cut them longer. And if you want a darker finish, then stain the wood. You choose the width, the depth, and the color.
That means your shelves will fit your wall and match your room perfectly.
Tools and Materials Needed for Floating Shelves
Before you learn how to make floating shelves, it helps to get everything ready in one place.
Having the right tools and materials makes the whole process faster and less stressful, and you won’t need anything fancy.
Most of these items are easy to find at any hardware store.
| Materials | Tools |
|---|---|
| Wood (pine, plywood, MDF, or hardwood) | Drill machine |
| Screws and wall anchors | Saw (hand saw or circular saw) |
| Wood glue | Level |
| Sandpaper | Measuring tape |
| Paint, stain, or polish | Stud finder |
| Mounting brackets or support rods | Screwdriver |
Preparation Tips Before you Start
A little planning before you build floating shelves goes a long way and will save you time and effort.
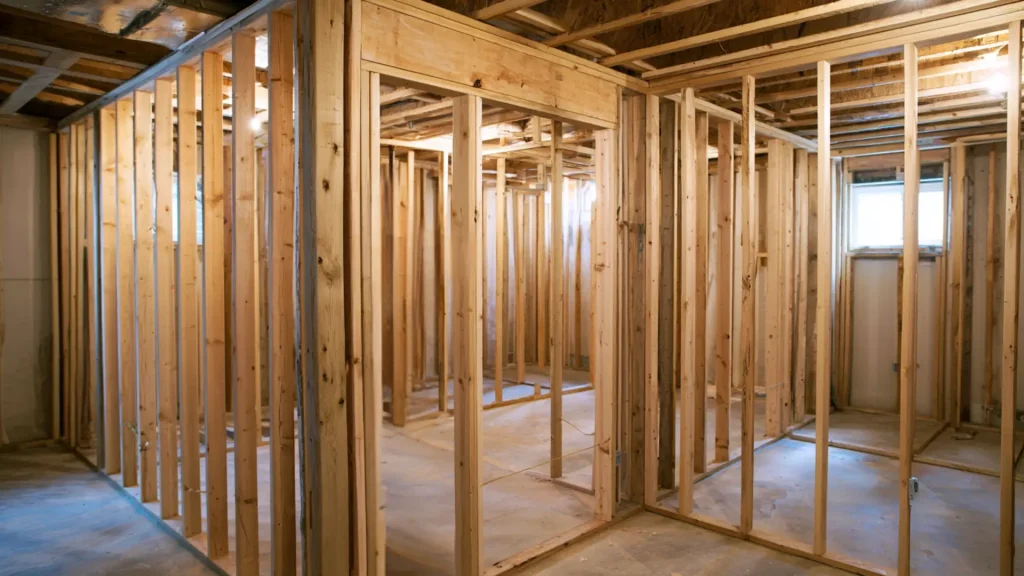
Preparation becomes important because not every wall works the same way. Drywall needs anchors, while concrete and brick need special drill bits.
Choose the Right Wall: Always check for hidden pipes and wires behind the wall before drilling.
Measure Twice: Decide the length, width, and depth of your shelf before cutting any wood. Write your measurements down and stick to them throughout the build.
Find Your Studs: Shelves hold weight best when fixed to wall studs. Use a stud finder and mark each stud clearly with a pencil.
Safety: Always wear safety glasses when cutting wood or drilling into walls. Keep your workspace clear and well-lit at all times to avoid any injuries.
Step-by-Step Guide on How to Make Floating Shelves
Following the steps carefully will give you a solid, good-looking shelf by the end.
Take your time with every stage, and the results will speak for themselves.
Step 1: Cut Support Brace Pieces
Start by measuring and cutting your support brace pieces to size.
These are the hidden pieces that hold everything together, so accuracy matters here. Use a miter saw for clean, straight cuts.
Double-check each measurement before you cut, because once the wood is cut short, there’s no fixing it.
Step 2: Assemble Internal Support Bracket
Now take your cut pieces and assemble the internal bracket.
This is the frame that slides inside your shelf box later. Use wood glue and screws to hold it firmly.
Make sure all corners are square; a crooked bracket means a crooked shelf.
Step 3: Locate and Mark Wall Studs or Anchors
This step is critical. Use a stud finder to locate the studs behind your wall. Mark each one clearly with a pencil.
If you can’t hit a stud, you’ll need heavy-duty wall anchors. Shelves that miss studs won’t hold weight for long.
Skipping this step and drilling straight into the drywall. That’s how shelves fall, and take chunks of wall with them.
Step 4: Mount Support Bracket to Wall
Hold your bracket against the wall and align it with your stud marks. Use a level to make sure it’s perfectly straight. Then drill it in with strong screws.
Give it a firm tug after mounting; it should feel solid and not move at all.
Get a helper to hold the bracket in place while you drill. It makes the job much cleaner.
Step 5: Fit Shelf Box Over Bracket
Carefully slide your shelf box over the mounted bracket. It should fit snugly, not too tight, not too loose.
If it feels stiff, lightly sand the inside edges of the box. Take your time here.
Forcing it can crack the wood or shift the bracket on the wall.
Step 6: Secure Shelf to Bracket
Once the box is in place, secure it to the bracket from underneath.
Use small screws at an angle to pull the shelf tight to the wall. This keeps it from shifting or pulling away over time.
Don’t over-tighten; you just want it firm and flush.
Skipping this step because the shelf “feels sturdy enough.” It might hold for a week. But over time, without fastening, it will slowly pull forward.
Step 7: Fill Holes and Sand Seams
Now it’s time to clean things up. Use wood filler to cover any screw holes or gaps at the seams.
Let it dry fully; usually 30 to 60 minutes. Then sand everything smooth with fine-grit sandpaper.
Run your hand over the surface. If you can feel a bump, keep sanding.
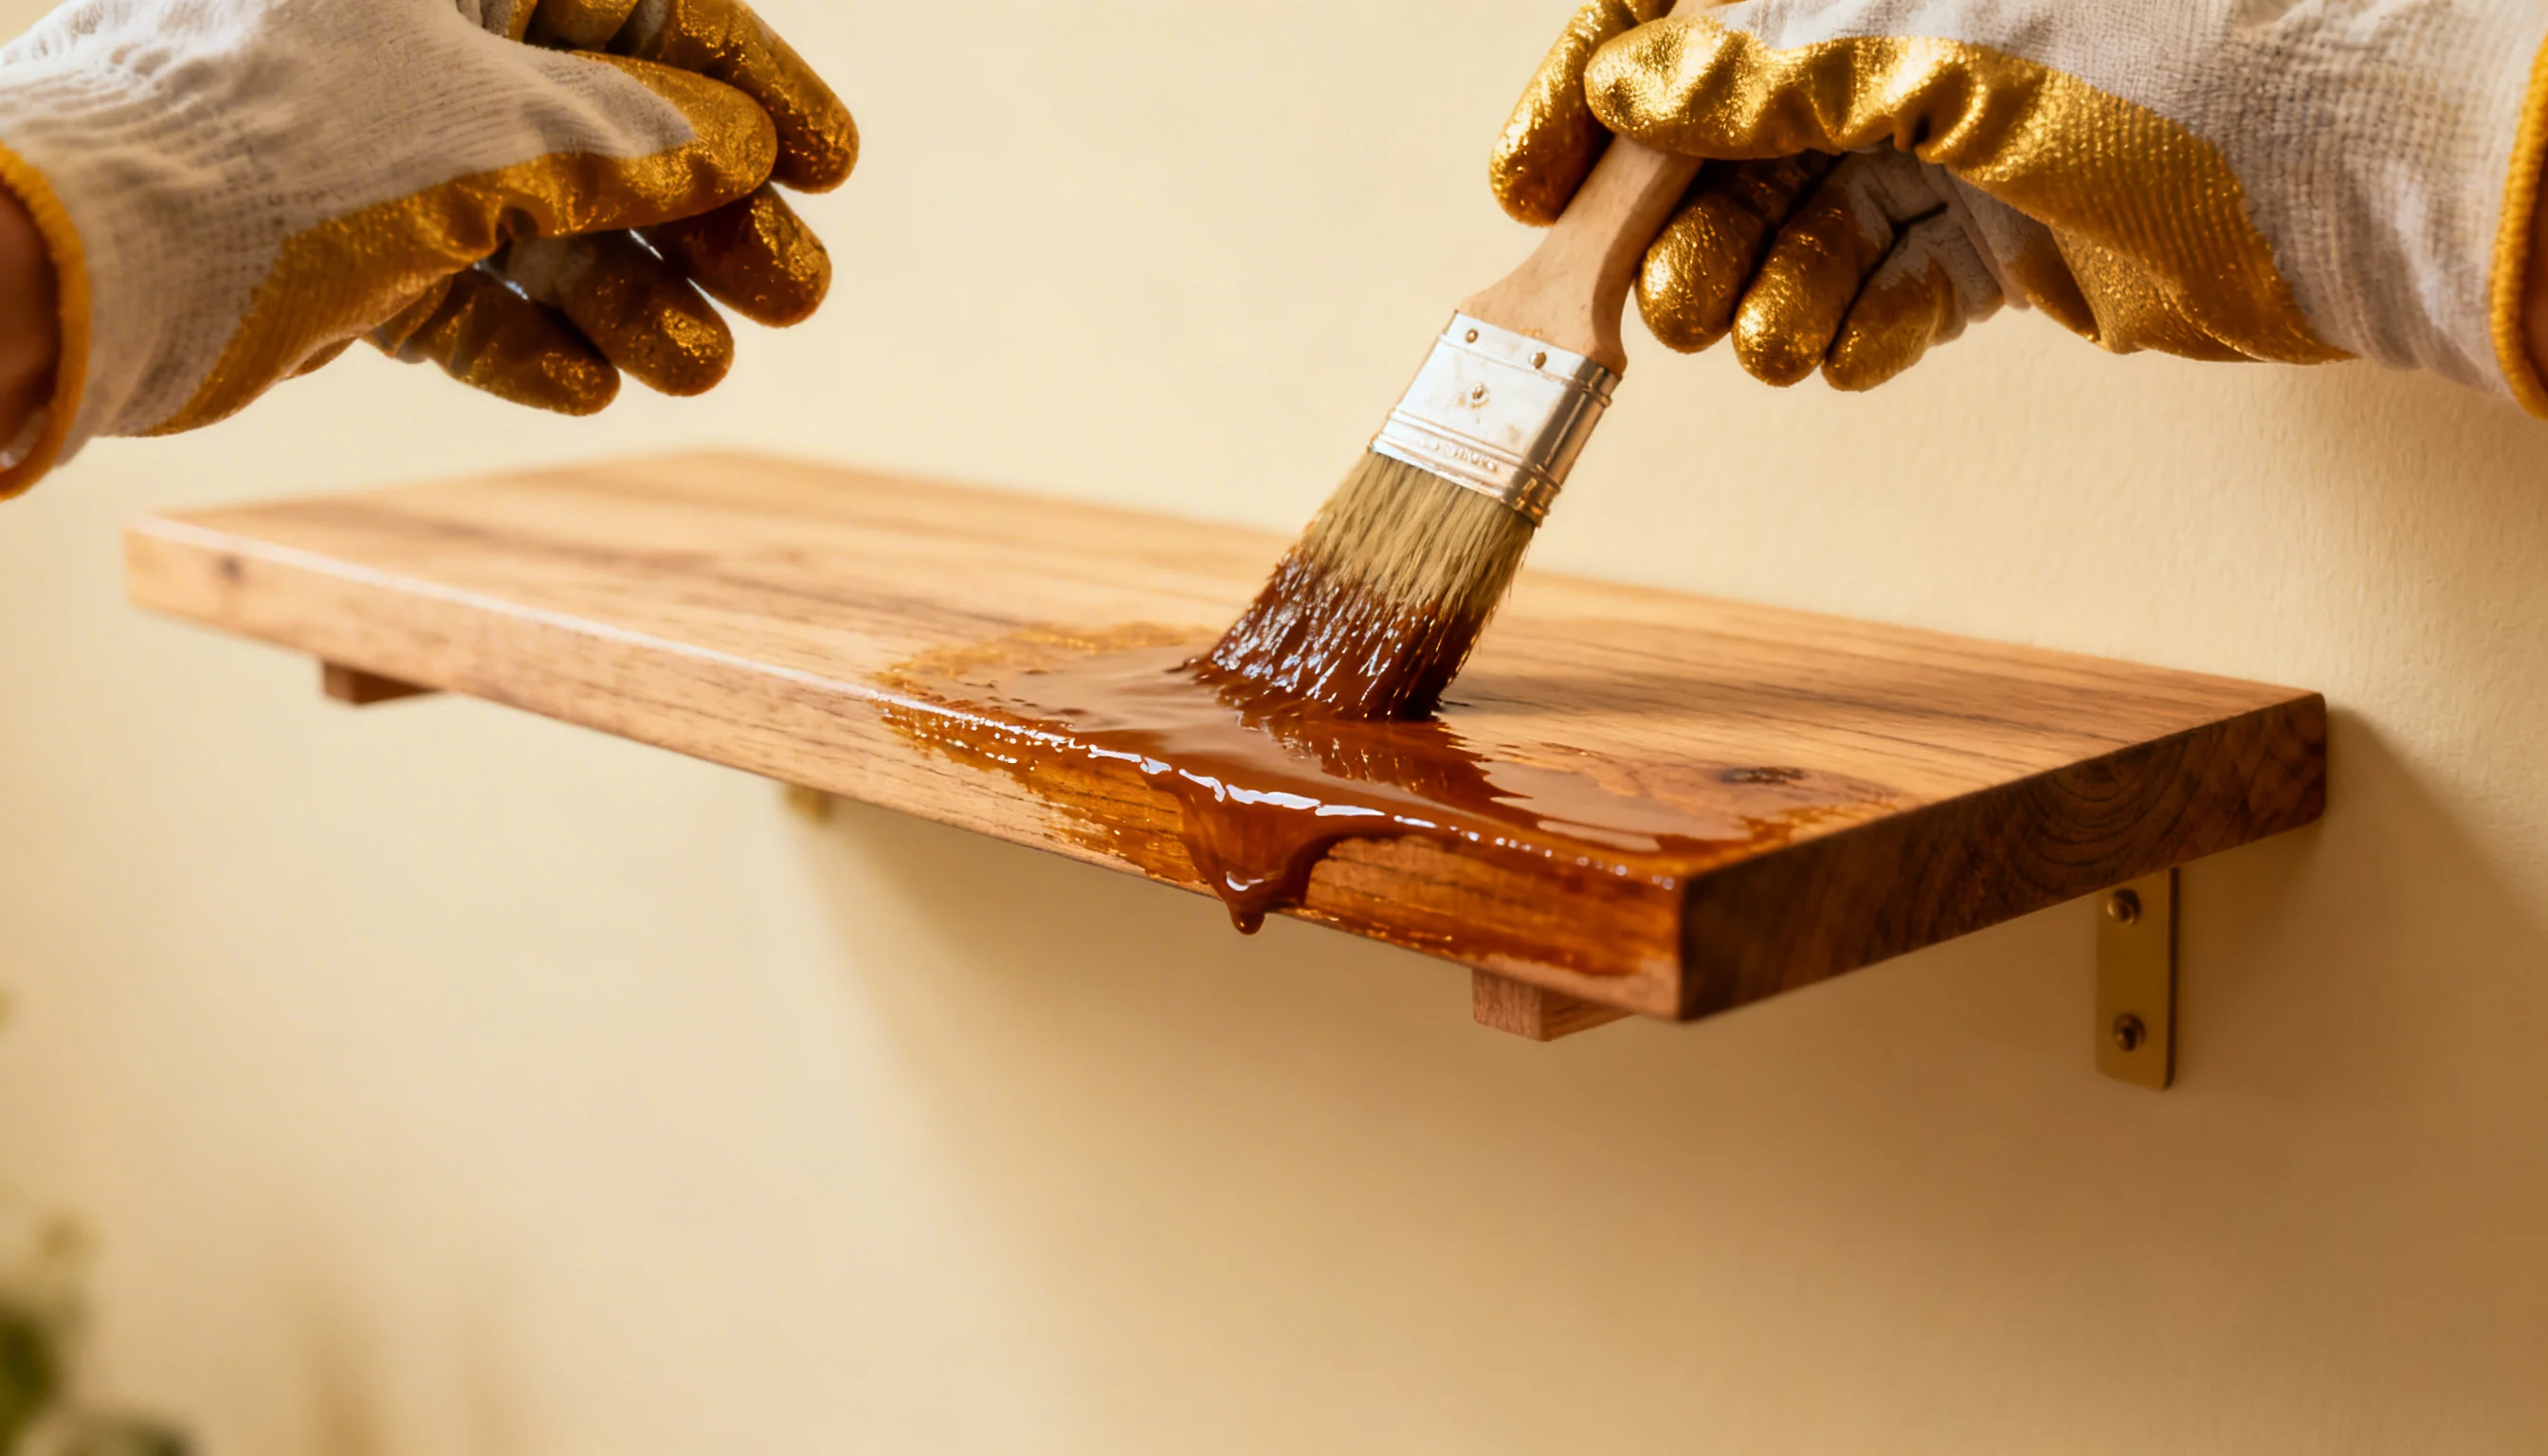
Step 8: Finish, Stain, Paint, or Seal
Choose a finish that matches your room. Stain brings out the natural wood grain. Paint gives a clean, modern look.
A clear seal protects the surface from scratches and moisture.
Apply your finish in thin, even coats, letting each coat dry before adding the next.
Always finish all sides of the shelf, including the bottom. Unfinished wood can warp in humid environments, especially in kitchens or bathrooms.
Can You Make Floating Shelves Without Brackets?
There are a few clever ways to mount a shelf without any visible hardware.
The result looks even cleaner than a standard bracket setup.
Wooden Cleats
A wooden cleat is a strip of wood fixed to the wall.
The shelf slides over it and sits flush against the wall. No brackets needed. The cleat does all the holding work from inside the shelf.
This method works well for lighter shelves and gives a very clean finish.
Never place too much weight on a shelf, as doing that puts extra stress on the shelves and might pull it out.
Hollow Shelf Frames with Internal Rods
You can build a hollow shelf box and slide it over metal rods that are drilled into the wall to create a shelf without brackets.
The rods go inside the shelf and hold it firmly in place.
This is one of the most popular methods for making floating shelves with a truly invisible support system.
- Not anchoring into studs: Drilling only into drywall provides the shelf with little support.
- Using weak materials: Thin or low-quality wood will damage under light loads over time.
Final Thoughts
Making your own floating shelves is simpler than most people think.
With the right tools, a bit of planning, and a free weekend, you can build something that looks great and lasts for years.
You get to make it your own, your size, your finish, your style.
Learning how to make floating shelves gives you useful storage, a cleaner-looking home, and the satisfaction of building something yourself.
Frequently Asked Questions (FAQs)
1. Are Floating Shelves Out of Style in 2026?
No, floating shelves are still very much in style. They work well in modern, minimal, and even traditional homes. Clean walls and smart storage never really go out of fashion.
2. What Color Wood is Popular in 2026?
Warm, natural tones are popular right now. Think light oak, walnut, and honey-toned woods. These shades add warmth to a room without feeling too heavy or dark.
3. Is it Bad Feng Shui to Have a Shelf Above Your Bed?
Many feng shui guides advise against it. A shelf directly above your head can feel unsettling and may disrupt sleep. If you do know how to make floating shelves, place them on a side wall instead.