
I’ve always loved the look of live edge wood – on countertops, on tables, on siding – and we’ve made a handful of tables for our house. Live edge wood comes in so many shapes and sizes that it’s easier to make a custom table than to hope that you find one that’s right for your home.
What is live edge wood?
Live edge wood is a style of furniture or fixtures that incorporates the natural edge of the wood into the design of the piece. For this table, we’re using a slab of black walnut from a local architectural salvage.
This DIY wood slab coffee table project is one you could complete in a weekend from start to finish – with most of the time being dry time for the polyurethane!
Materials for Building a Live Edge Coffee Table:
- Slab of Live Edge Wood
- Mouse Sander or Orbital Sander
- Sandpaper in varying grits (60, 120, 220, 320)
- Polyurethane
- Sponge Brush
- Hairpin Legs + Hardware
- Power Drill
How to Build a Live Edge Wood Slab Coffee Table:

Cut your table to the proper size
Hopefully your slab of wood is fairly close to the size you’re looking for, but you can always trim it up for a perfect fit. The beauty of live edge wood is in the natural edge – we trimmed the short ends so that our table was the length we wanted and shaved off an uneven piece that was looking brittle – leaving the wavy edges and bark on the long edges of the table.
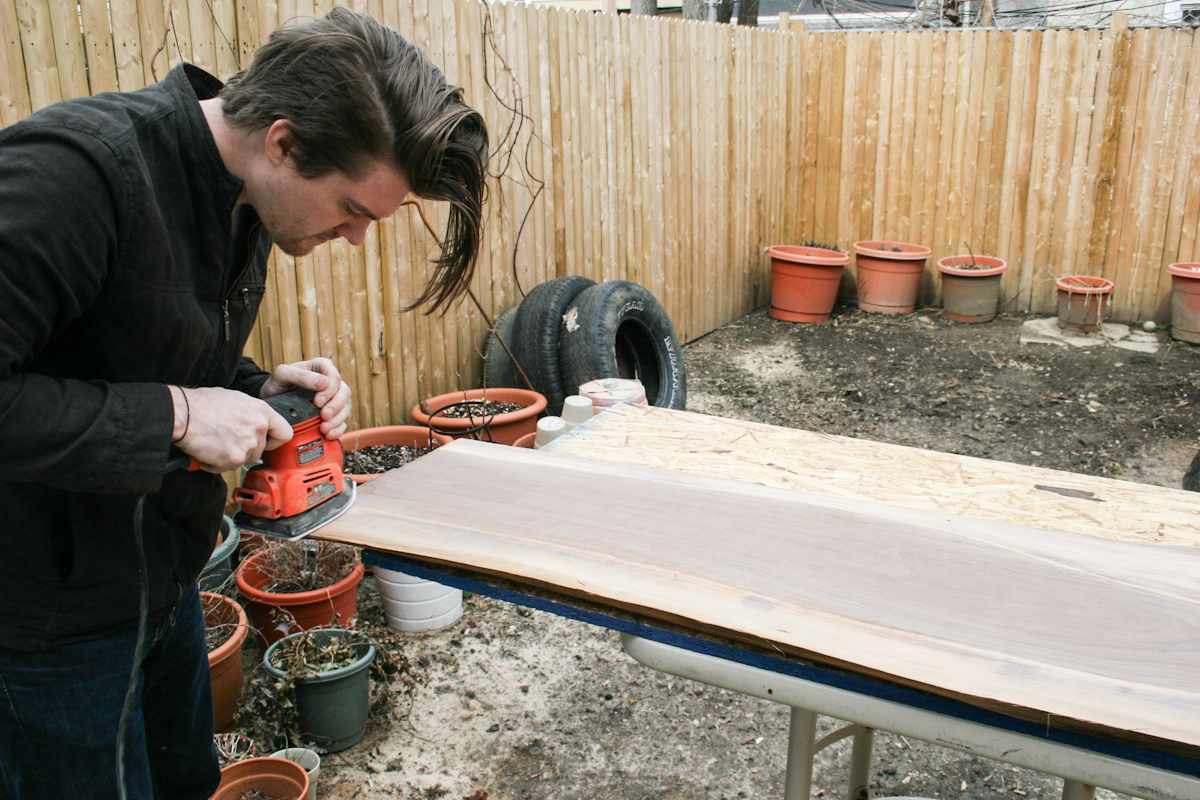
Sand the top and bottom of your table
Sand the top and bottom of your table with a mouse sander, orbital sander, or just sandpaper and a block. Start with the lowest-grade number like 60 grit to sand out any really rough parts of the wood. Slowly work your way up to higher and higher grits for a finer finish. Remove any excess dust with a damp cloth.

Coat your table with polyurethane
You should finish your table with a polyurethane so that it can stand up to use. Polyurethane comes in finishes from matte to glossy so you can choose your finish based on your taste.
Polyurethane should be brushed on in thin, careful layers to avoid pooling. Let your polyurethane dry.
Sand between coats of polyurethane
Using a very fine (like 500 grit) sandpaper, lightly sand between your first coat of polyurethane. Once complete, make sure you carefully wipe away any excess dust before adding your next coat.
Add between 2-3 coats of polyurethane, lightly sanding between each coat until you get your desired finish. Let polyurethane dry overnight.
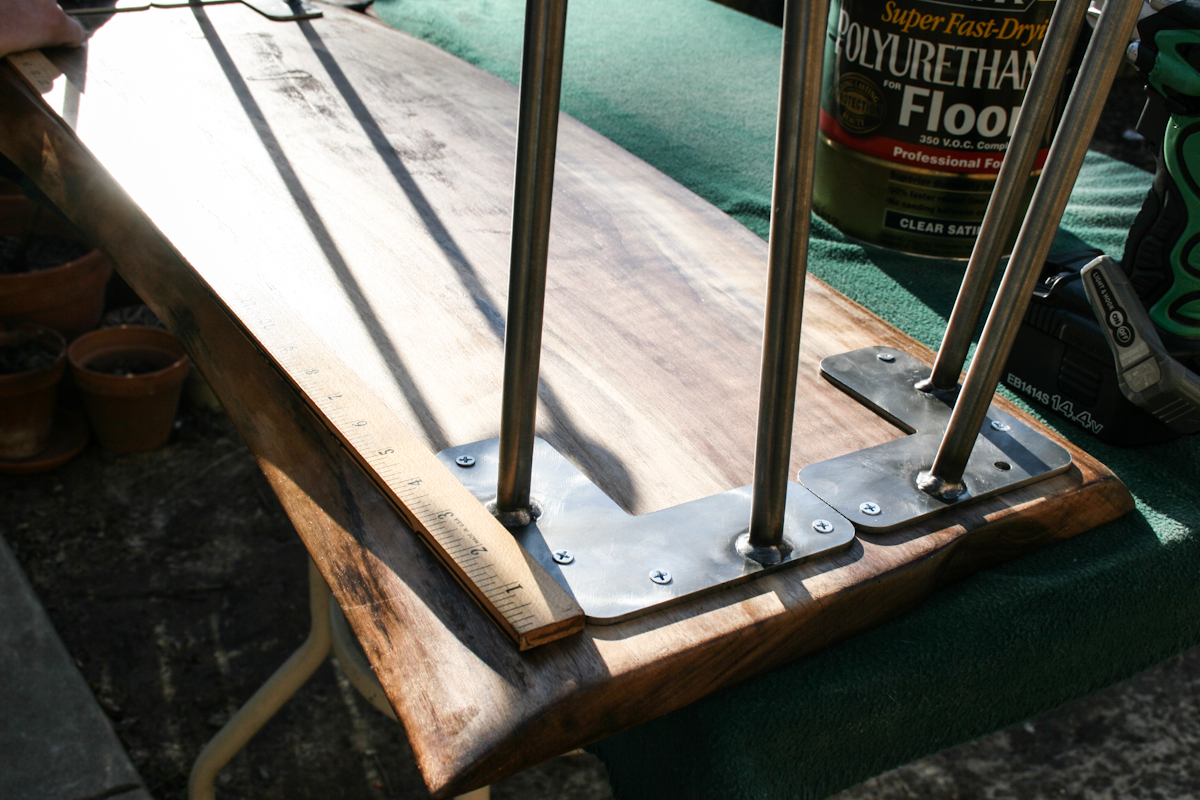
Measure where you want your legs to fit
We’re using “Just the Tip” hairpin legs from Modern Legs. Hairpin legs come in all sizes – we purchased legs that would be even with the height of our couch seating – but you can also get tall legs to create a live edge console table as well! There’s many different styles and heights of legs you could use.
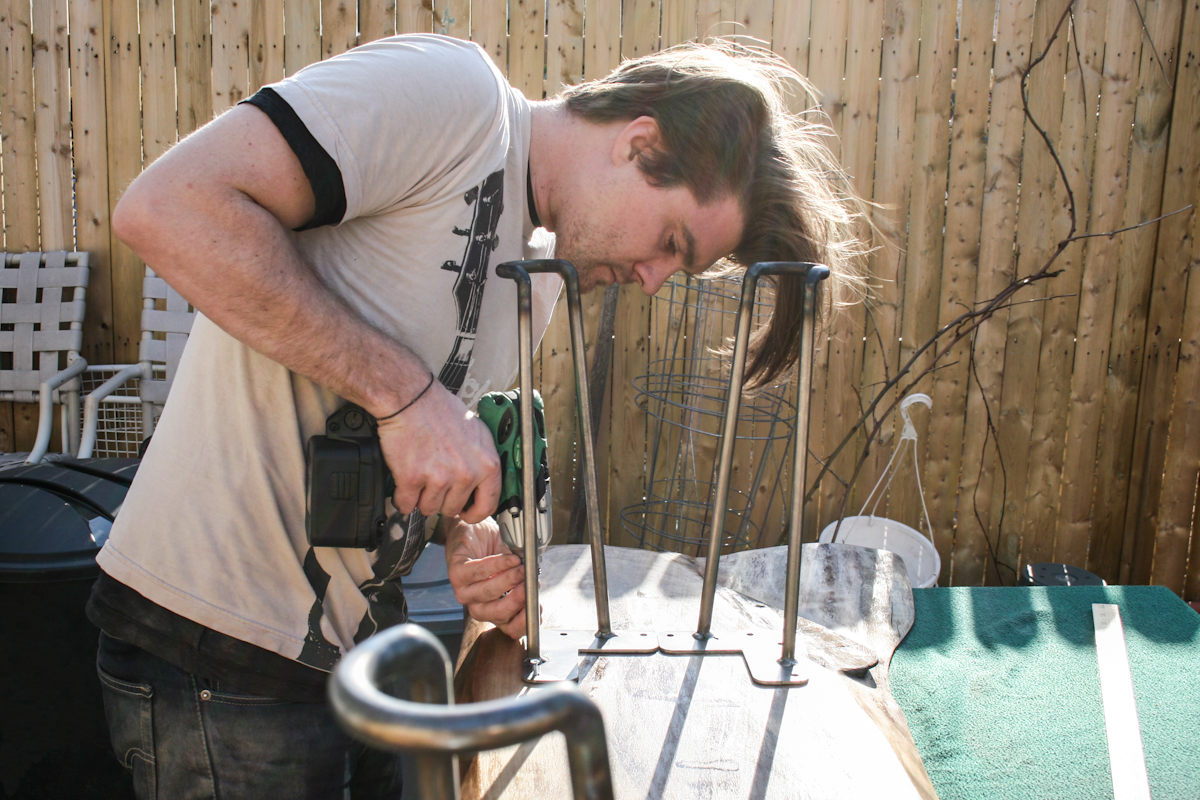
Attach your table legs
Make sure you drill pilot holes for the screws to prevent splitting the wood.
You’re done!
