
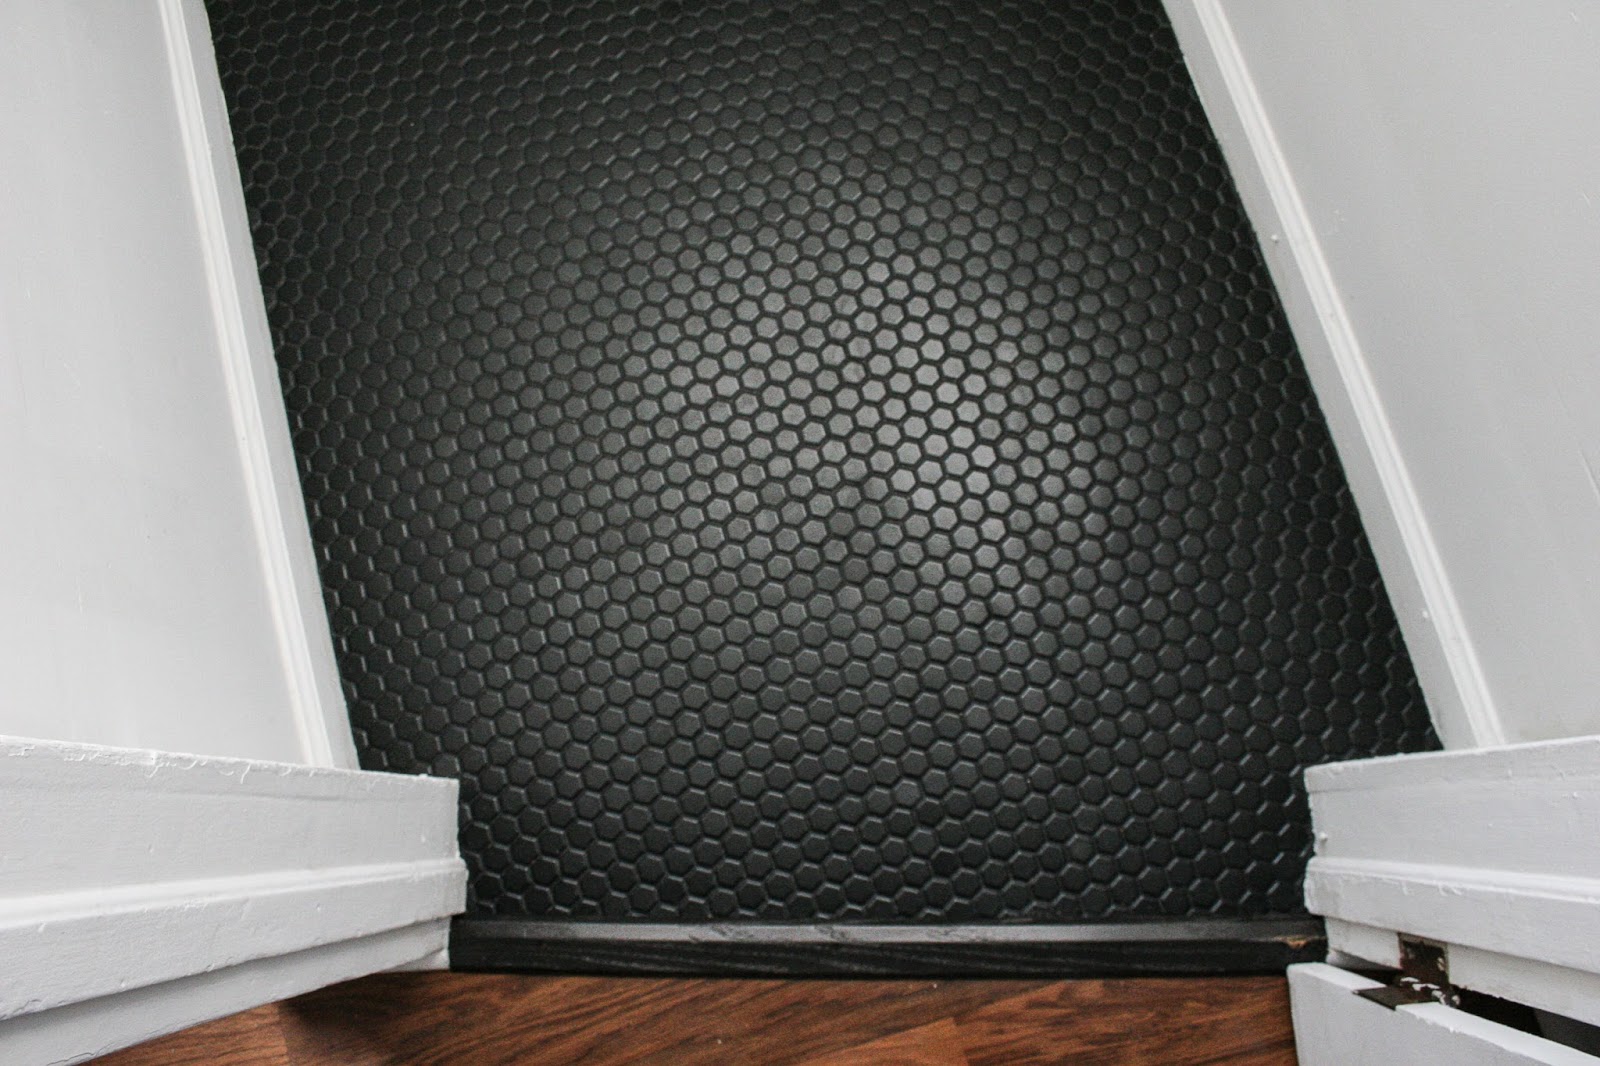
When we first moved into our house the floor of our entryway was in poor shape – although it had a pretty cool custom jigsaw floor, it was covered in peeling red paint and a thick layer of dirt. We tried sanding it down and staining it black but it still wasn’t quite right – the wood would get covered in dust and dirt and looked grey and dirty.
A few weeks ago I was inspired by an image of a vestibule filled with hexagon tile and fell in love. I already have a few re-tiling projects under my belt so I was able to finish this project in about 5 hours of work (with two days drying time).
Materials for Tiling an Entryway Vestibule:
- Tile
- Spacers (if your tile isn’t sold on mesh sheets)
- Thinset Mortar or Mastic
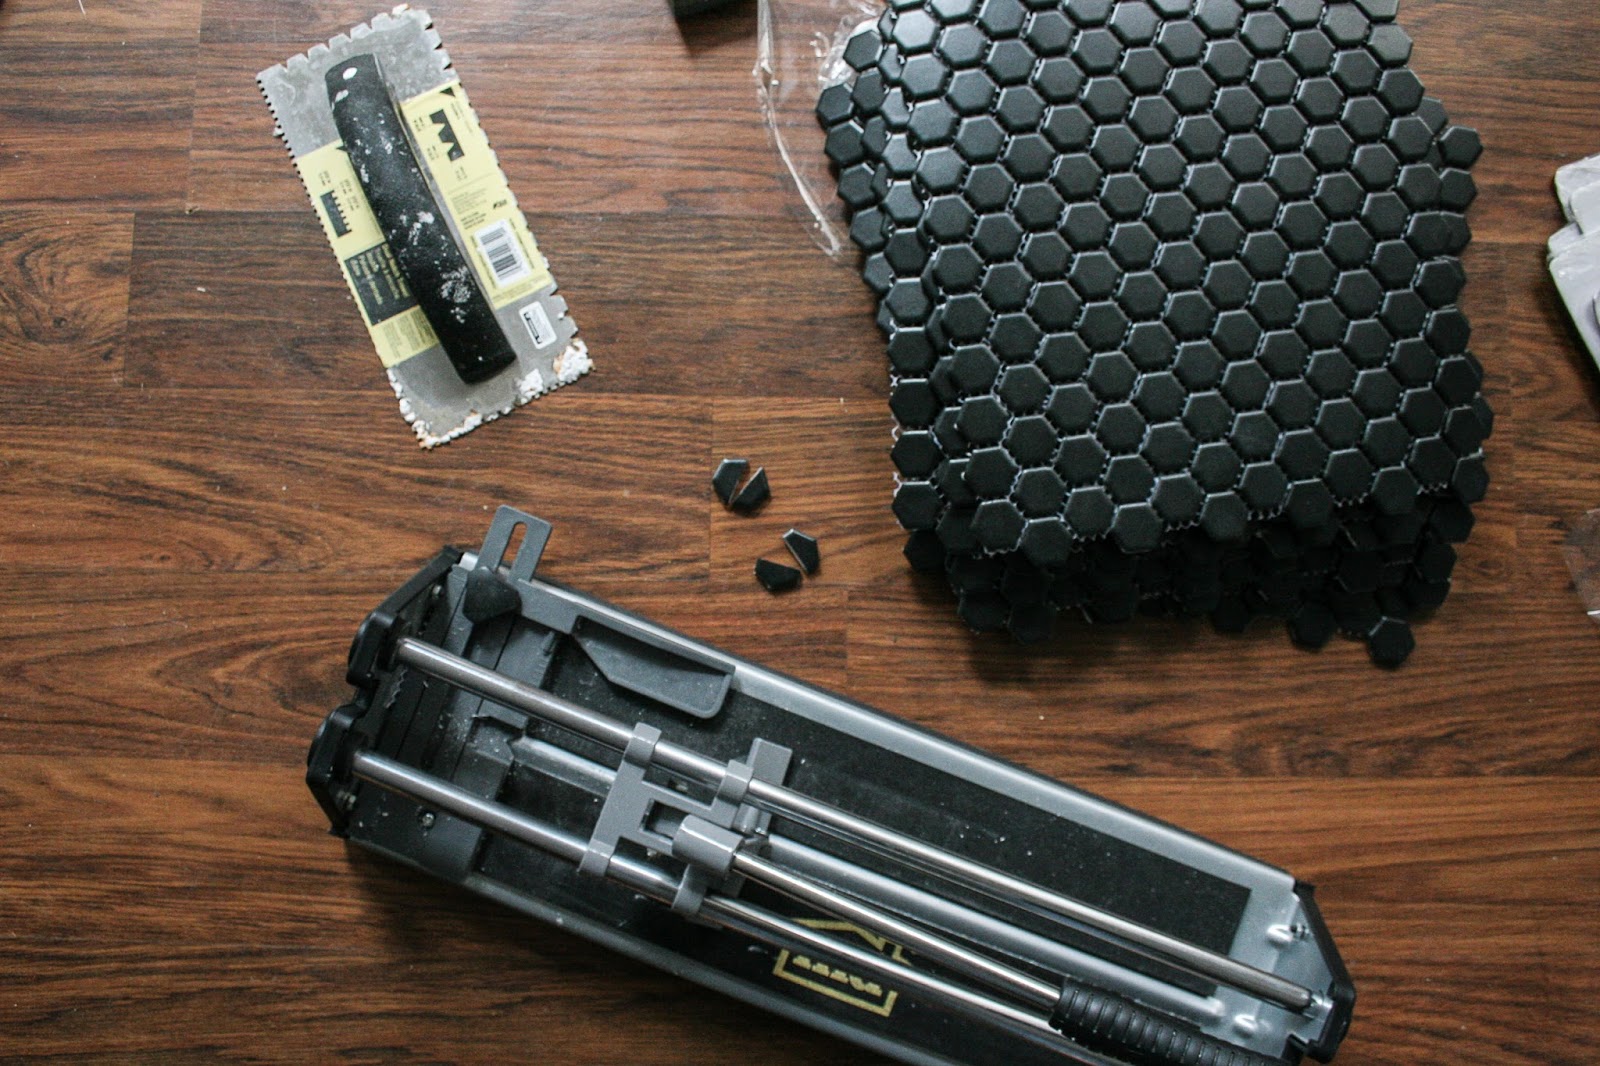
- Notched trowel
- Grout
- Rubber float
- 2 buckets
- Sponge
- Tile cutter, nippers, or a diamond cutting wheel for your dremel
- Cheesecloth or lint-free towel
Should I use thinset or mastic?
See the table below for the differences between thinset vs mastic to help determine which you should use for your project. Since I’m tiling a vestibule floor – essentially where we’ll be stepping in from the outside, I’ll be using thinset since it’s unaffected by water.
| Mastic | Thinset | |
|---|---|---|
| Availability | Sold pre-mixed | Sold pre-mixed or dry |
| Moisture | Not suitable for wet areas | Unaffected by water |
| VOCs | Emits some VOCs | No VOC emissions |
| Set Up Time | 30 minutes | 15 minutes |
| Dry Time | 24 hours before applying grout | 6 hours before applying grout |
| Tile Size | Cannot be used for tiles larger than 10″x10″ | Can be used for tiles larger than 10″x10″ |
| Materials | Cannot be used with glass tiles | Can be used with glass tiles |
| Places to Use | Walls, dry backsplashes | Floors, showers, tubs, backsplashes |
Should I use sanded or non-sanded grout?
How to Tile an Entryway Vestibule:
The most important rule that I learned from the past few tiling projects I’ve done is that no house, even new ones, are completely even. Be prepared to have to make odd cuts in order for your tile to all fit evenly, but most importantly don’t cut everything beforehand – it’s much easier to cut as needed.
Prepare your surface
Like painting, surface prep is the most important part of tiling. If you properly prepare your surface, the rest of the job will go smoothly! Make sure you fill in any holes or cracks and even your surface out before you begin.
Determine your tile layout
Once I laid down my tile to measure the space I found that I would need to cut each tile in half to fill along the edges – I bought a snap tile cutter for $20 and it has more than paid off – you can’t really use it for custom cuts like cutting along a corner for an outlet, but it’ll snap anything in half – even little hex tiles. If you’re tiling around outlets or the like you’ll most likely need a wetsaw or a cutting wheel for a dremel.
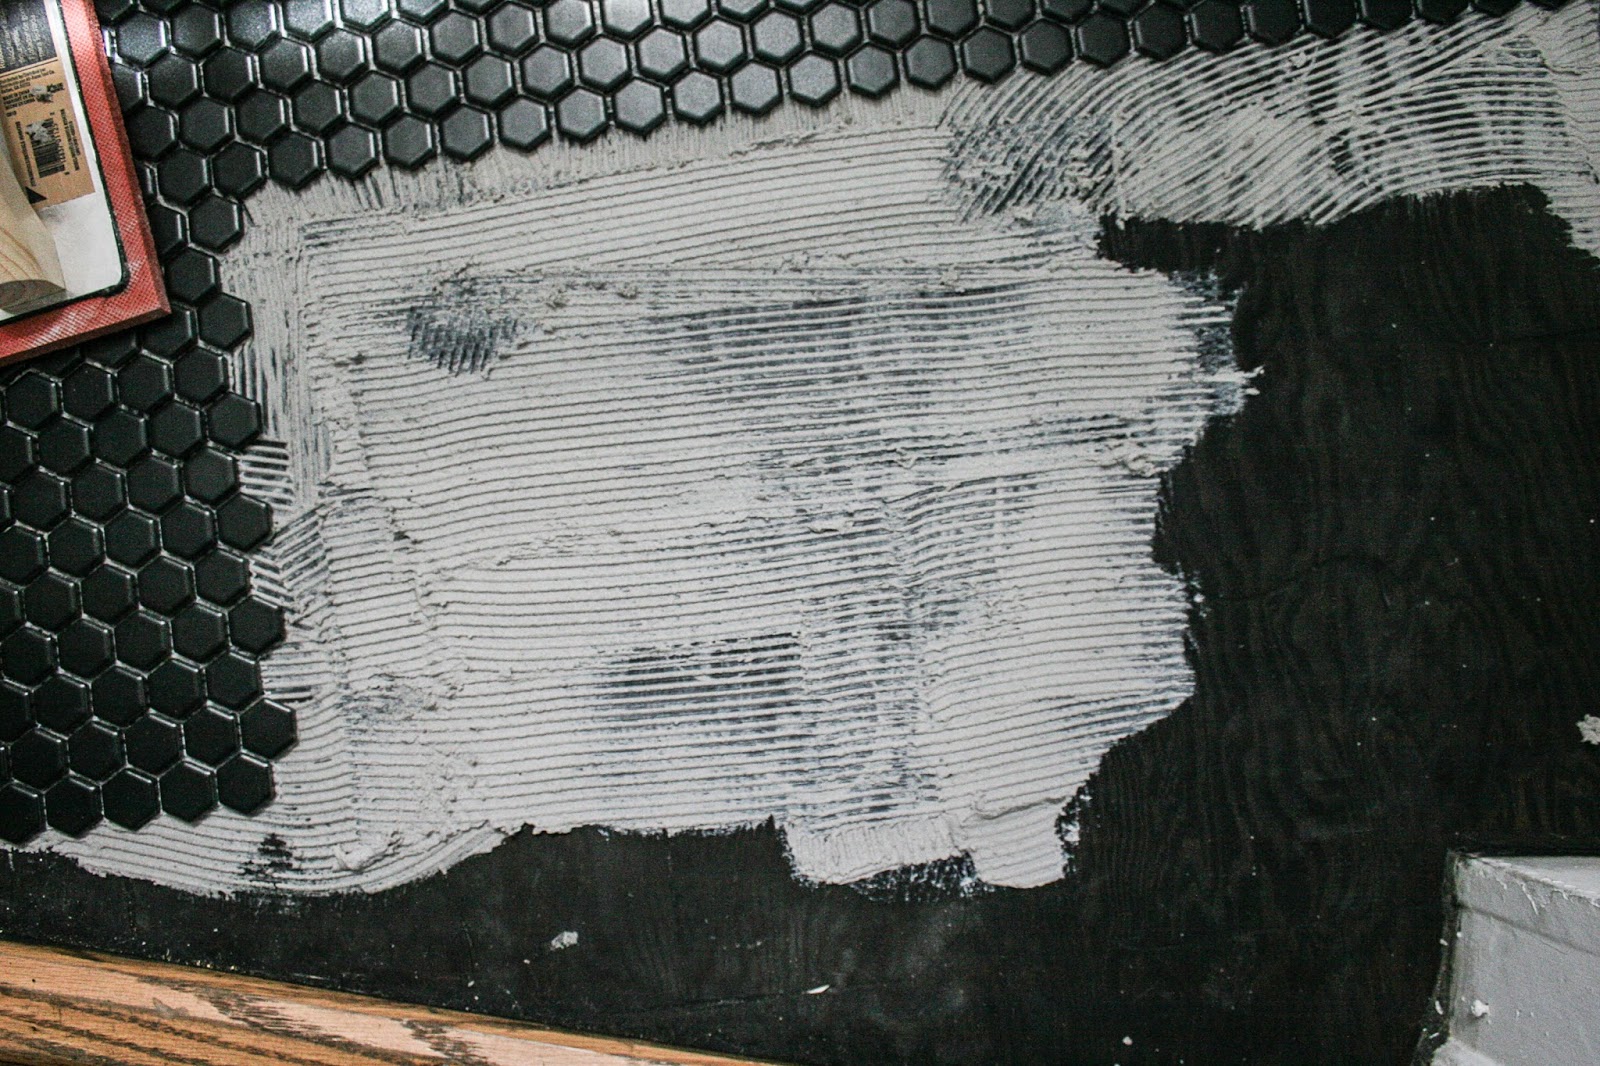
Apply thinset or mastic
Using a notched trowel, apply your thinset or mastic in sections. You don’t want to apply too much and risk it drying while you’re laying your tile, but it’s also helpful to lay a few tiles or sections or tile at a time to allow you to adjust to make sure everything is spaced out evenly. Especially if you’re laying mosiac tile like in my example – laying a few sections at a time allows you to compare several sections to make sure they’re evenly spaced.
Place your tiles
Place the tile, pressing down evenly to ensure it’s set in place before moving onto the next tile or section. You’ll also want to make sure that your tiles are level and that there aren’t sections where there is too much or little thinset/mastic.
Let the thinset dry
After all of the tile was in place I cleaned off any areas where I’d put too much thinset and it had squeezed through the spaces between the tiles.
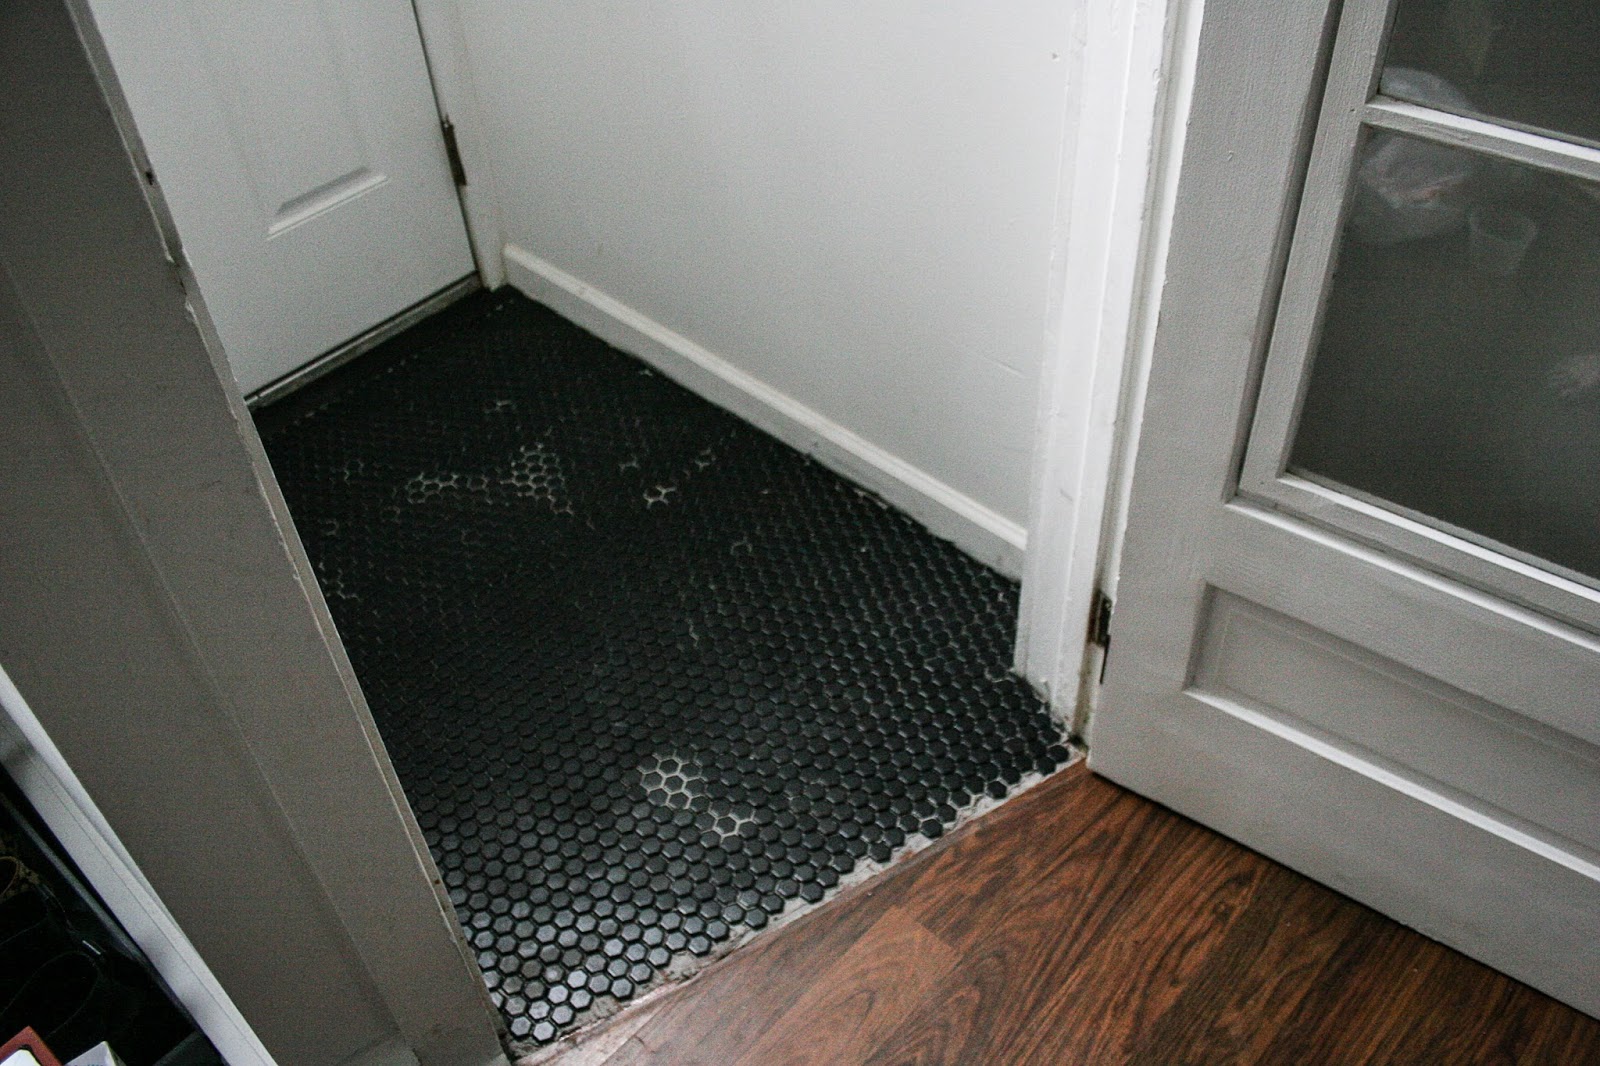
If your tiles are on the floor like mine, try to walk on them as little as possible. Because my tiles were right in front of the door, I laid down a plank of wood when we had to enter/exit so that we at least wouldn’t disturb the tiles too much. I also kept my interior door open with a box fan on to help with drying.
Once your thinset is dry you’re ready to grout!
Grout your tile
Working in small sections, load up your rubber float with grout and spread it over the tiles, pressing down to get it into all of the spaces. Then clear off the excess grout off the top of the tiles by pulling your float at a 45 degree angle – this will not remove all of the grout but that’s okay. Once all of the spaces are filled go back over with a damp sponge – wring out all of the excess water before using the sponge – you don’t want any water getting into the grout. The tiles will still be a little bit hazy even after sponge cleaning but that’s okay.
Buff off haze
Let your grout dry for 24 hours, then buff off any remaining haze on the tile with a cheesecloth or lint-free towel.
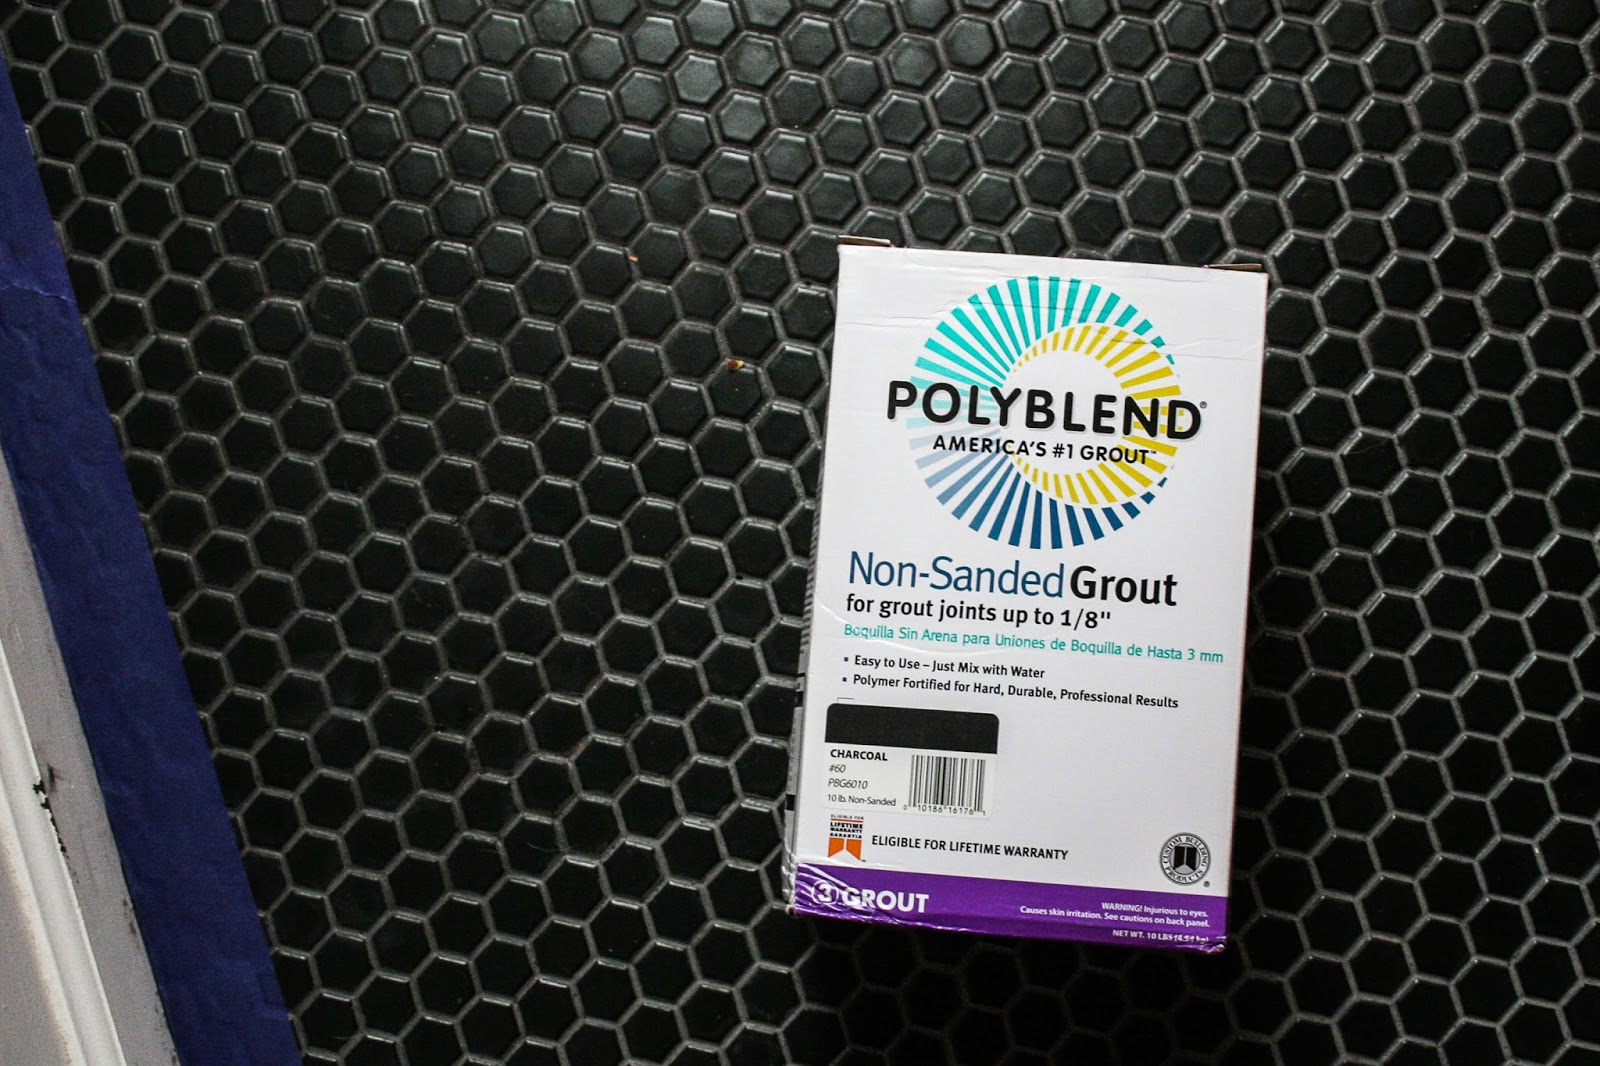
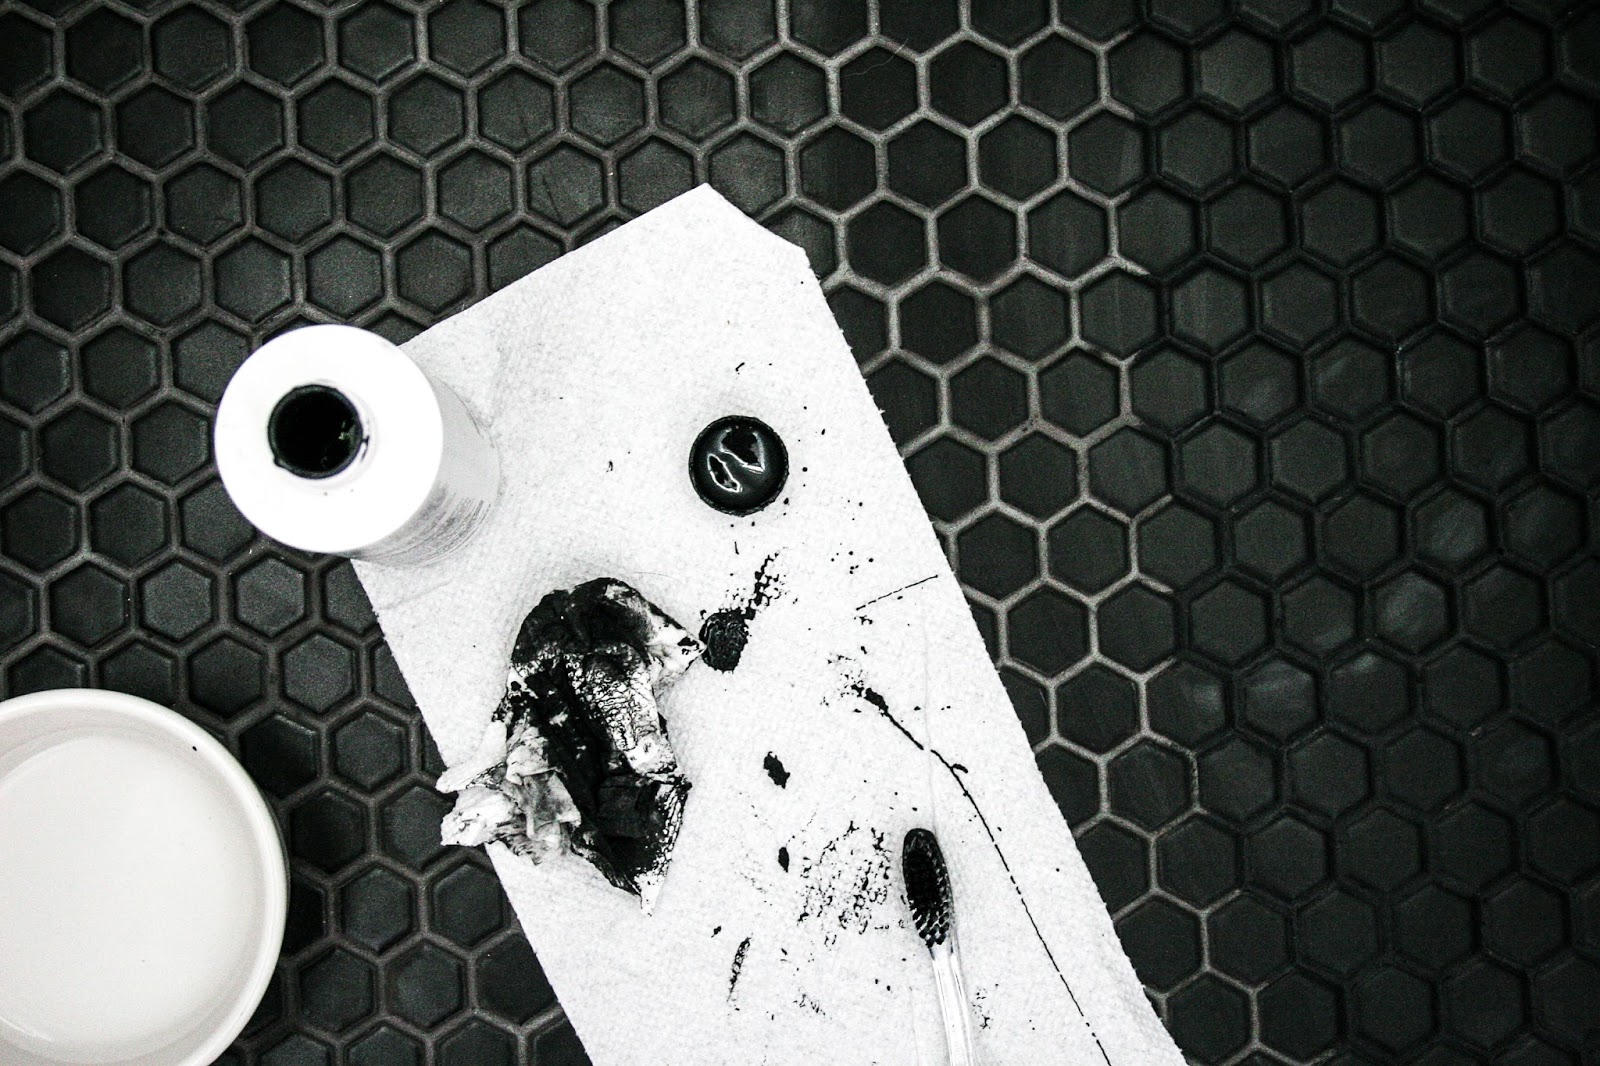
I used polyblend’s non-sanded grout and was happy with ease of use (mixing, application) but very disappointed in the color – I wanted black grout but once the grout had dried it became a medium grey! Luckily, you should also be sealing your grout and polyblend’s grout renew colorant/sealant is very true to color. I find it easiest to use a toothbrush to work in small sections by scrubbing the sealant into the grout and then wiping the excess off of the tiles with a damp paper towel.
I’ve also used their grout renew (in white) on dingy grout to whiten it up if bleach and water isn’t doing the trick.
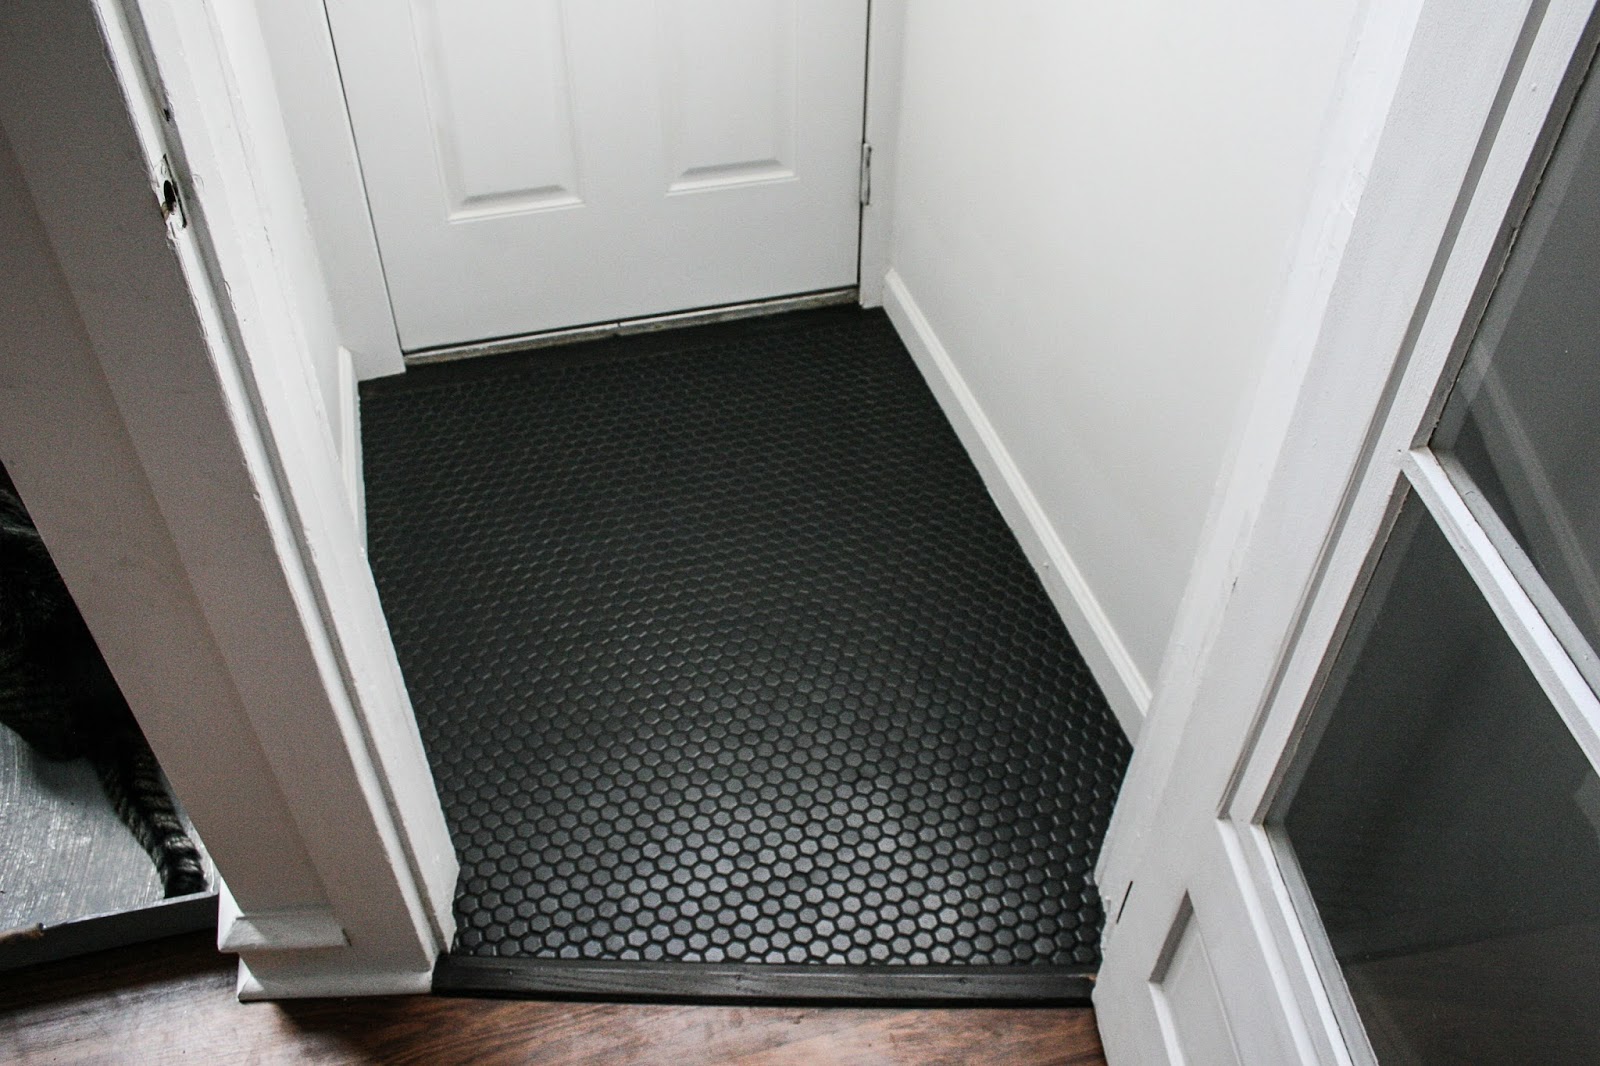
I’m ecstatic on how this project turned out – the difference that can be made in a weekend on redoing a backsplash or an entryway is pretty remarkable, and is totally easy to do yourself. Or, in my case, to get yourself ready for that faraway but inevitable bathroom renovation.
You should participate in a contest for one of the finest websites on the internet.
I am going to recommend this website!
The post has really peaks my interest. I'm going to bookmark your website
and keep checking for new tips.